Understanding The Client Profile Editor Page
In TiQ, we understand that managing your clients effectively is of utmost importance. In this guide, we'll walk you through the essential steps and key information necessary to efficiently navigate and understand your client profile editor page.
Click here to learn how to create a new client and invite them in their portal
From the Navigation Bar, select Client iQ

On Client iQ, search for the client whose profile you need to access

From the Client Profile, select the Edit icon
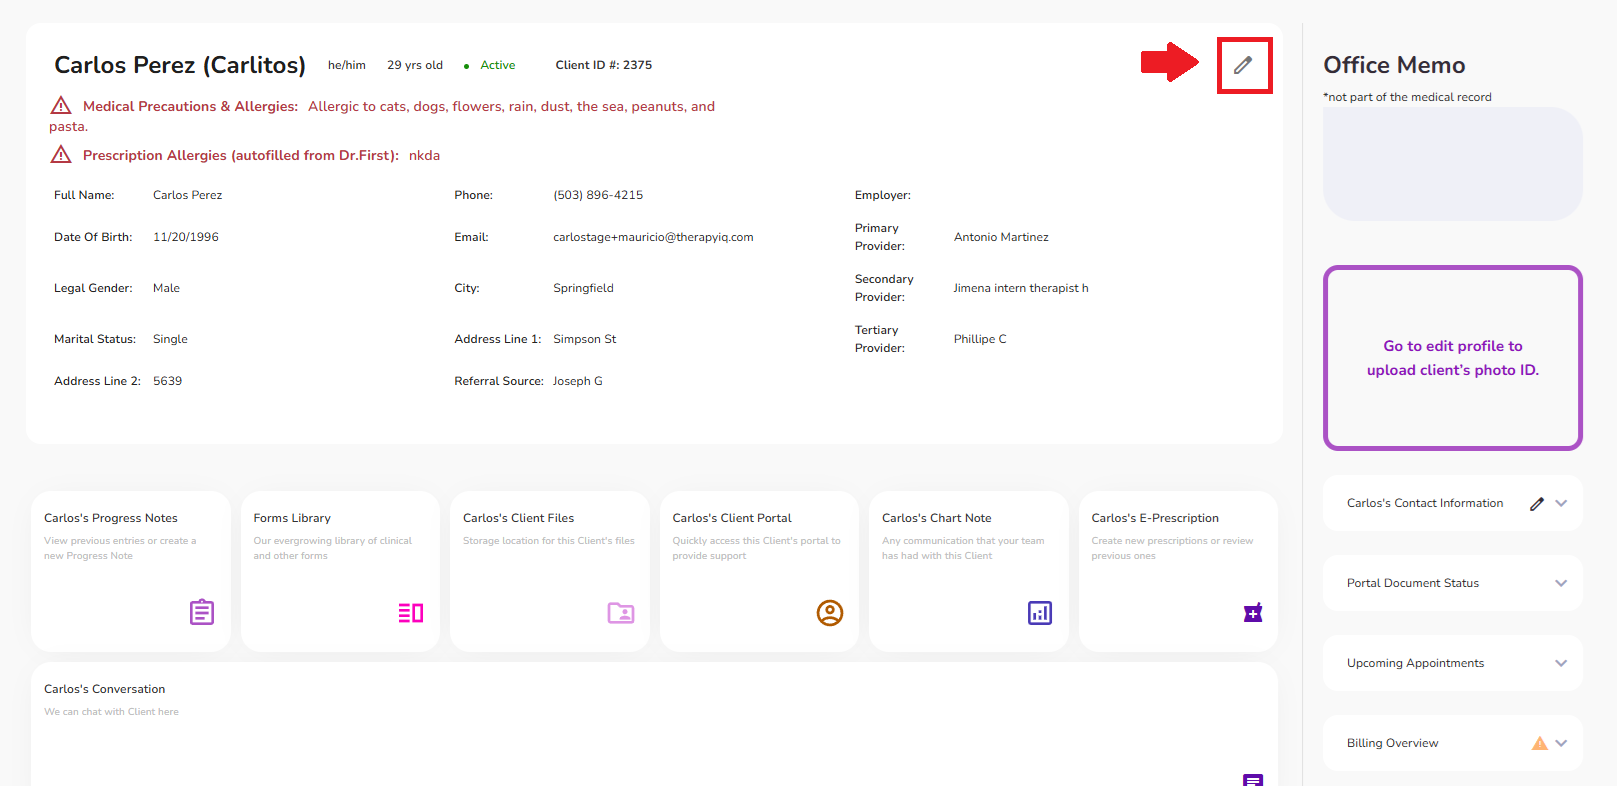
You will now see the Client Profile Editor page

Here you will see 6 tabs:
- Basics & Demographics
- Financial & Insurance Info
- Client Relations Manager
- Medical & Emergency Info
- Internal Practice Info
- Portal Settings

IMPORTANT: Before changing tabs it is important to fill in the required fields, and select the Save Changes button at the bottom of the page to save any added information.

- Basics & Demographics Tab
Under this tab, you are about to edit the following:
- The client’s first and last name
- Upload a photo ID

NOTE: The Client ID # is given by default and can’t be edited.
TIP: You can search clients by Client legal/preferred Name or Client ID in Client iQ.

IMPORTANT: The red asterisk(*) in the fields means that it is a required field.

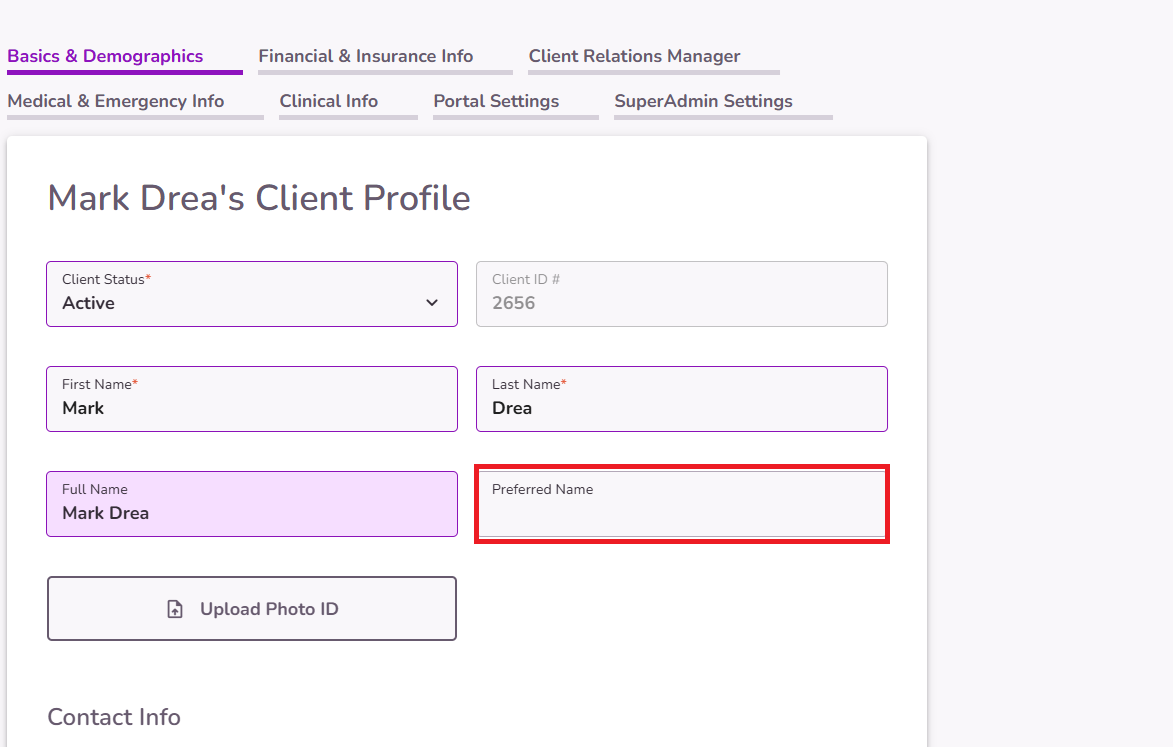
Preferred names will appear across various features and workflows in TiQ, helping users easily identify clients by the name they prefer.
- Add email address and phone number

You can select the checkboxes to send Email or Text Reminders.

- Date of Birth
- Legal Gender
- Identified Gender
- Pronouns
- Race
- Marital Status

- Select the checkbox the client is legally a Minor
NOTE: By selecting the checkbox ‘client is legally a Minor’, a contact will be required to be added under the Client Relations Manager tab. Click here to learn more about the Client Relations Manager

- Address

If you don’t know this information, select the ‘Unknown at this time’ checkbox, this is important for insurance

Here you can also set the client’s time zone. This will impact the client portal and the appointment invitations/reminders the client will receive.

- Other Info
Such as External Client ID and a Referral Source

- Select the Custody Order box if your client has a custody order

- Assign Tags
Tags are used to segment clients based on certain criteria and will aid you in searching for clients in the future.
If a tag is not listed, contact your administrator to add the desired tag to the Practice Settings.

- If adding a new client:
At the bottom of the page you’ll find 3 different buttons:
Next Page: This button will help you to move to the next page. IMPORTANT: This button will not save information, don’t forget to select ‘Save Client Profile’ before selecting the ‘Next Page’ button.
Save Client Profile: This button will save the changes you made to the Client Profile.
Submit and Invite to Client Portal: This button will Submit the Client Profile and Invite the Client to the Client Portal.

- If editing an existing client:
At the bottom of the page you’ll find 2 different buttons:
Next Page: This button will help you to pass to the next page. IMPORTANT: This button will not save information, don’t forget to select ‘Save Client Profile’ before selecting the ‘Next Page’ button.
Save Changes: This button will save the changes you made to the client profile.

- Financial & Insurance Info Tab
Under this tab, you are able to edit the following:
- Financial Info
Here you can select the Means of Financial Support for the client, and add an Employer

NOTE: The Current Payment Balance cannot be edited and is calculated automatically based on the client ledger

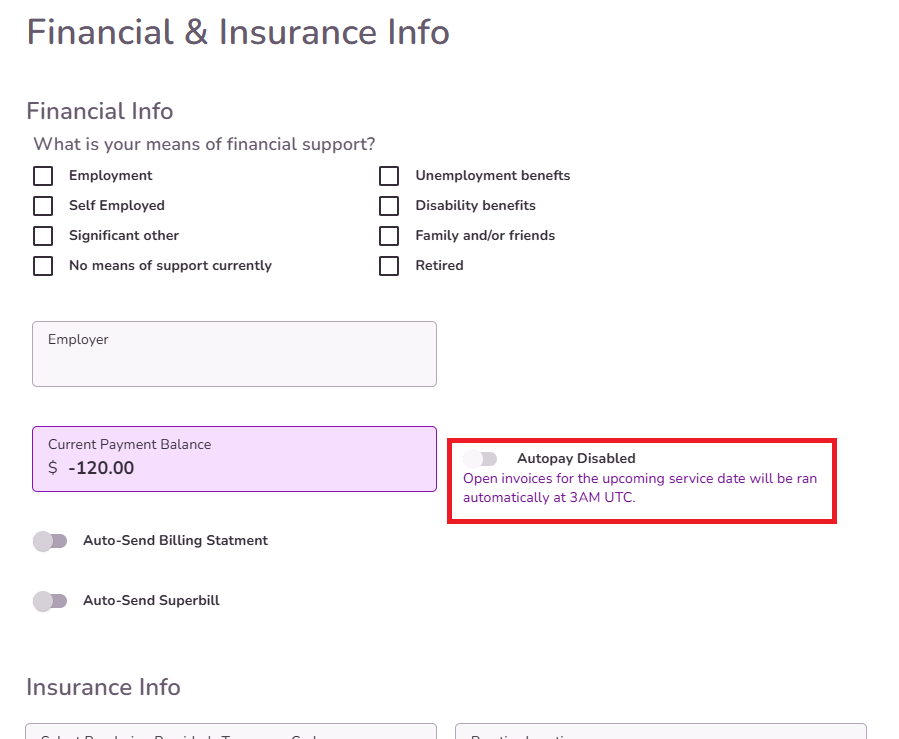
You can also enable AutoPay for the client:
You can customize whether billing statements and superbills are automatically sent for each client. These will be sent on the 15th of each month and will include information from the previous month.
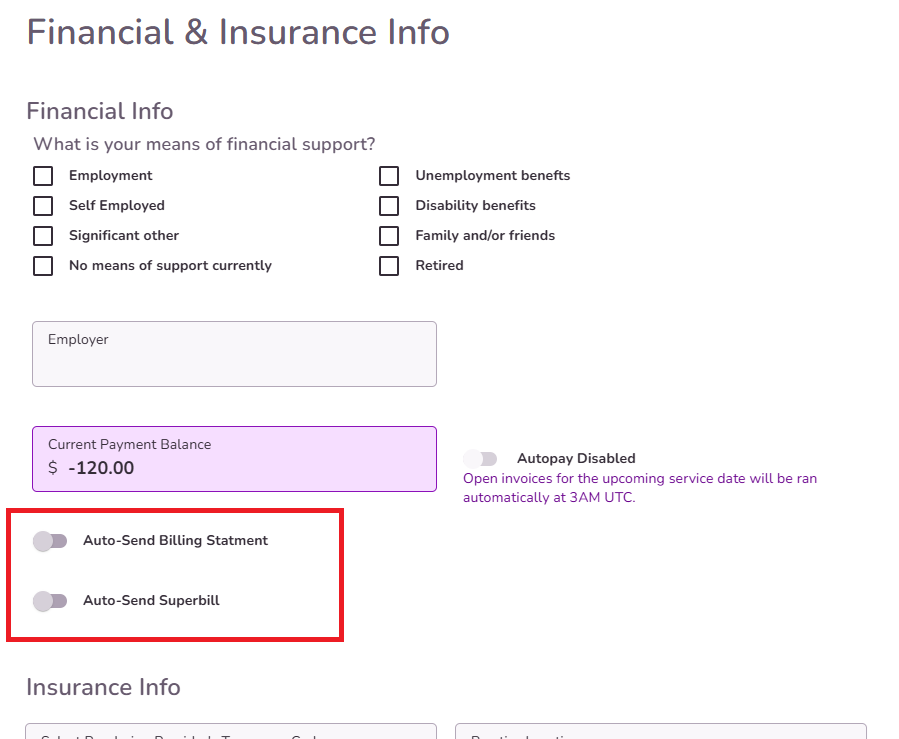
Note: These features must be enabled first in Practice Manager.
For additional details, please refer to the guides below.
How To Enable Auto Send Of Superbills
How To Enable Auto Send Of Billing Statements
- Insurance Info
Here you can select the Rendering Provider's Taxonomy Code.
NOTE: The Taxonomy code can be added in the Practice Settings. If you are an Admin and would like to learn more about editing your Practice Settings, click here.

Set a specific Location for the client.
Click here to learn more about Locations in TiQ

Enable/Disable Insurance payer.
NOTE: When you choose to disable an insurance payer, it remains present for reference but won't be used for claim generation. Upon re-enabling an insurance payer, the payer order field adjusts its available options based on the currently active insurances in the client profile.

Add Insurance information:
- Upload Front and Back of Insurance Card
- Select the Payer Order
- Select the Insurance Company
- Select the Relationship to Insured
- Add Insurance Member ID
- Add Insurance Group Number
- EPSDT checkbox
NOTE: If the EPSDT checkbox is selected, box 24H will auto-select YES on the claim form. If EPSDT checkbox is not selected, box 24H will stay No by default.

If you need to add another Insurance select the + Add Additional Insurance button
Click here to learn more about adding insurance info for your client.

- Here you can also add and edit the following:
- Co-Insurance %
- Lock Co-Pay
- Lock Deductible
NOTE: Coinsurance, Copay, and Deductible field amounts will be auto-filled from verification of benefits or can be recorded manually for each client - this information will autofill your options for client invoices when scheduling appointments.

- Add pre-authorized services
Sometimes, insurance providers will pre-authorize a certain number of instances of a service for a client.
NOTE: This information will pre-fill box 23 on the CMS-1500 Claim Form.

Select the + Add Additional Pre-authorization button to add more services

- Insurance Billing Notes:
Here you can put additional information you need for this client.
NOTE: This information is only visible to you, not to the client.

- Client Relations Manager Tab
- Here you can add a contact related to the client profile

Adding a client relation as a Referral Source will display this information in the client’s profile overview.
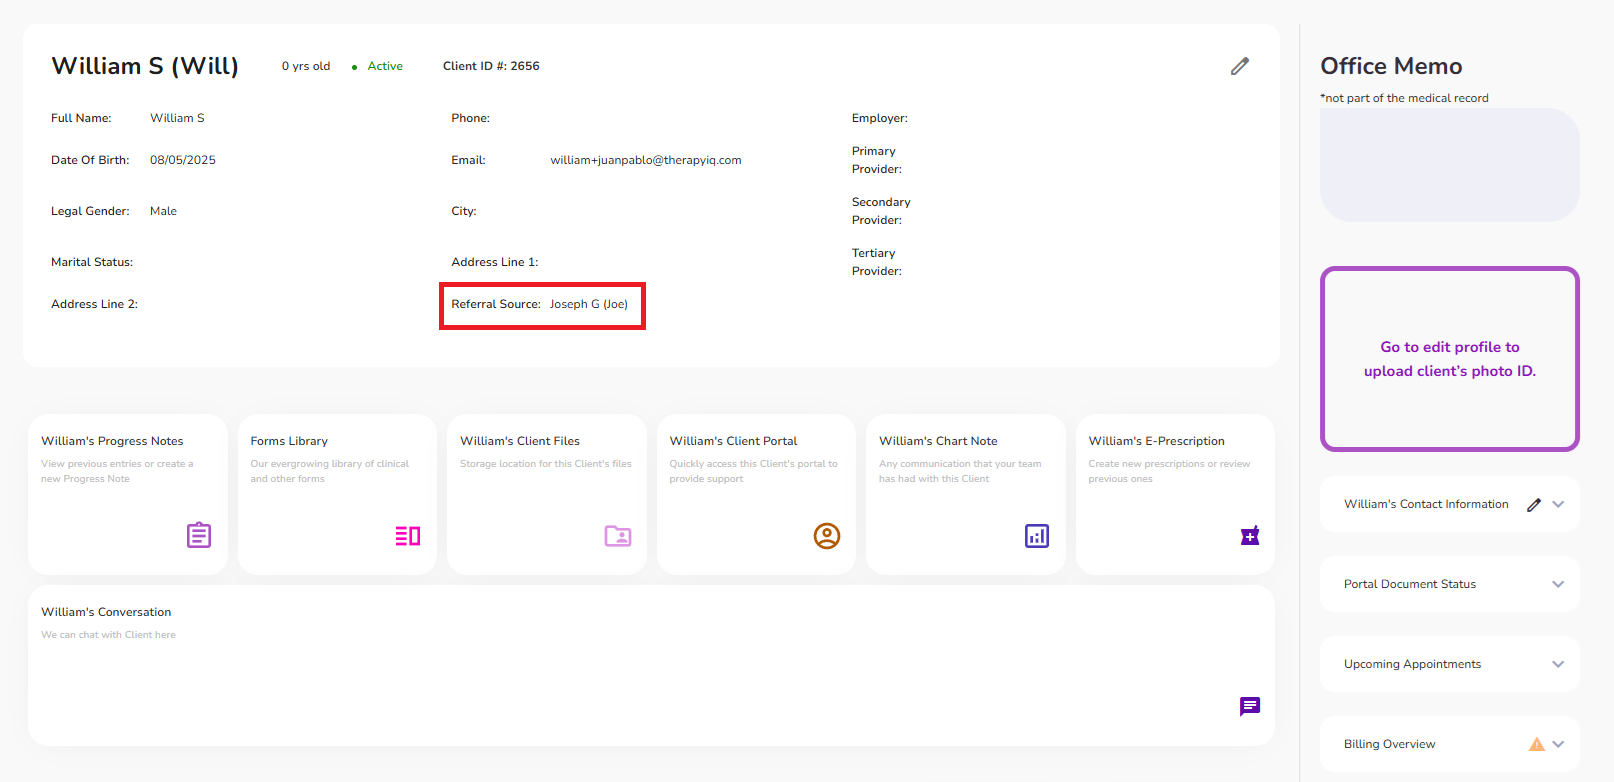
Click here to learn more about the Client Relation Manager.
- Medical & Emergency Info tab
Here you can add the Medical and Emergency Info for your client

IMPORTANT: The Medical Precautions and Allergies added here, will show up in red on the main client profile page.

- To add a Nearest Crisis Center, select the +Add Another Center button

- Clinical Info tab
From here you can do the following:
- Assign Treatment Team
NOTE: The Role field will auto-fill with the correct role depending on the Team Member you select.
IMPORTANT: If the Primary Provider has a supervisor(s) assigned, the supervisor(s) will also be added as part of the client’s treatment team automatically.

If you need to add another provider to the client select the + Add Provider.

- Assign Services
NOTE: Services are assigned from the Client’s Services Agreement, or you can add more by selecting the checkboxes. Click here to Understand how to assign services and fees to a client.

- Assign Diagnostic Codes
Diagnostic Codes are autofilled from the Client’s Treatment Plan. You can also add more manually.

- Portal Settings tab
Here you can:
- Send Portal Invite to Client
- Send Reset Password Email


