Understanding Transcribe iQ
With Transcribe iQ, users can generate AI-powered summaries for both telehealth and in-person sessions. Once enabled, Transcribe iQ captures the session transcript in the background and automatically creates a summary when the provider begins completing a Progress Note.
The Transcribe AI Summary can be reviewed and edited as needed. This guide will walk you through how to schedule appointments and generate AI summaries.
Telehealth Sessions:
Navigate to the Calendar iQ and create a new telehealth appointment. Click here to understand How To Schedule A New Video iQ Session
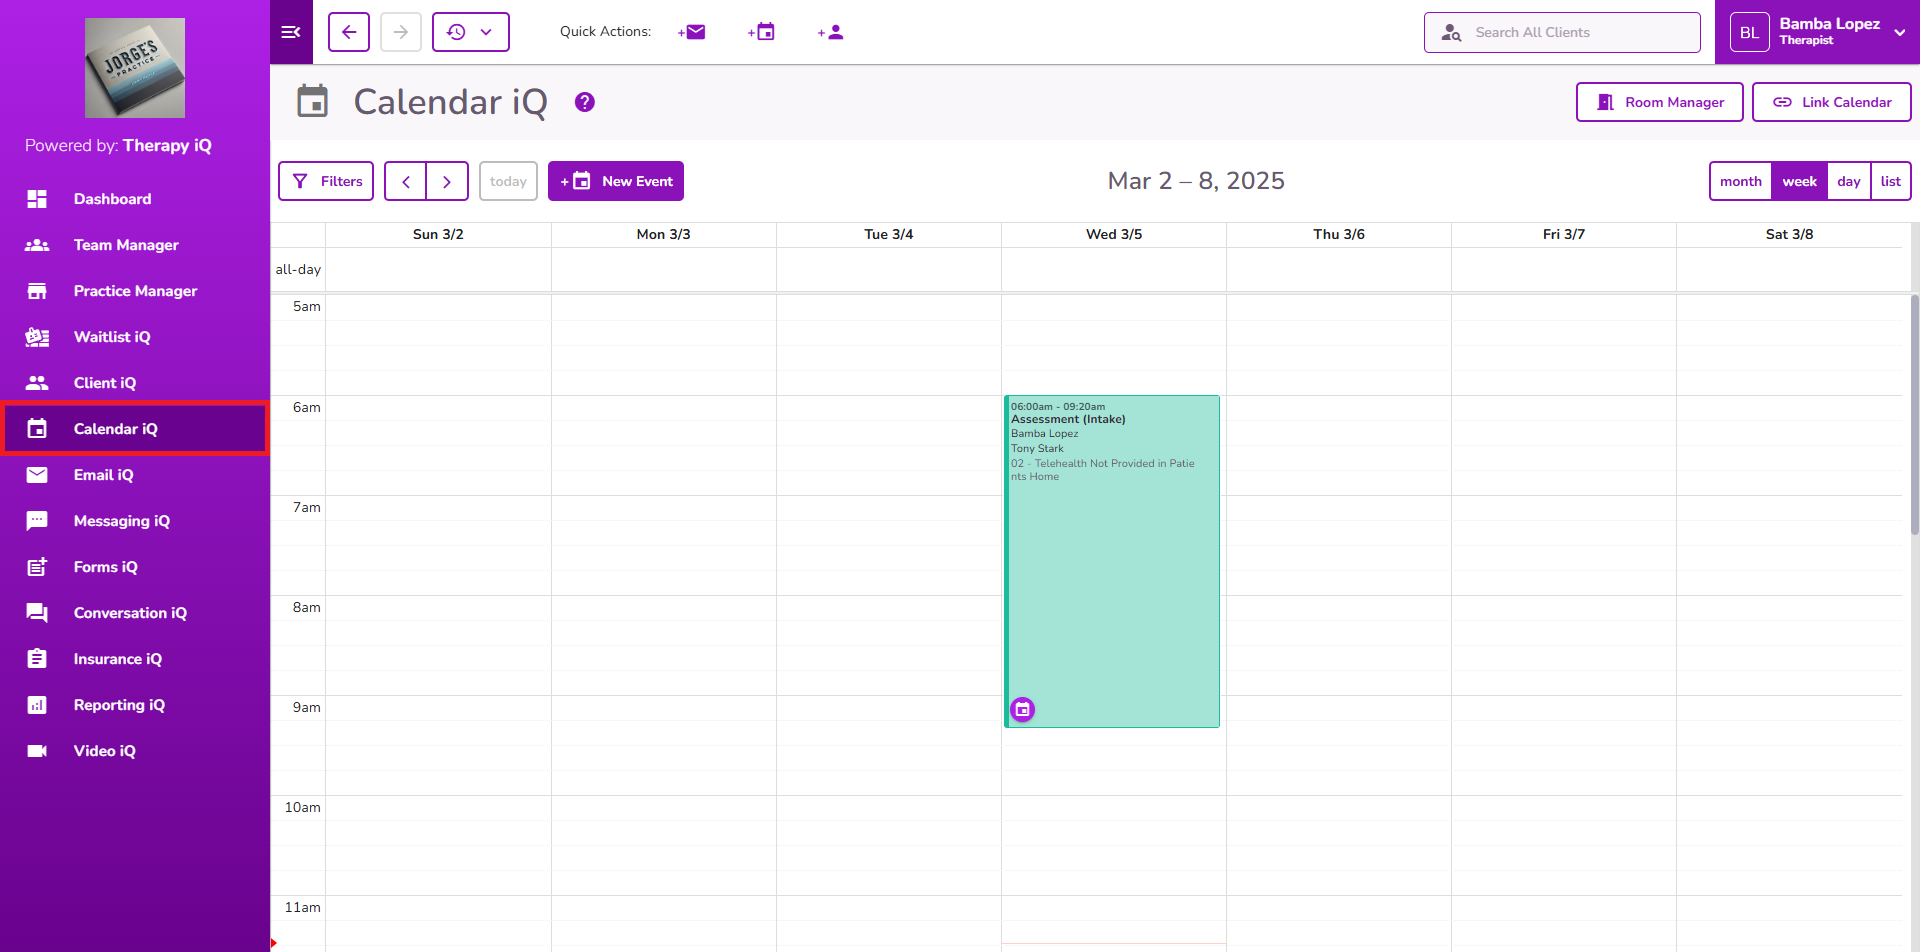
Note: Assign the provider who has “Transcribe iQ” permission enabled.

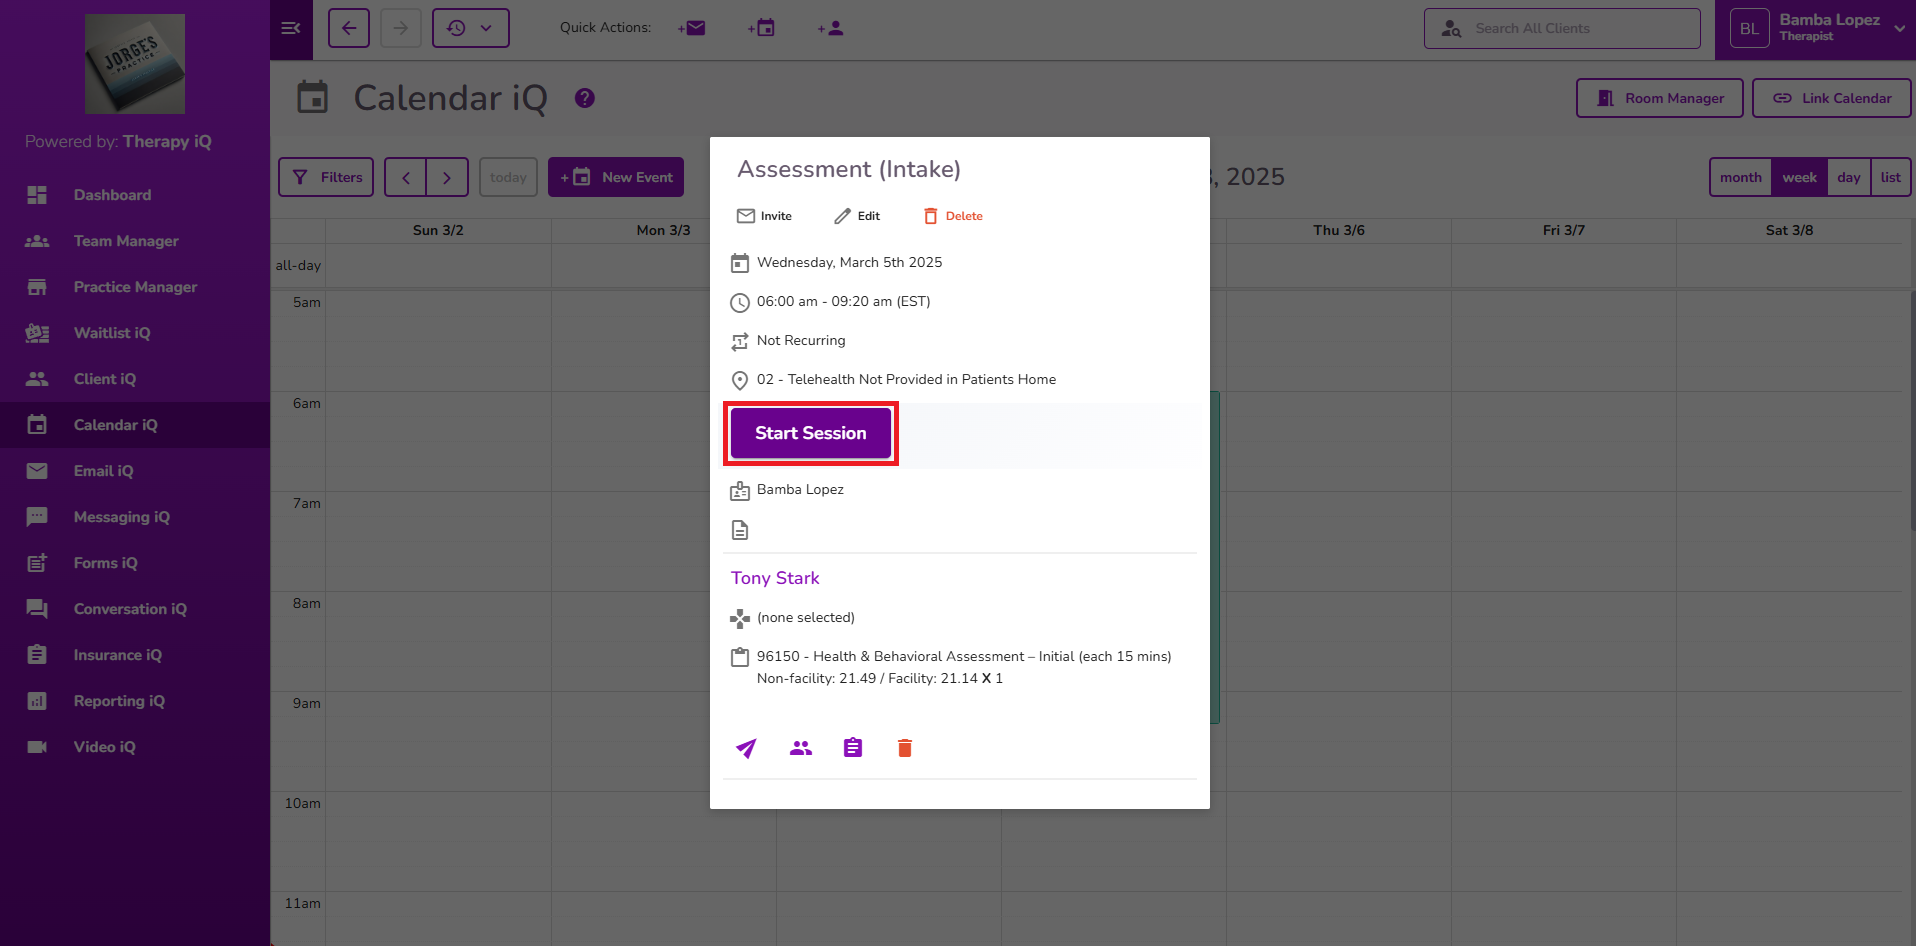
Start the Video iQ session from the scheduled appointment.
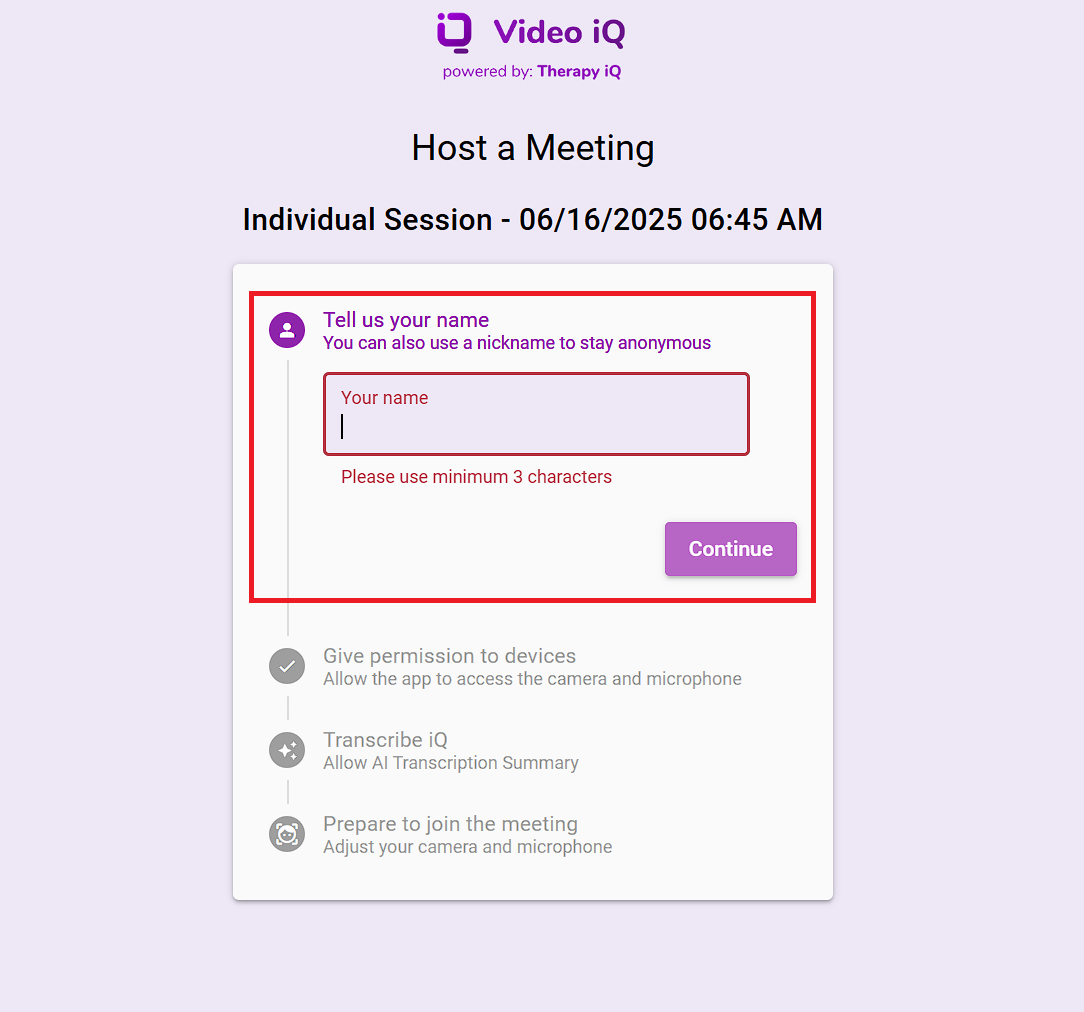
The Video iQ session will open the settings in the host a meeting page, type your name and select the continue button.
Note: Multiple whitespaces will be removed and a minimum of 3 characters should be used for the name.
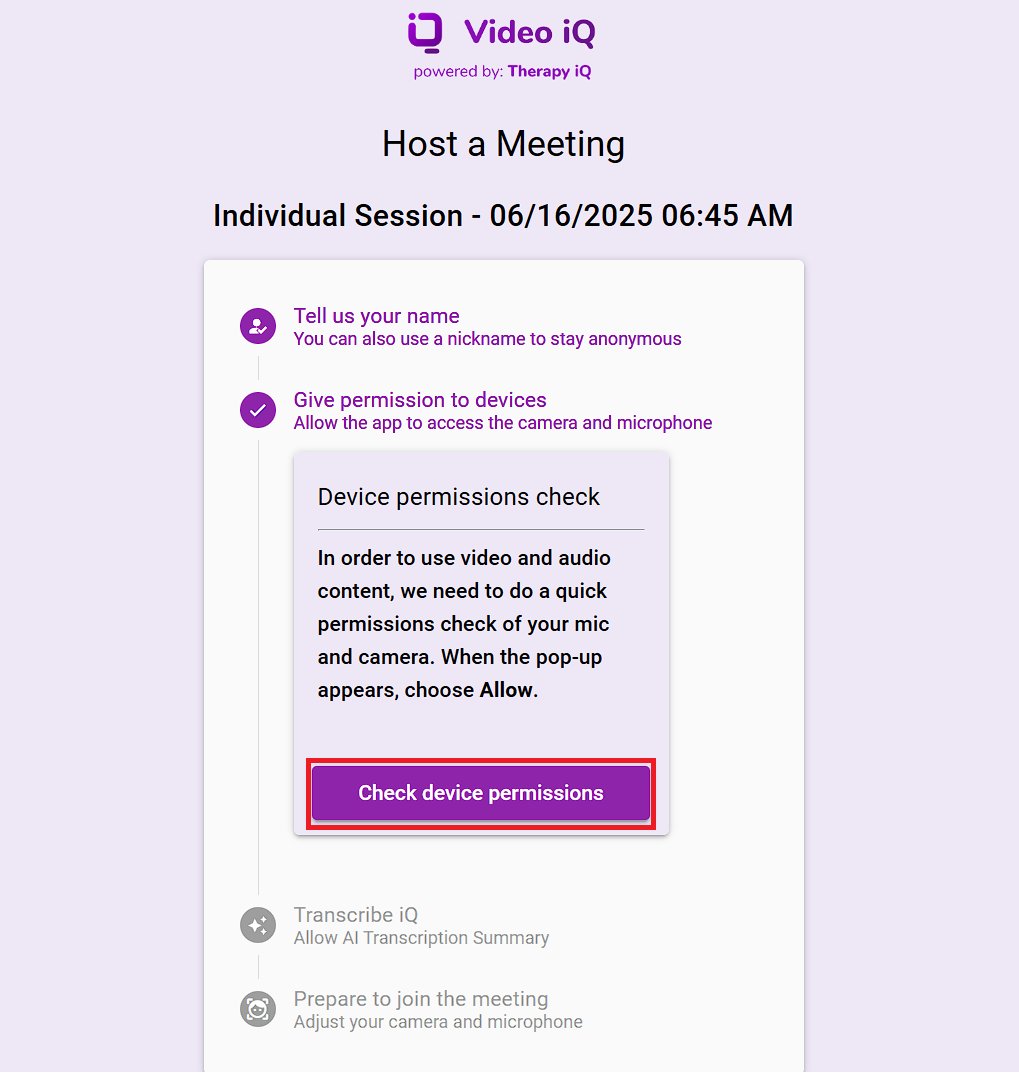
Permit your device by selecting the Check Device Permissions button and allow the app to access your microphone and camera.
The host page will display a new 'Transcribe iQ' step and by default, the AI Sidekick Summary checkbox is selected.
Select the Confirm button.
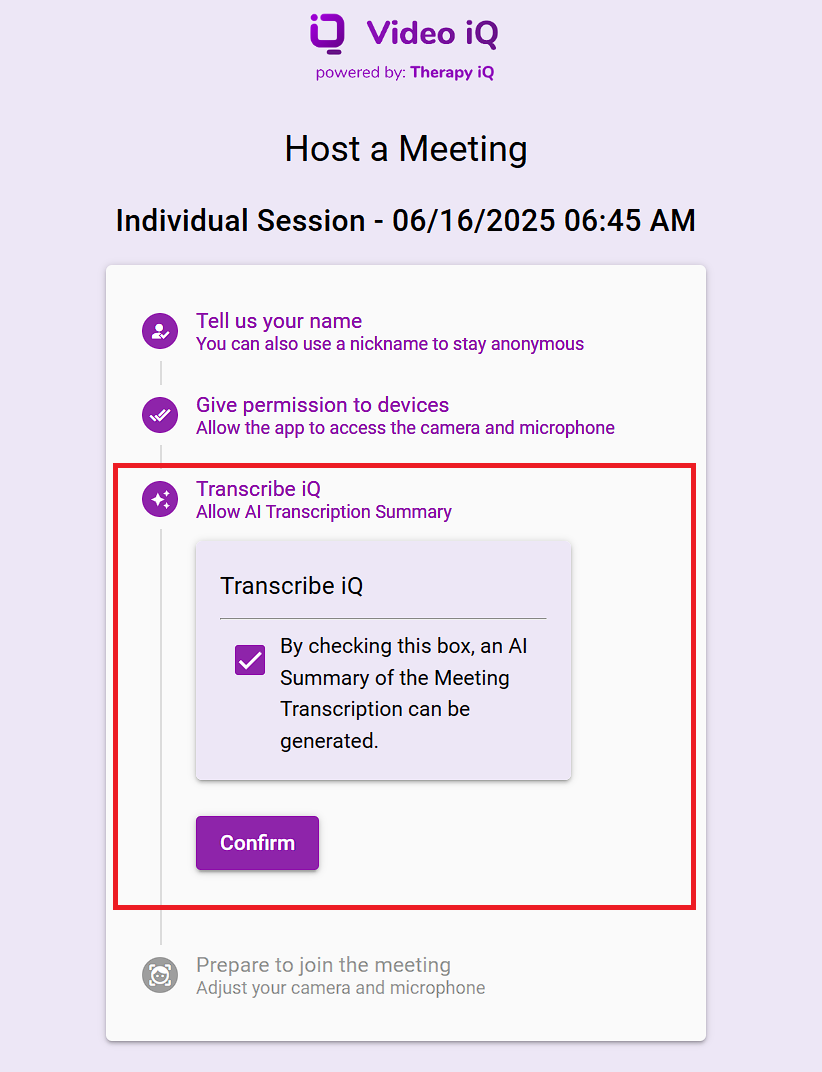
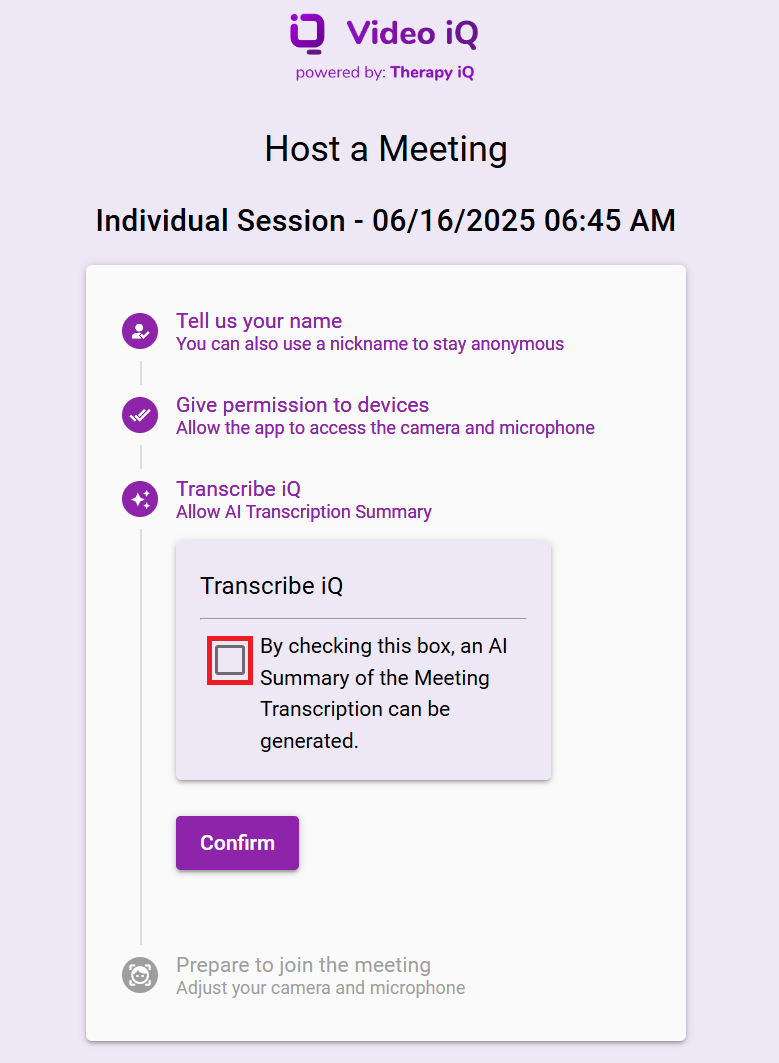
Note: If needed, the host can disable AI transcription before starting by unselecting the Transcribe iQ checkbox.
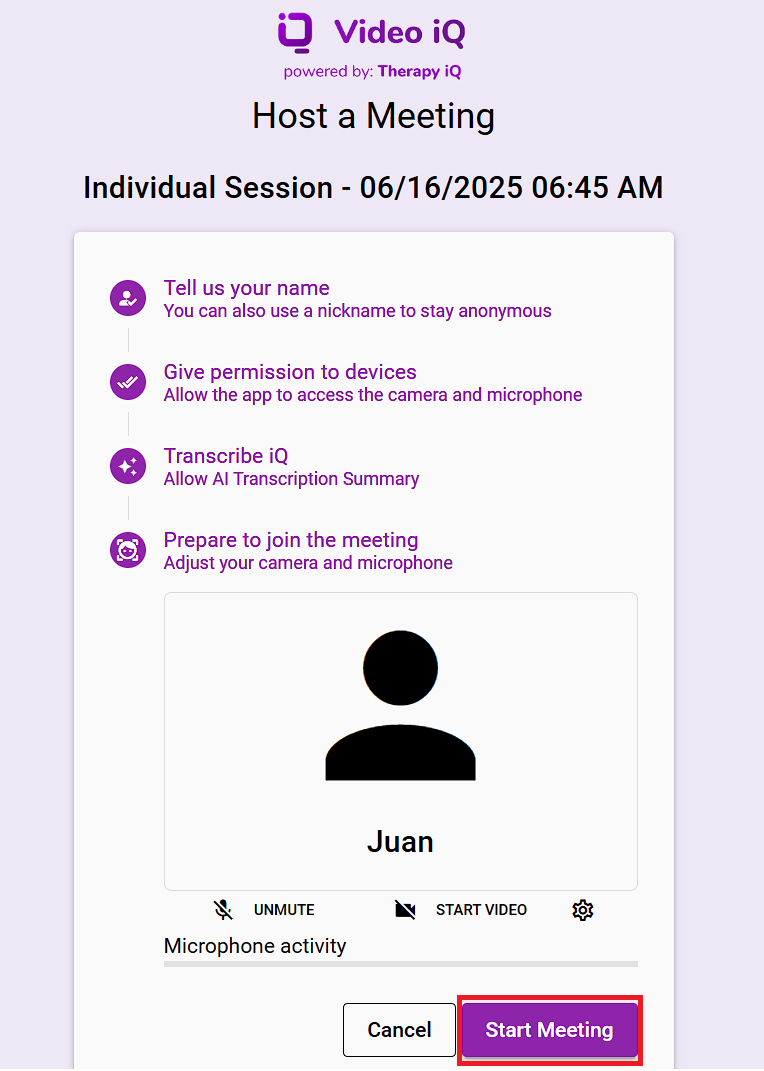
Prepare to join the meeting, adjust your microphone and camera before starting the meeting.
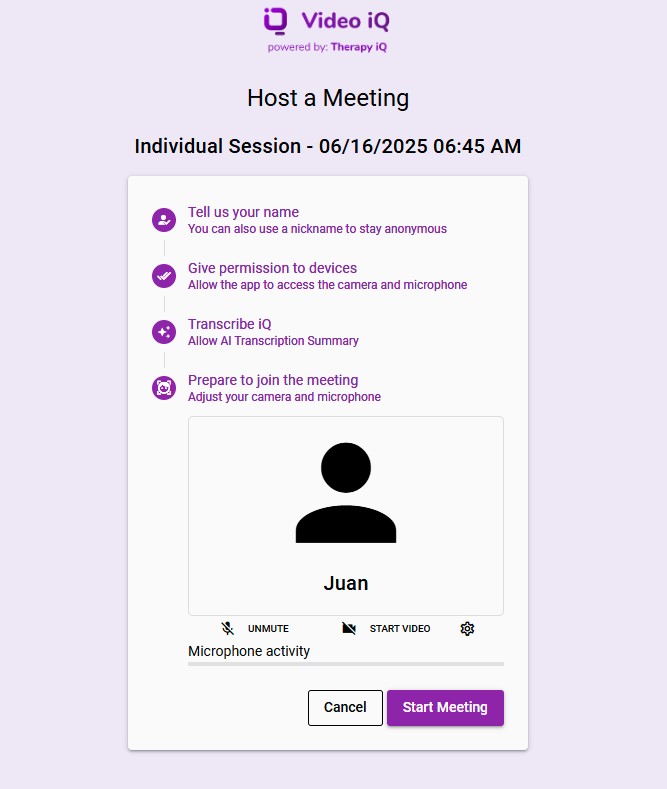
Click the Start Meeting button to start the telehealth session.
Note: If enabled, Transcribe iQ AI Summary will start automatically active.
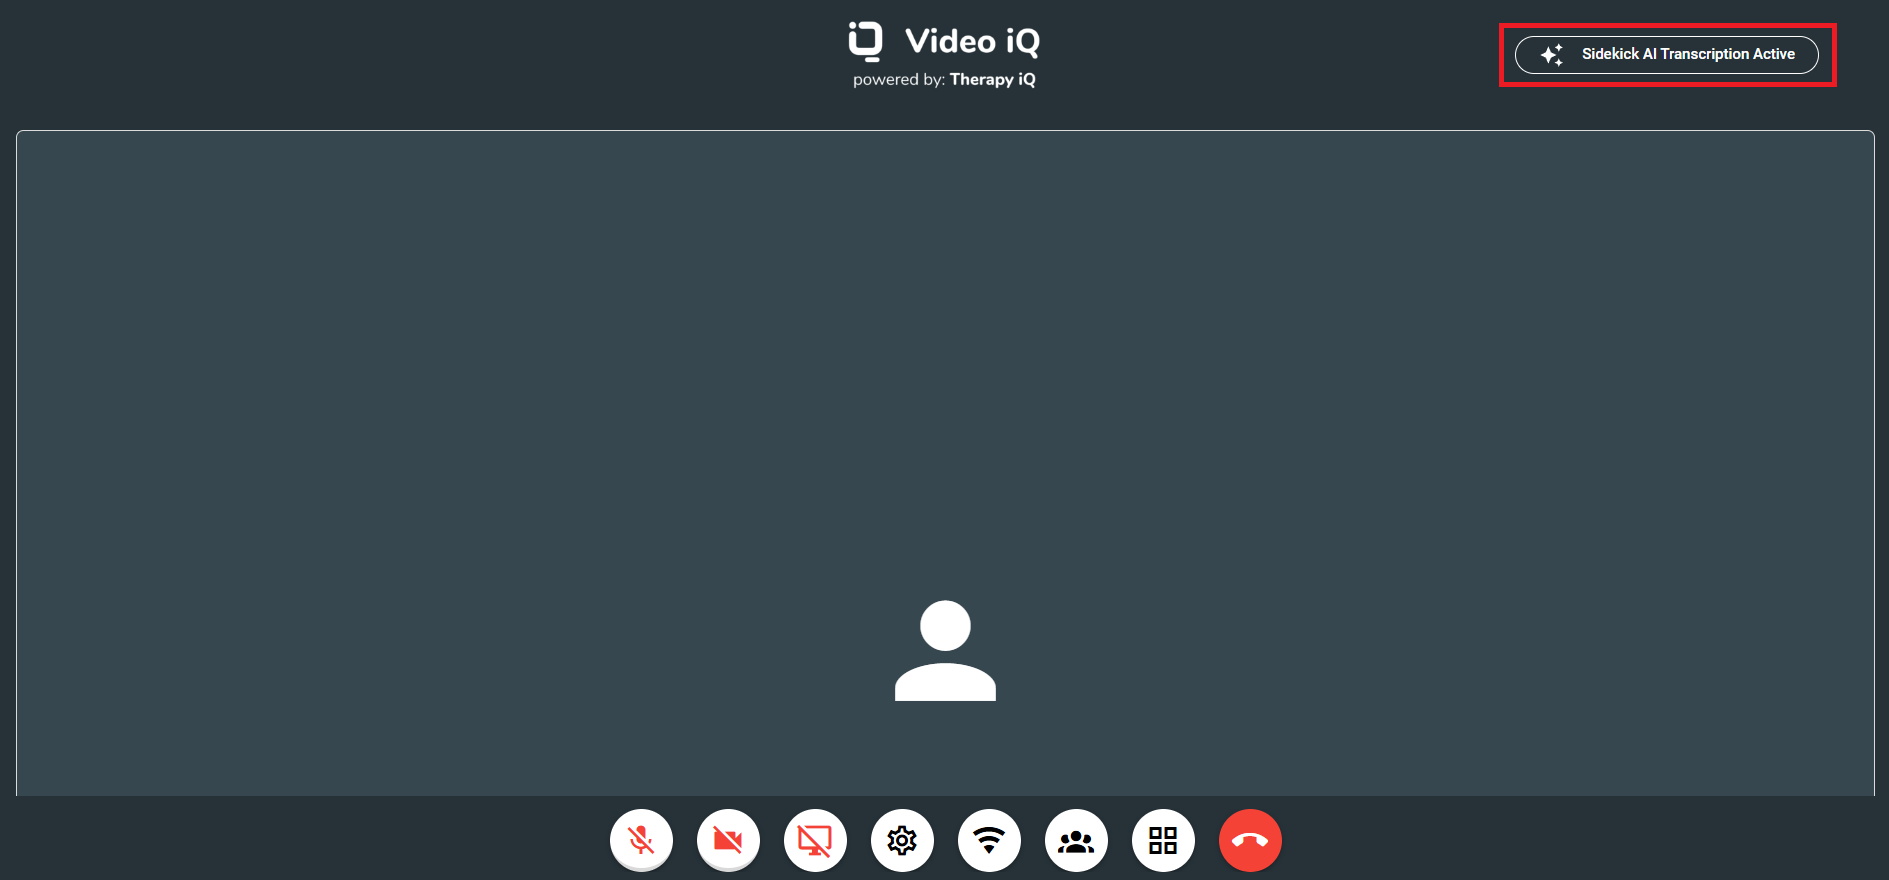
Once the provider starts the session and the Transcribe iQ checkbox is enabled, a message will appear in the top right corner of the provider's screen indicating that AI transcription is active.
When a participant joins a Video iQ session with Transcribe iQ AI Summary enabled, an acknowledgment pop-up appears.
The pop-up notifies them that a AI Summary is being generated.
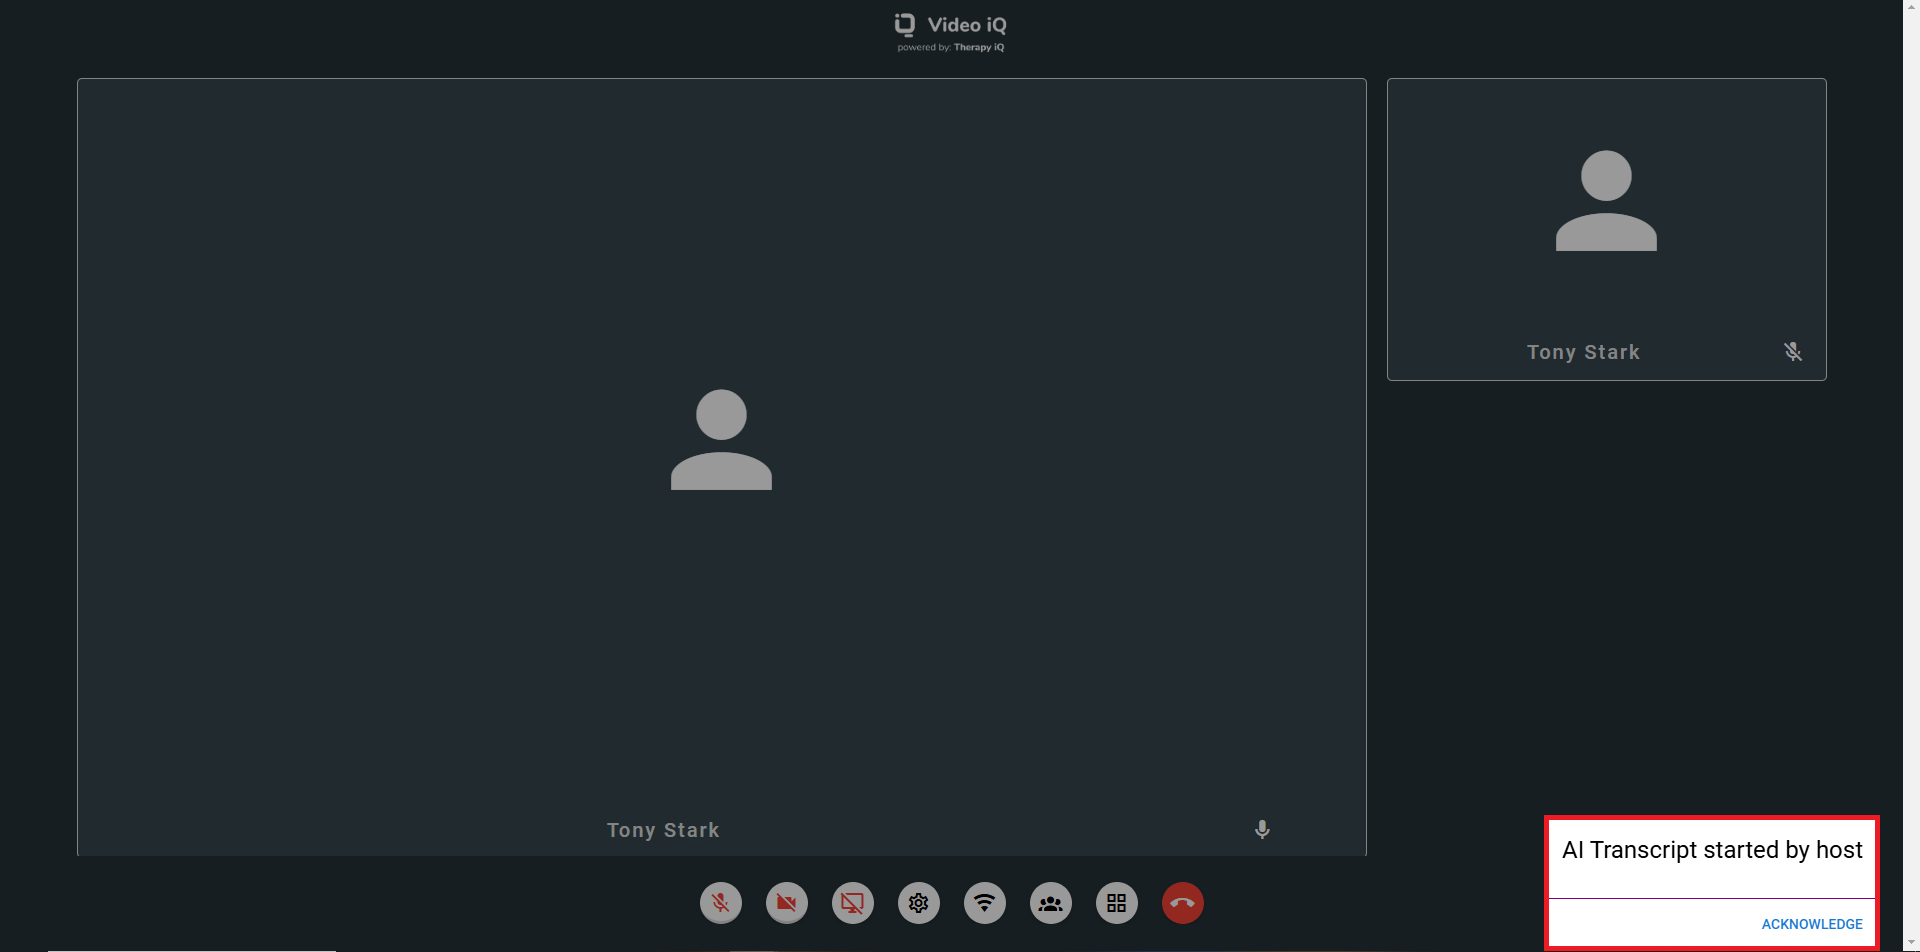
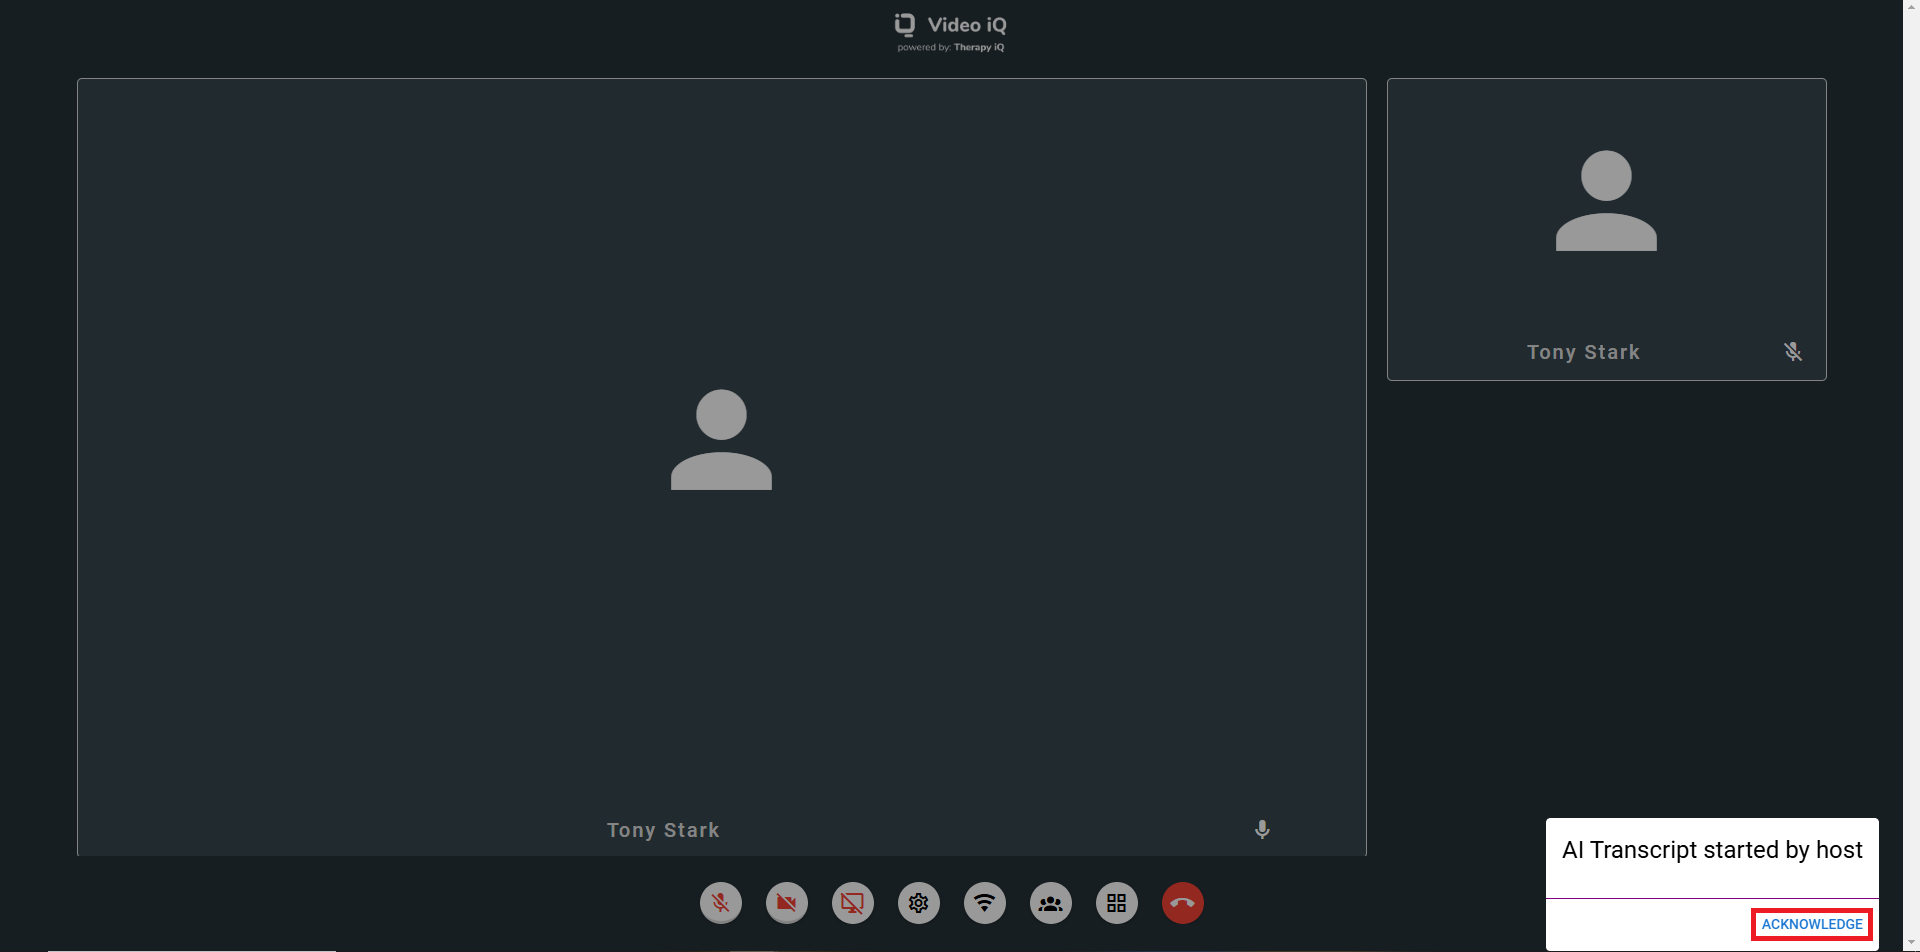
The participant must select the Acknowledge button to continue.
Note: If they do not click the Acknowledge button, the pop-up remains, blocking access to other menu options.
Click on the red phone icon to end the call.
Generating Transcribe iQ AI Summary from Calendar iQ Event
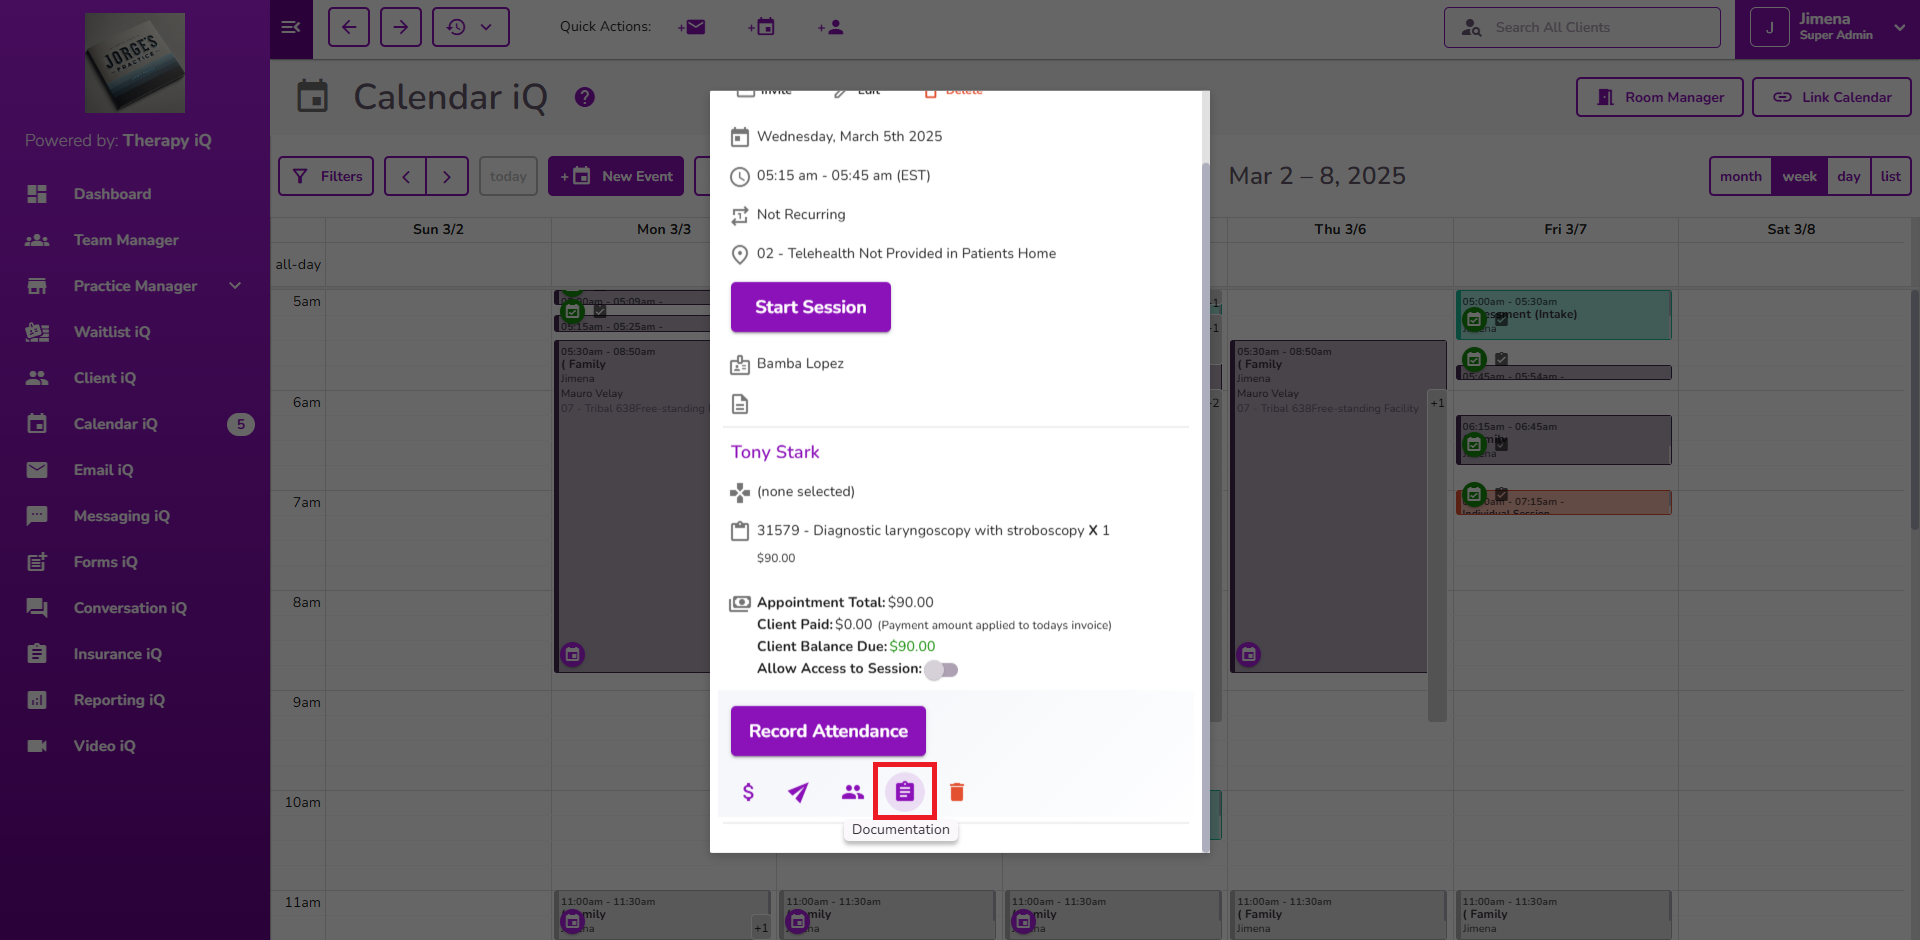
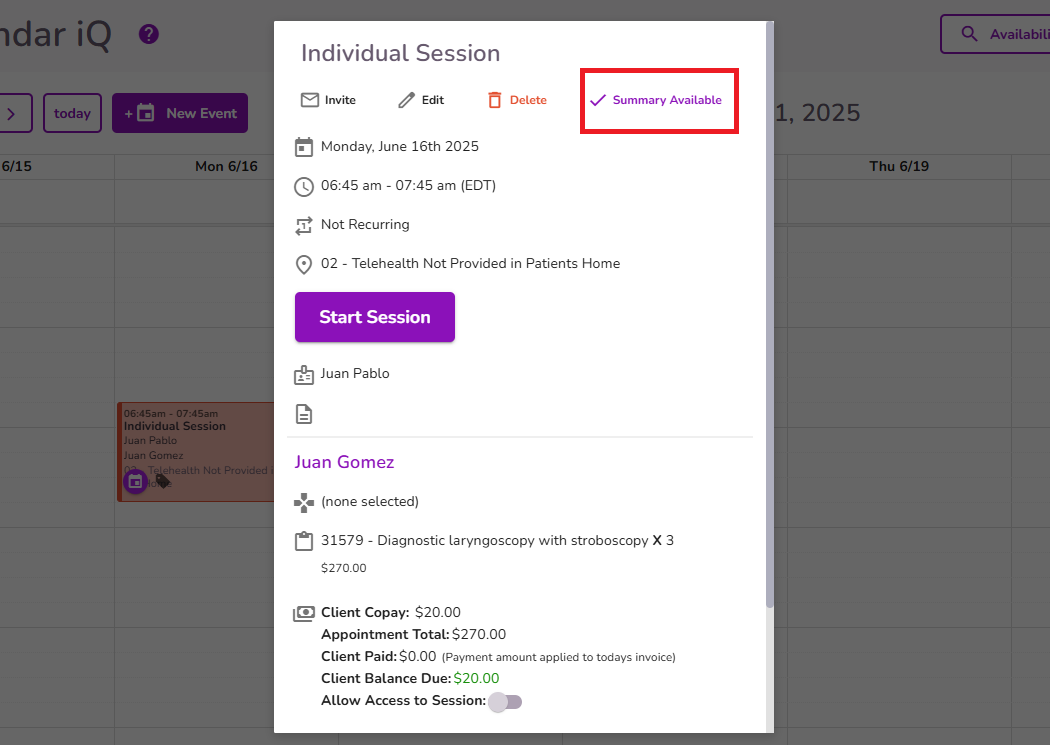
Navigate to Calendar iQ and select the related event.

Click on the documentation icon.
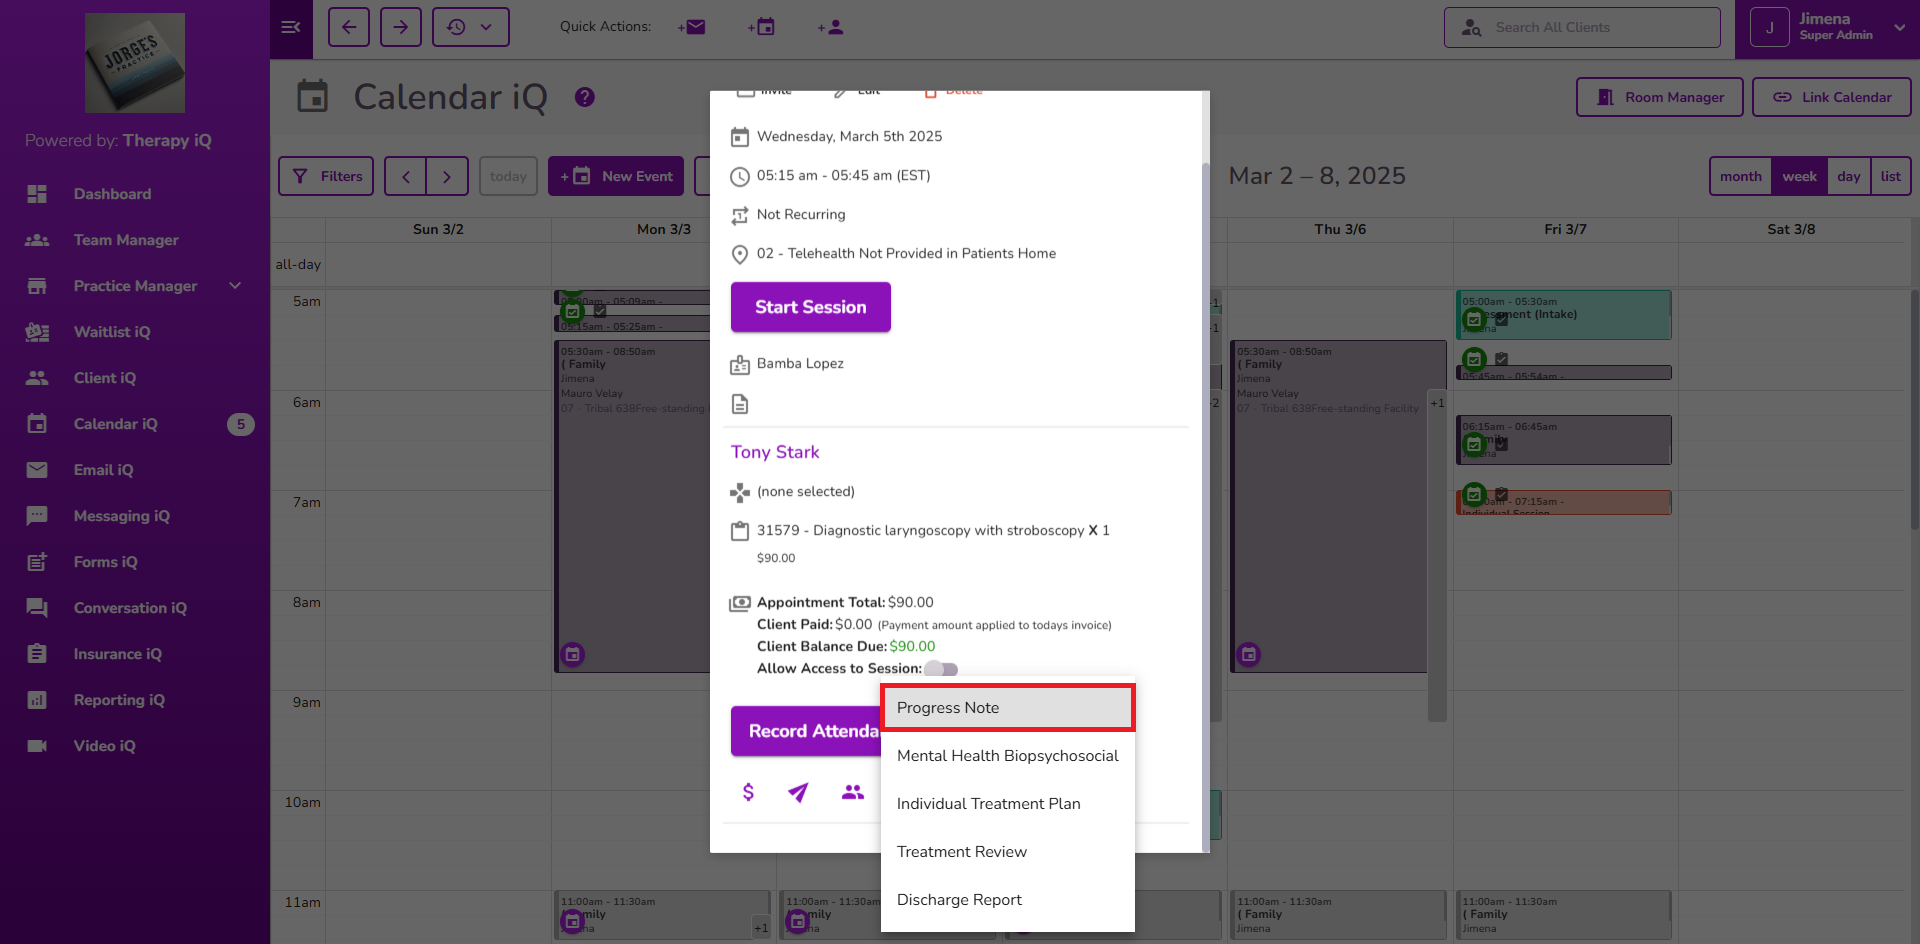
Select Progress Note from the options.
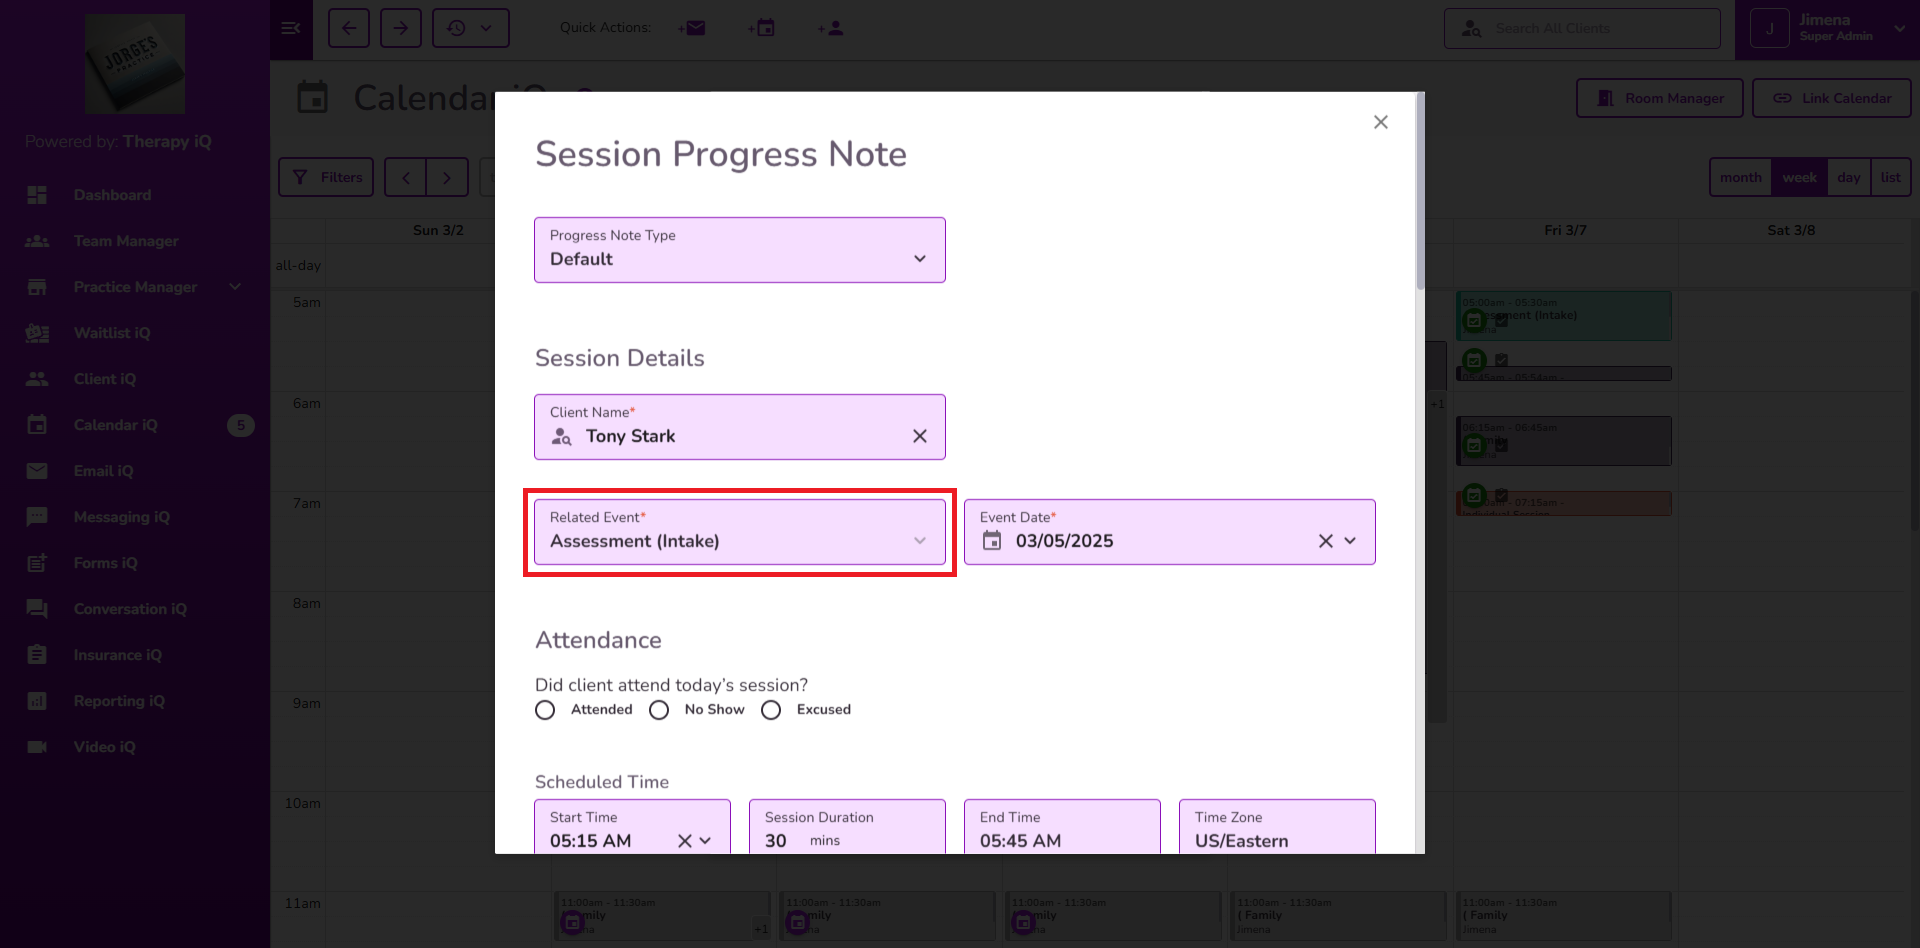
The Progress Note window will pop up with the Related Event auto-populated.
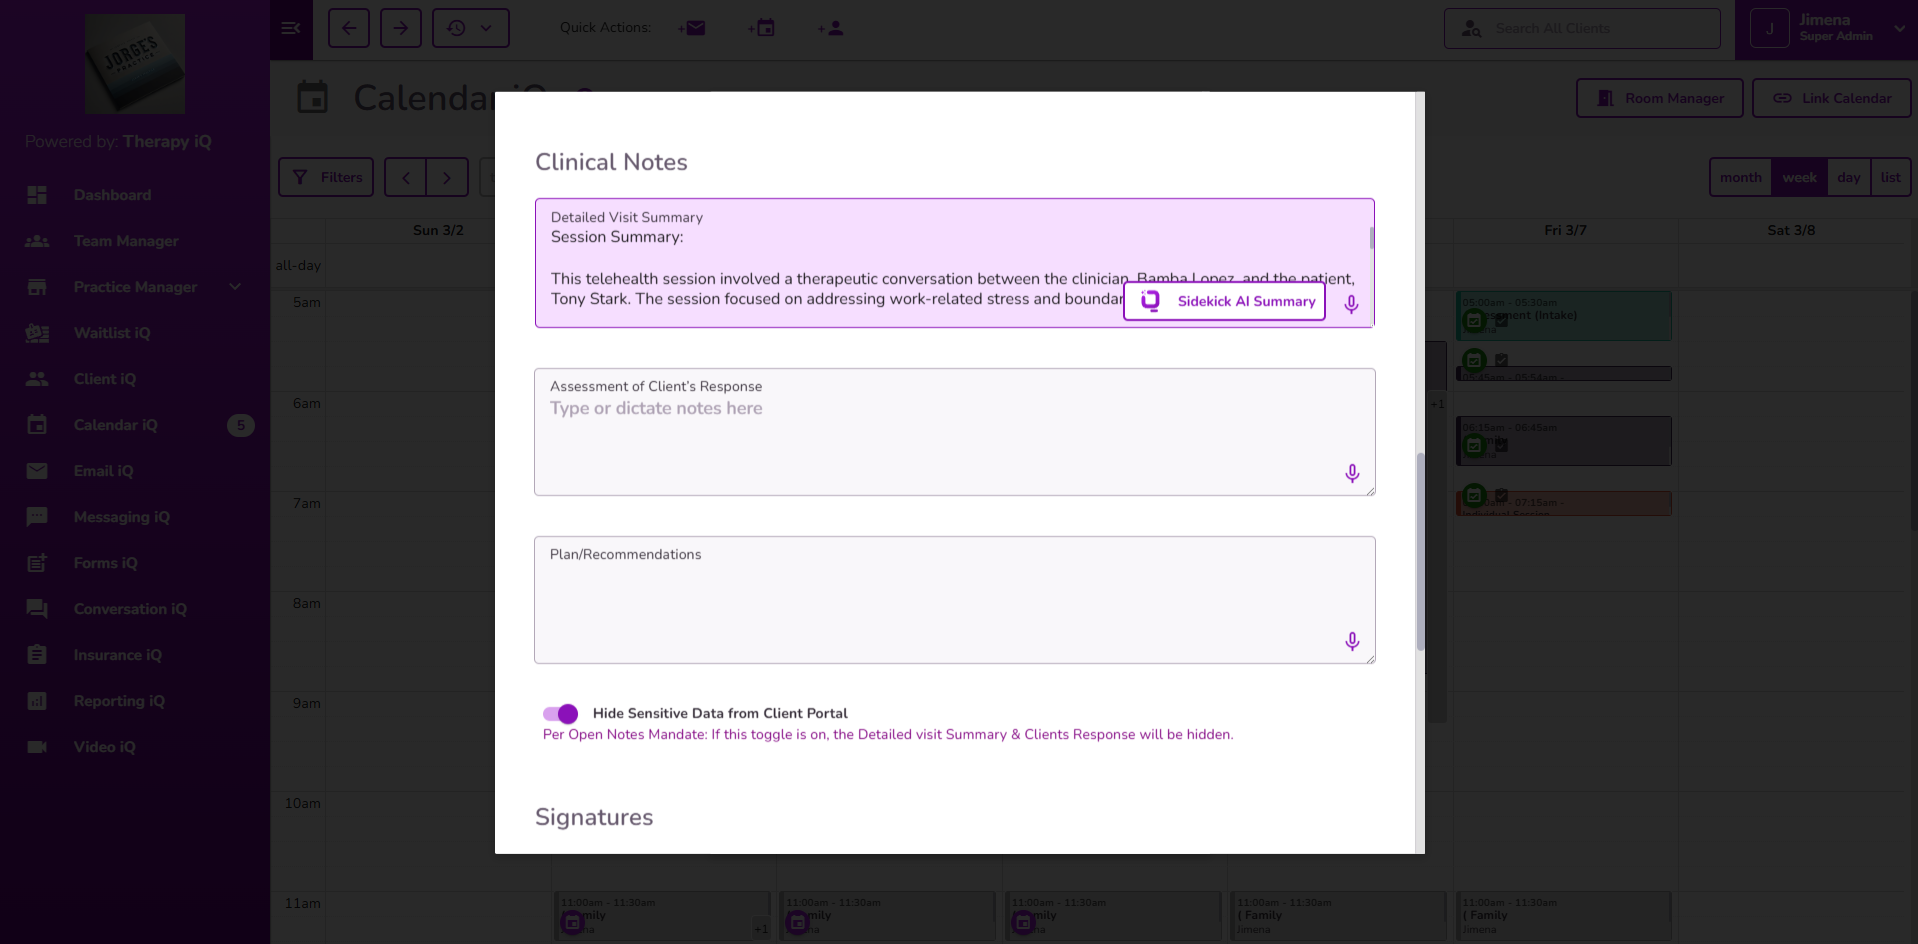
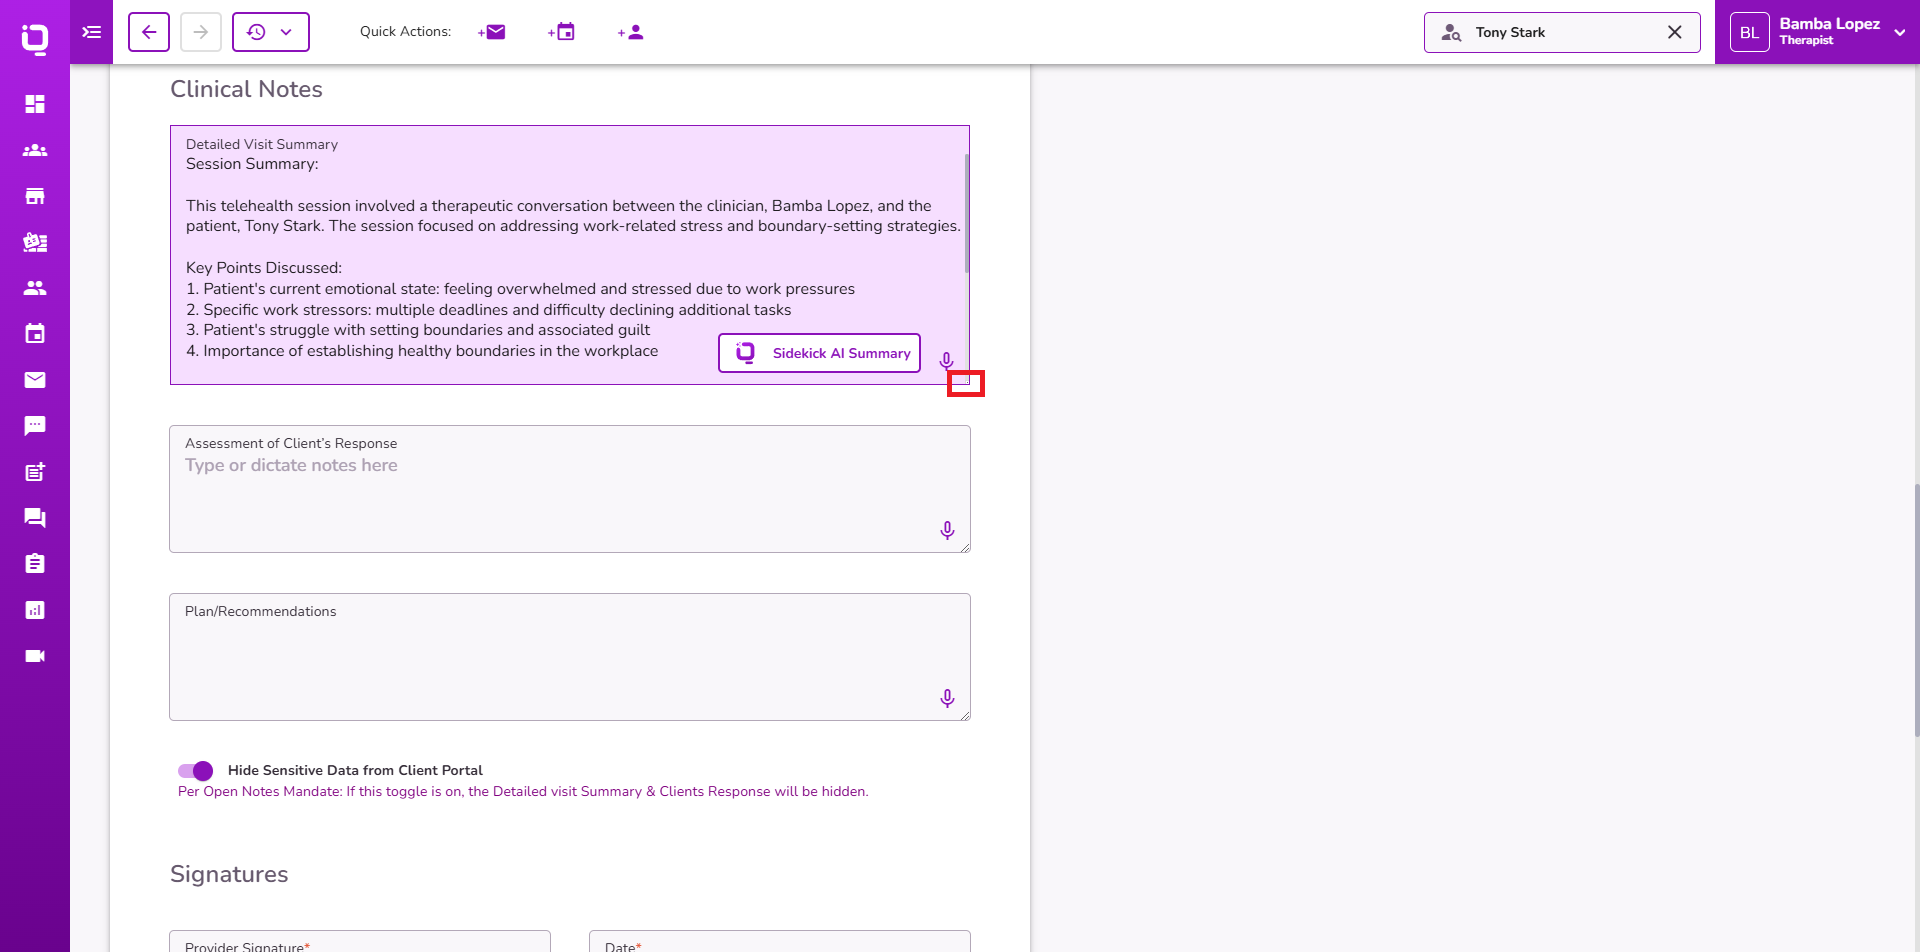
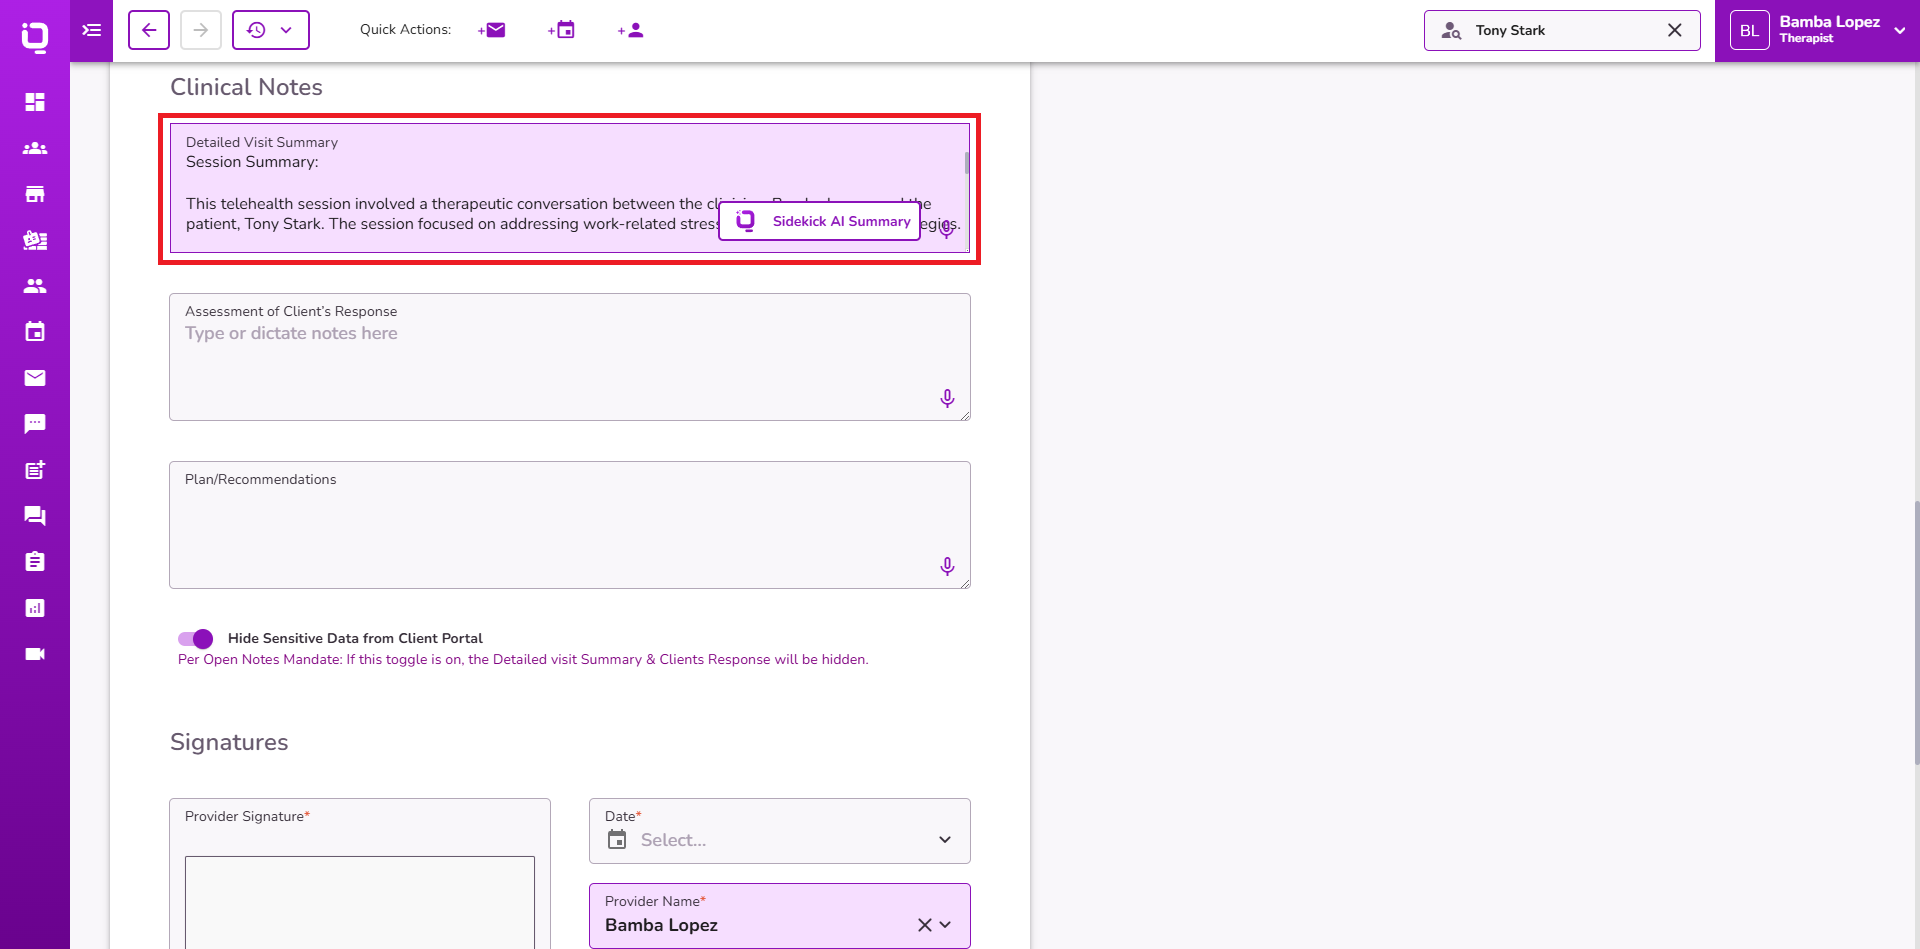
The Transcribe iQ AI Summary is generated in the Detailed Visit Summary field automatically after selecting the related event.
Note: You can edit, refine, or add details as needed.
Important: The Transcribe iQ AI Summary will be available within approximately 2 minutes after the session ends. Please allow this time for processing before accessing the summary.
The Detailed Visit Summary field can be expanded by dragging the right corner at the bottom.
To regenerate the transcription, please follow the steps outlined below.
- Unselect the related Video iQ session from the progress note.
- Reselect the same session to trigger summary regeneration.
Note: If any edits are made to the Transcribe iQ AI Summary and you generate again the Transcribe iQ AI Summary the edits will be removed.
Once the transcription is generated, a message will appear in the top right corner of the appointment.
Generating Transcribe iQ AI Summary from the client’s profile
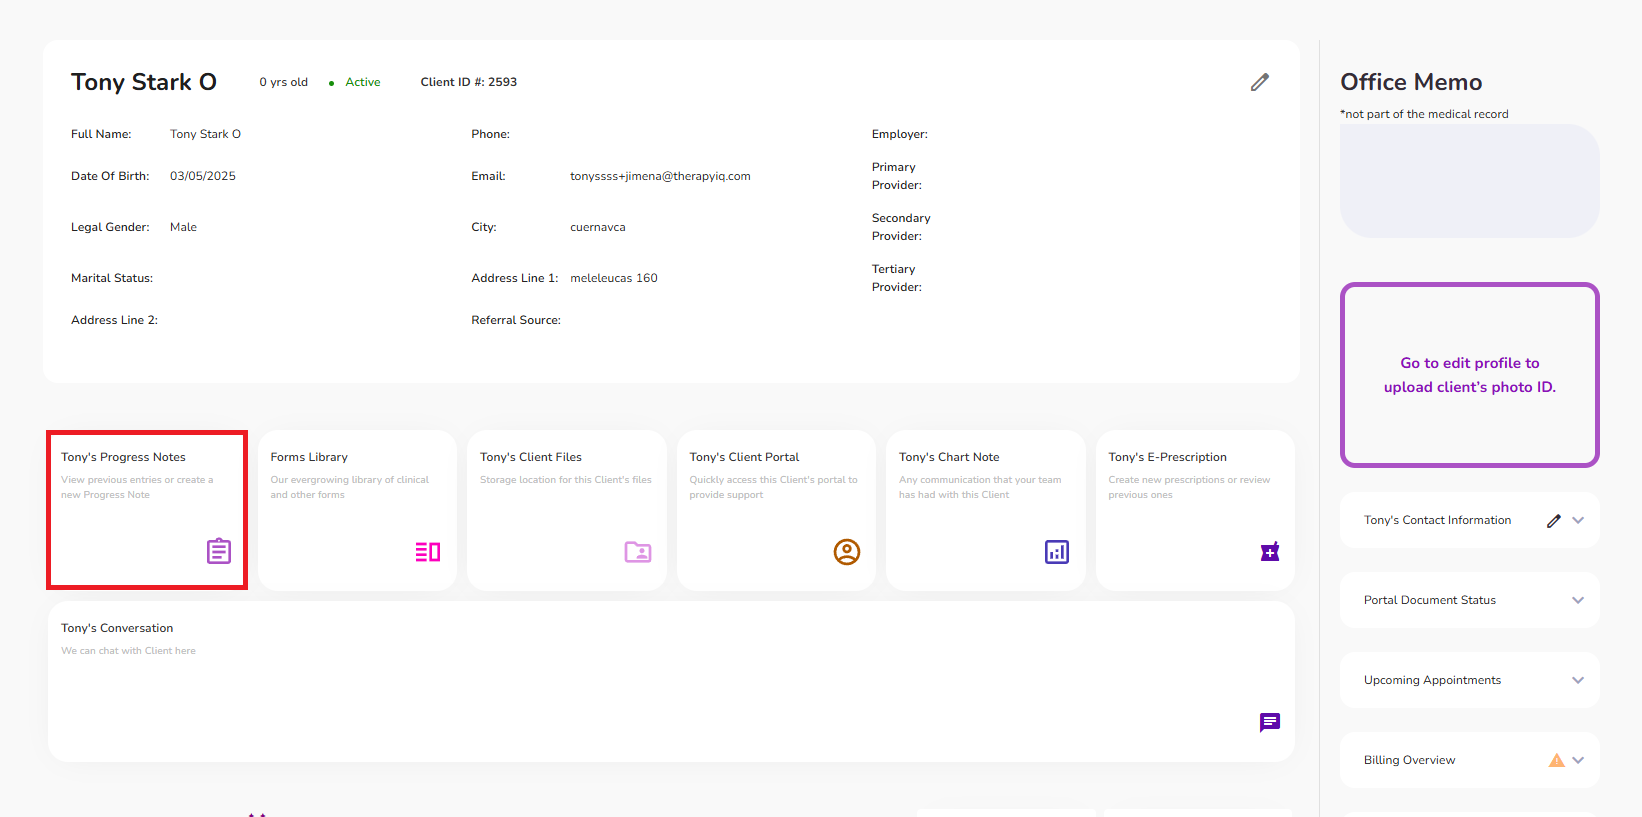
Navigate to the related client profile and select the Client’s Progress Notes.
Select the +New Note button to create a new Progress Note.
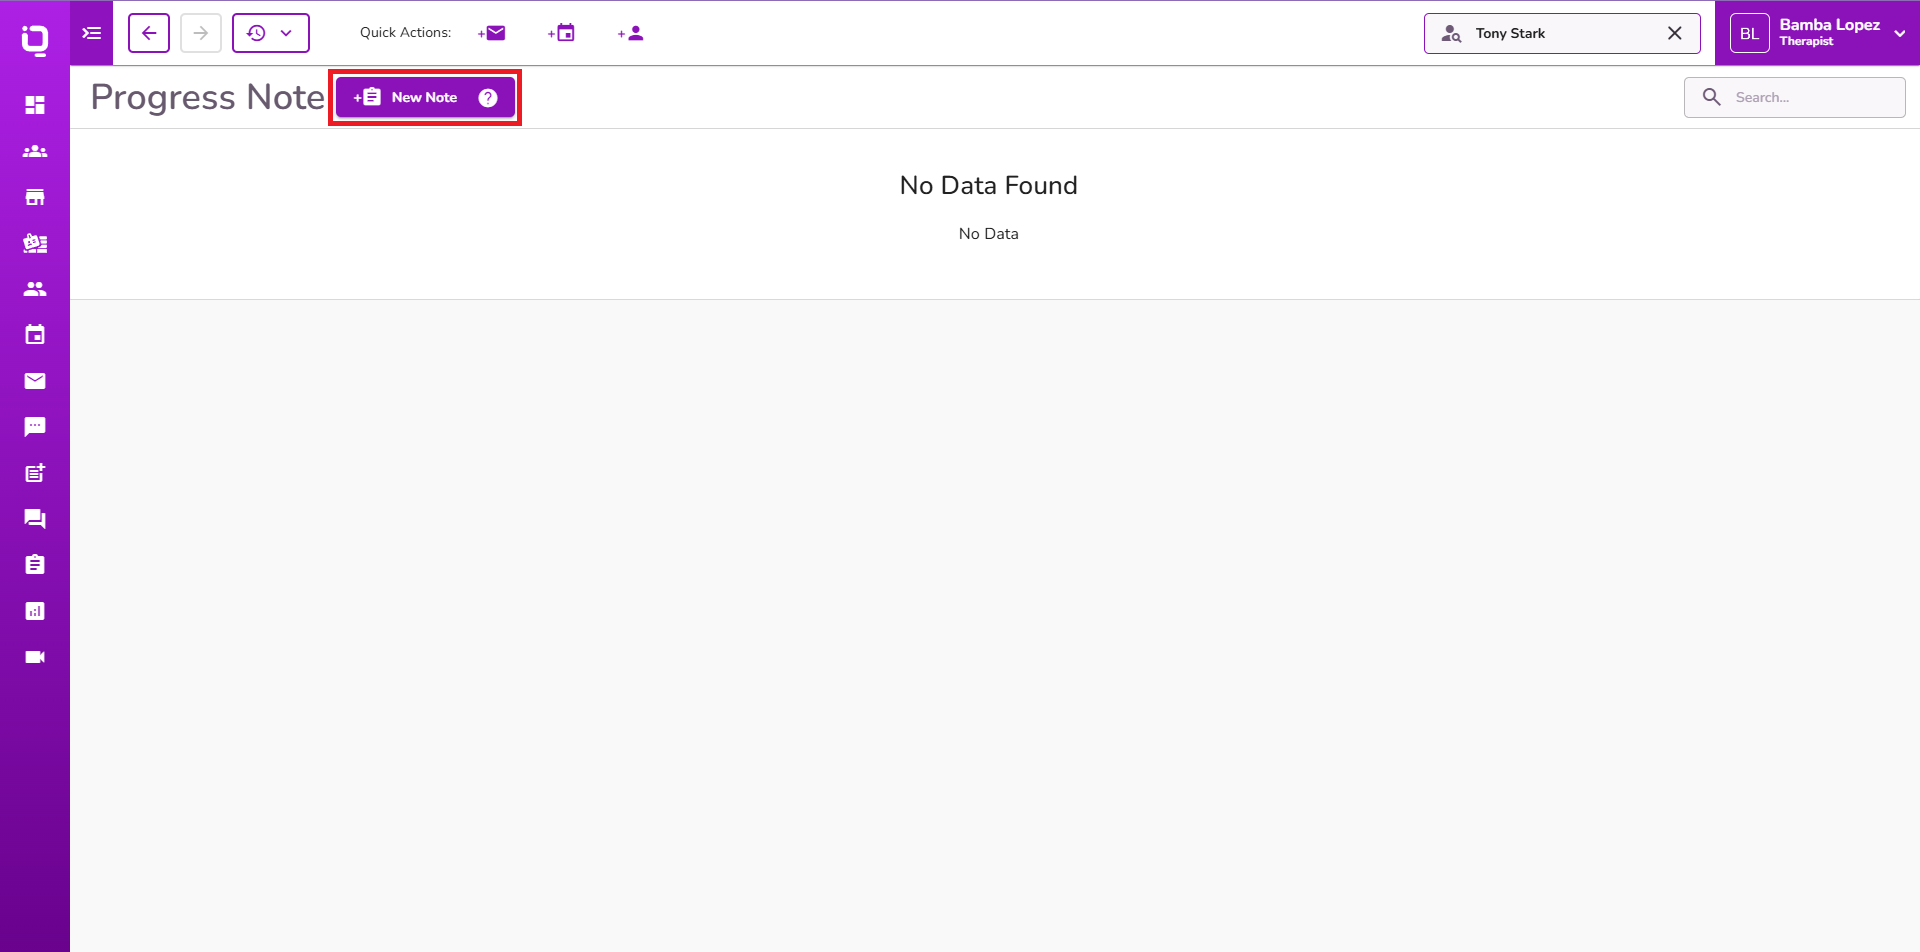
Select the related event on the Progress Note.

The Transcribe iQ AI Summary is generated in the Detailed Visit Summary field automatically after selecting the related event.
Note: Users can edit, refine, or add details as needed.
Click here to learn more about Transcribe AI for in-person sessions.
