How To Use Transcribe iQ For In Person Sessions
With Transcribe iQ, users have the ability to generate AI-powered summaries for in-person sessions. Once enabled, Transcribe iQ captures the session transcript in the background and automatically creates a summary when the provider begins completing a progress note. The Transcribe AI Summary can be reviewed and edited as needed.
This guide will walk you through how to schedule appointments and generate AI summaries:
Navigate to the Calendar iQ feature and create a new In-office appointment.
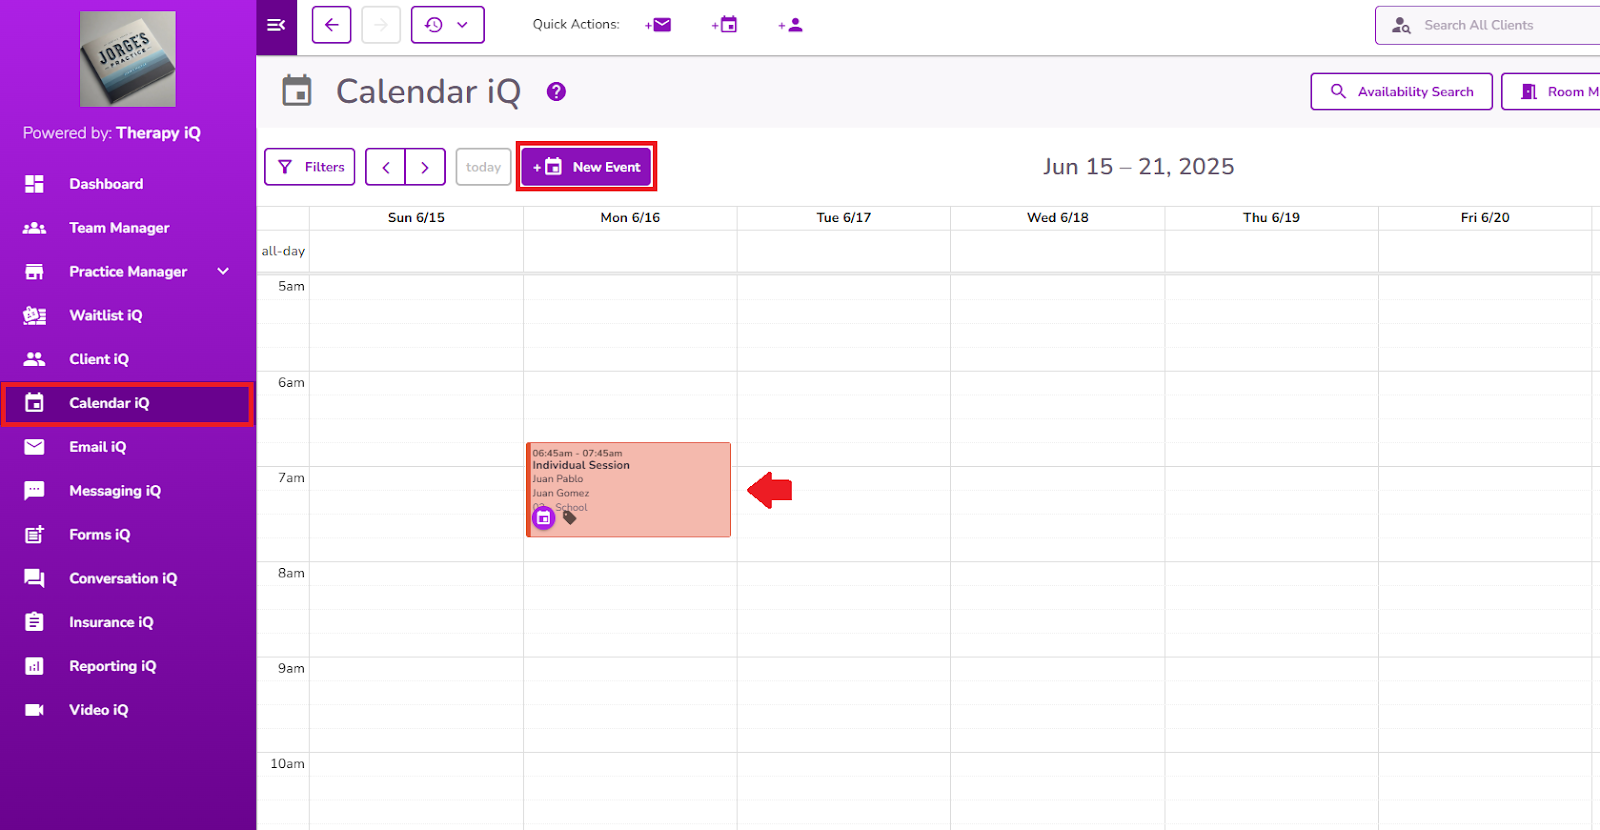
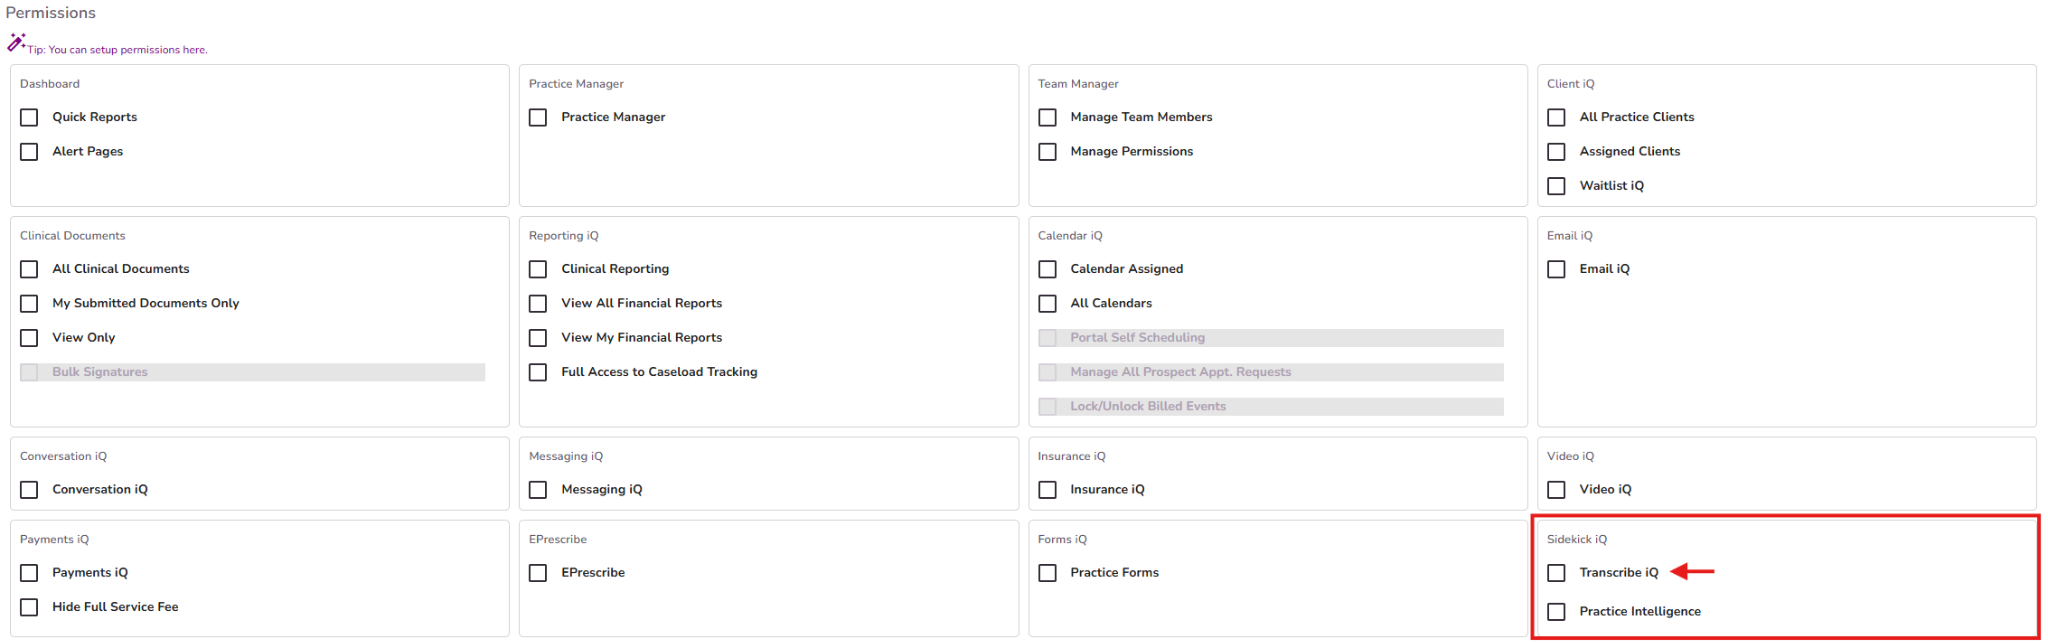
NOTE: Make sure to assign a provider who has the “Transcribe iQ” permission enabled in their profile settings.
Once the appointment has been created, the assigned provider will need to click on it within Calendar iQ to open it. Select the "Start AI Recording" option located in the top-right corner of the appointment window.

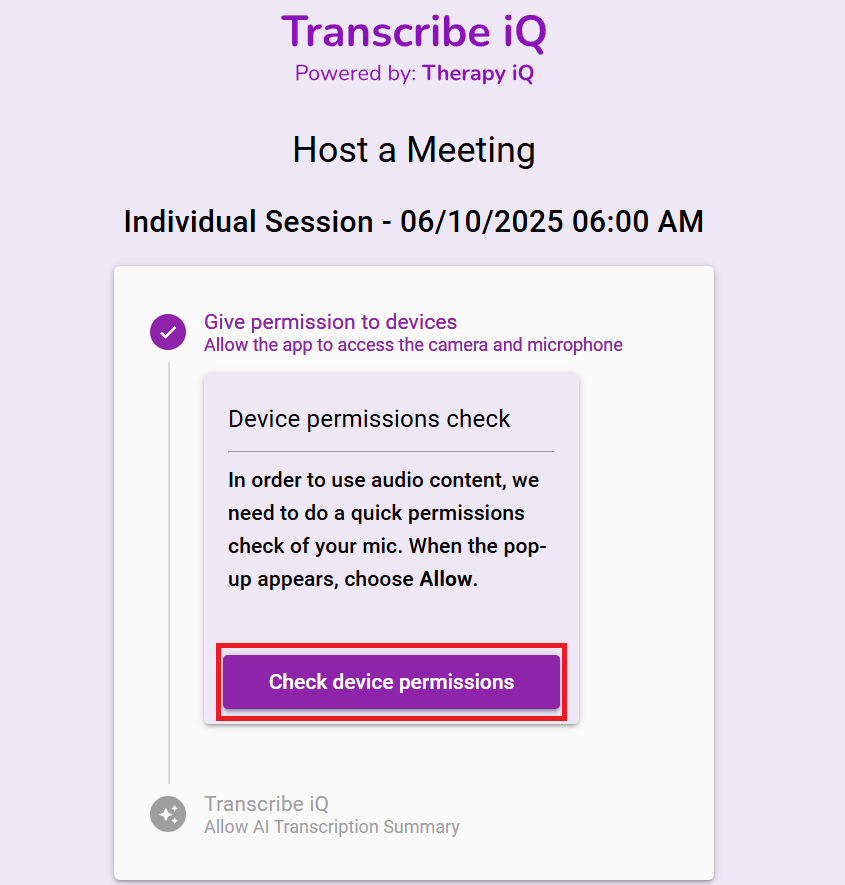
A new tab will open with the initial steps to launch the Transcribe iQ feature.
Click on the "Check Device Permissions" button and grant the app access to your microphone and camera.
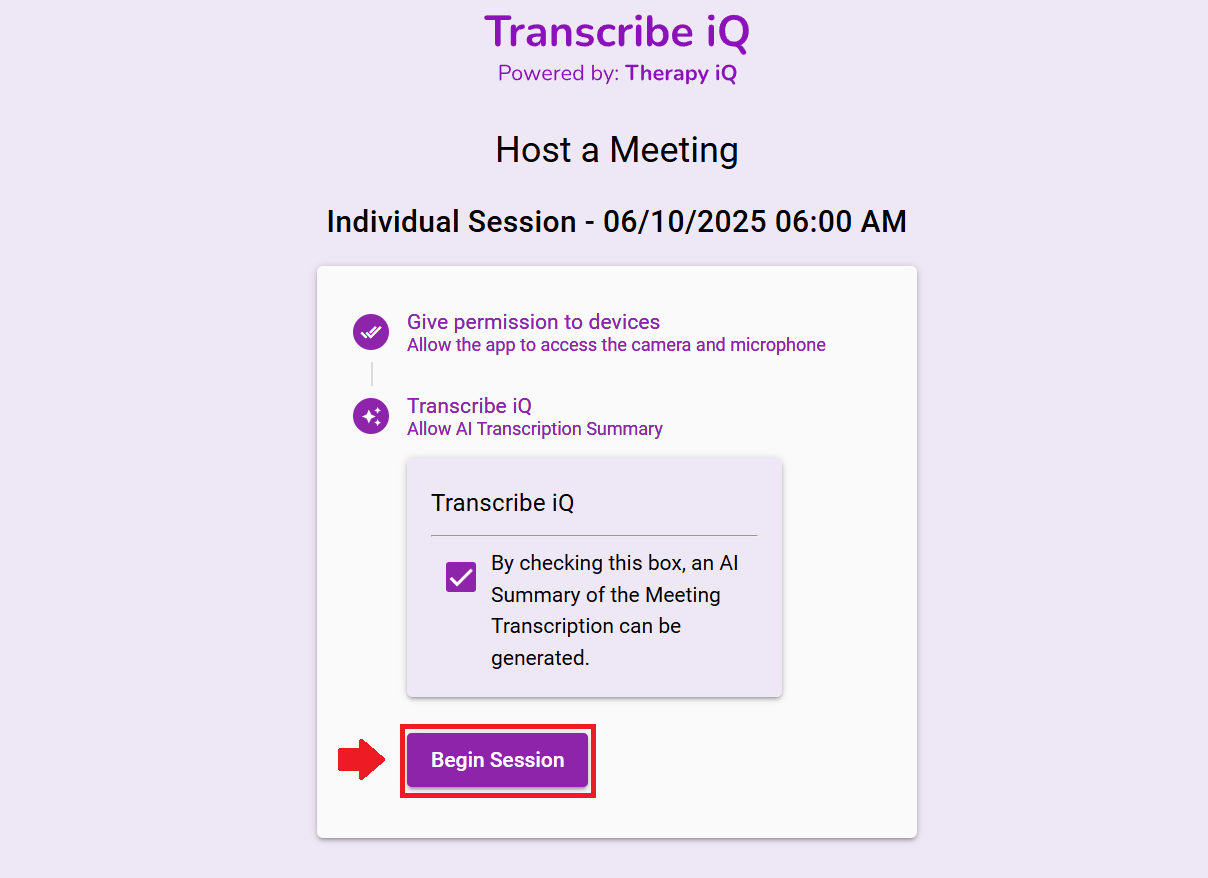
In the 'Transcribe iQ' step, the Summary checkbox will be selected by default. Please ensure it remains enabled to allow the summary to be generated.
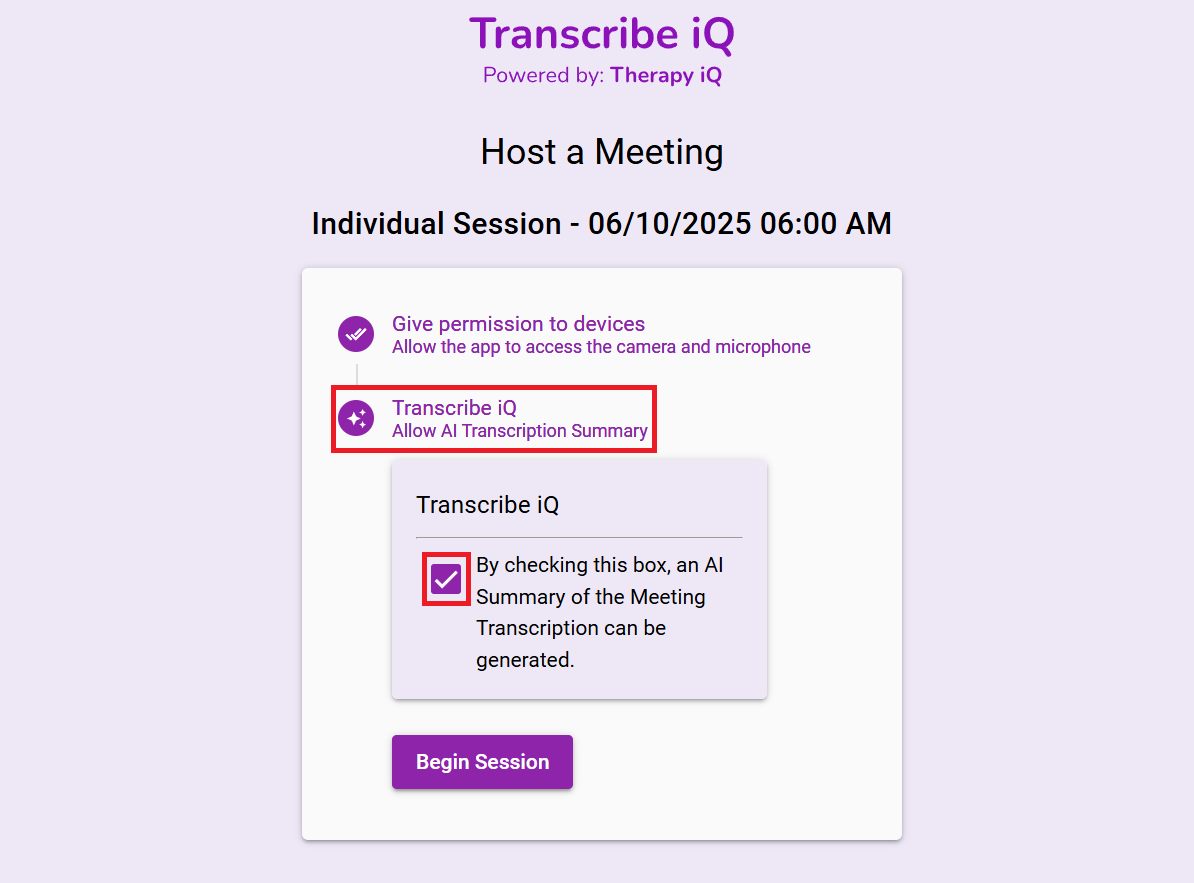
NOTE: If the summary checkbox is unchecked, you will not be able to generate summaries.
By clicking Begin Session, a new tab will open with the Transcribe iQ feature.
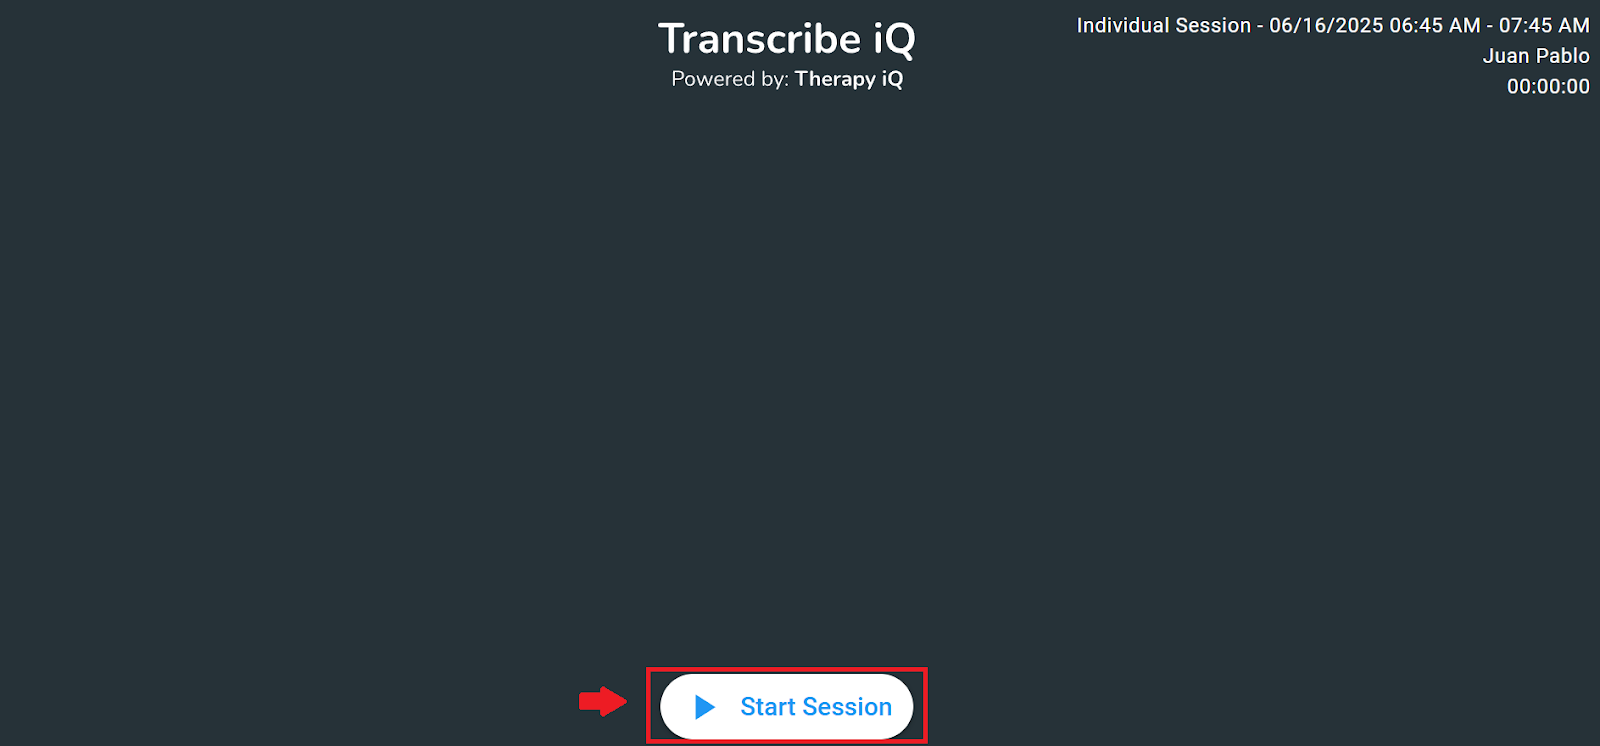
Click Start Session to start the transcription.
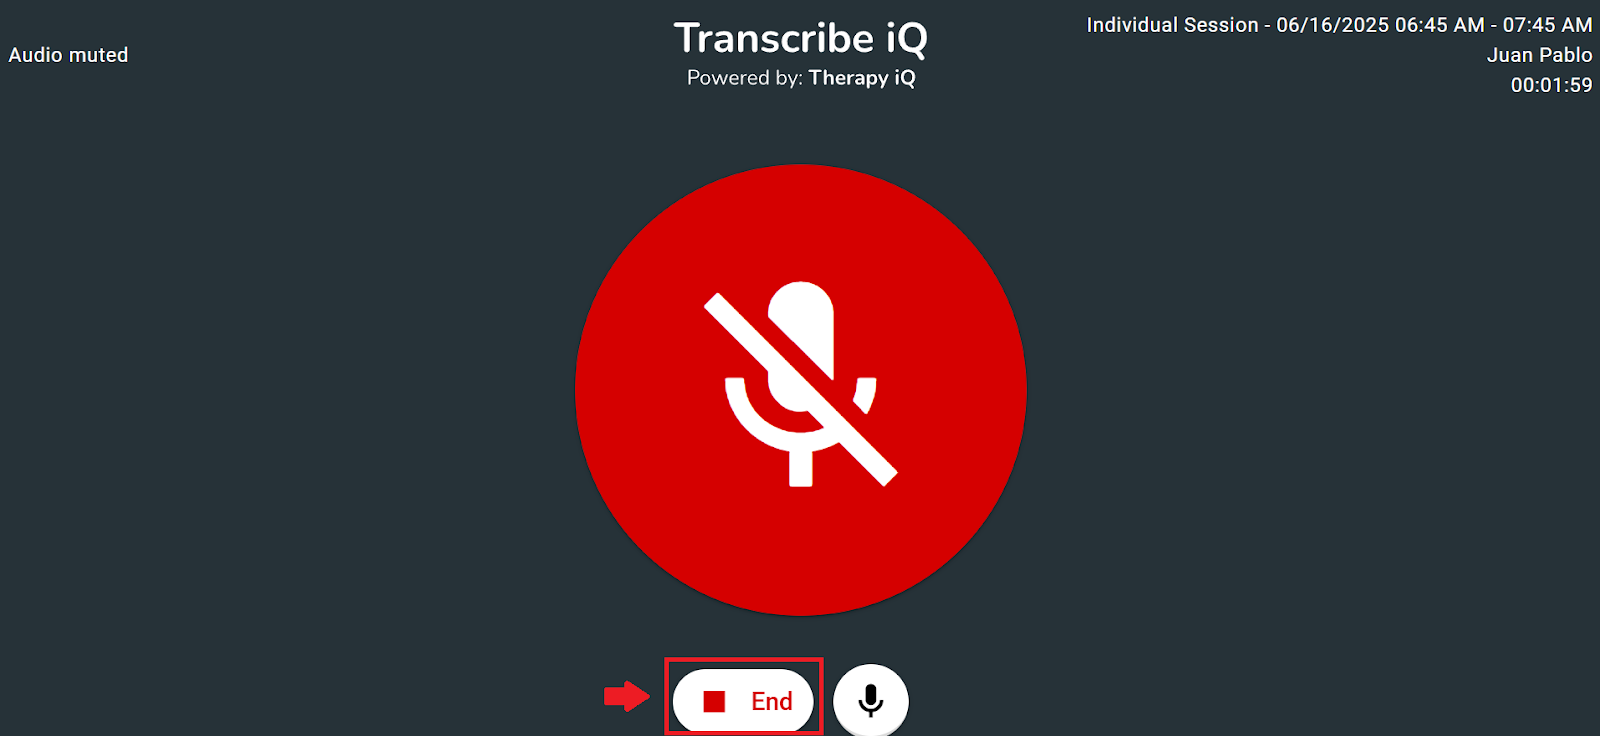
Once the transcription begins, you will have the option to mute or unmute your microphone.
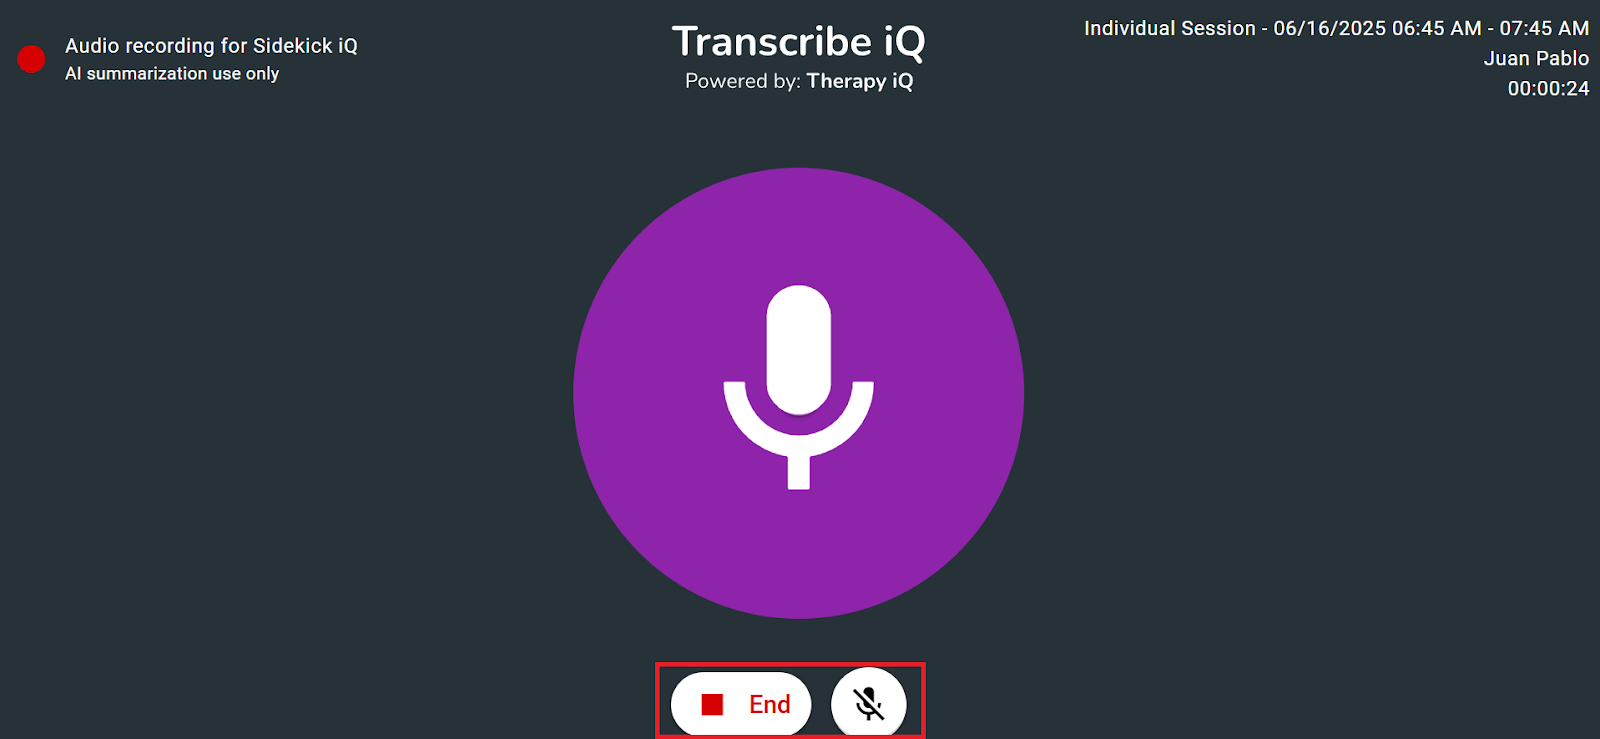
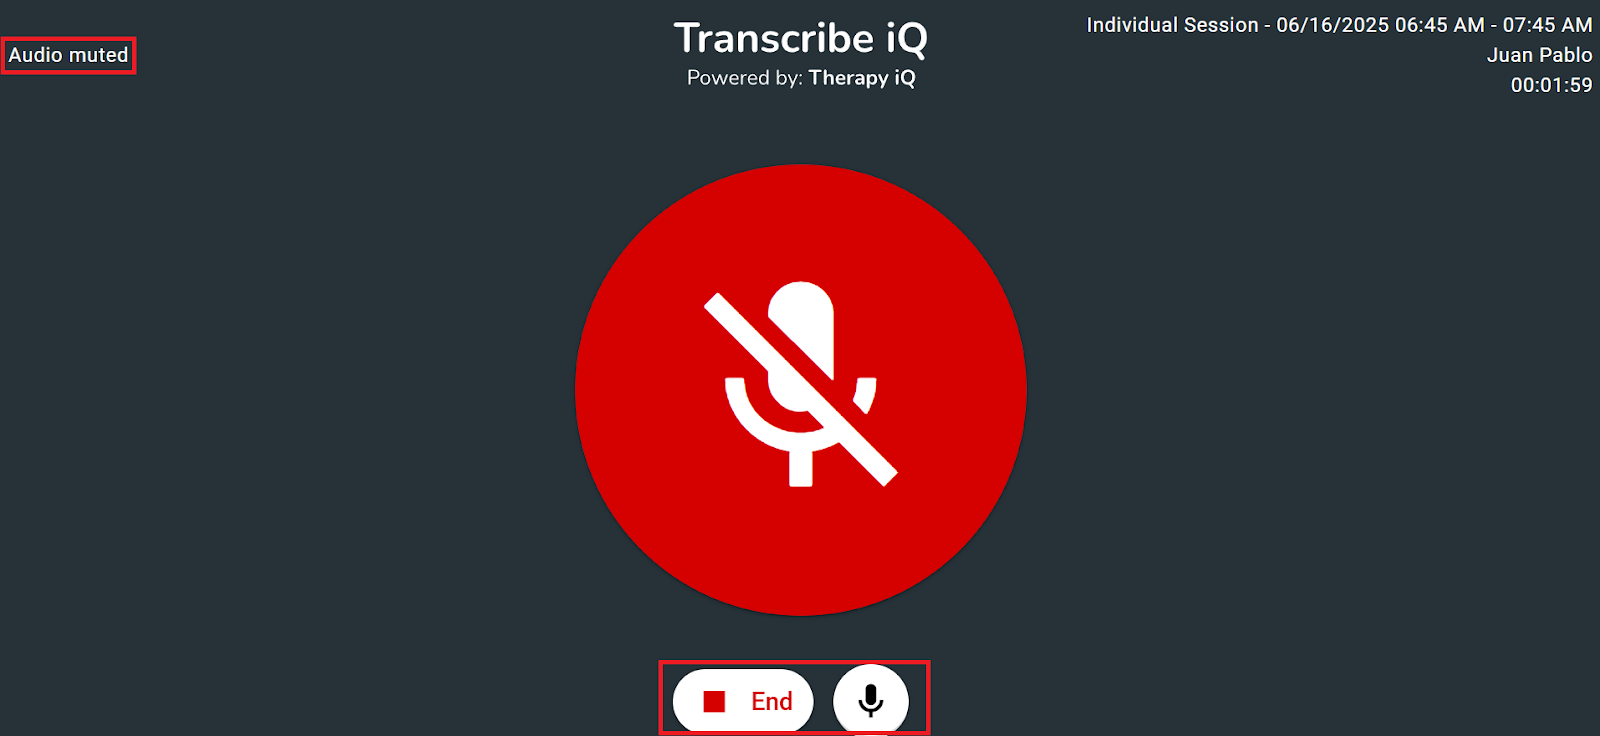
Clicking the red mute icon will mute your microphone, and the icon will turn red to indicate it is muted. Clicking the microphone icon again will unmute it, and the icon will return to its active state.
To end the transcription, click the End button.
A confirmation pop-up will appear to verify if you'd like to end the session.
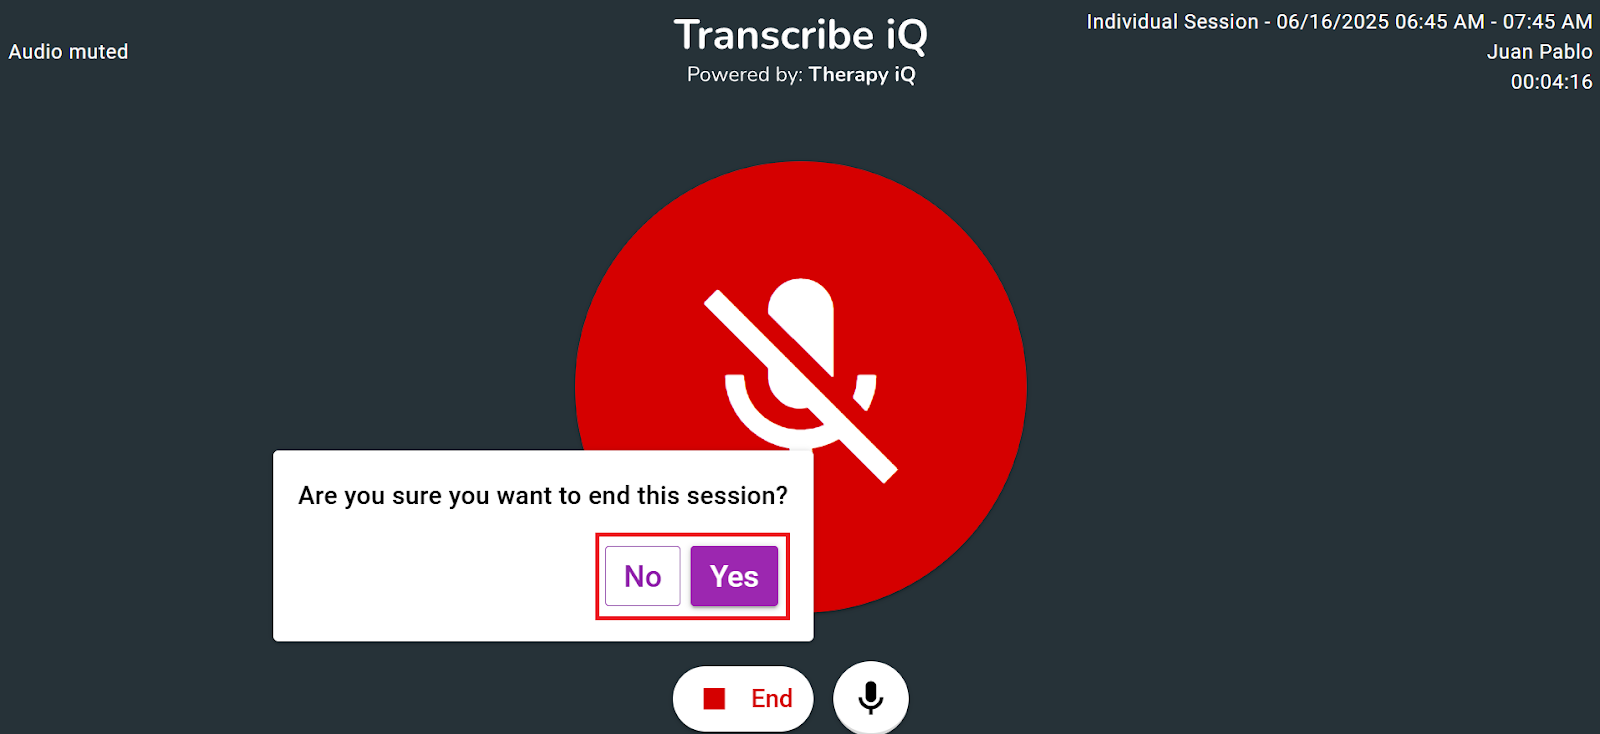
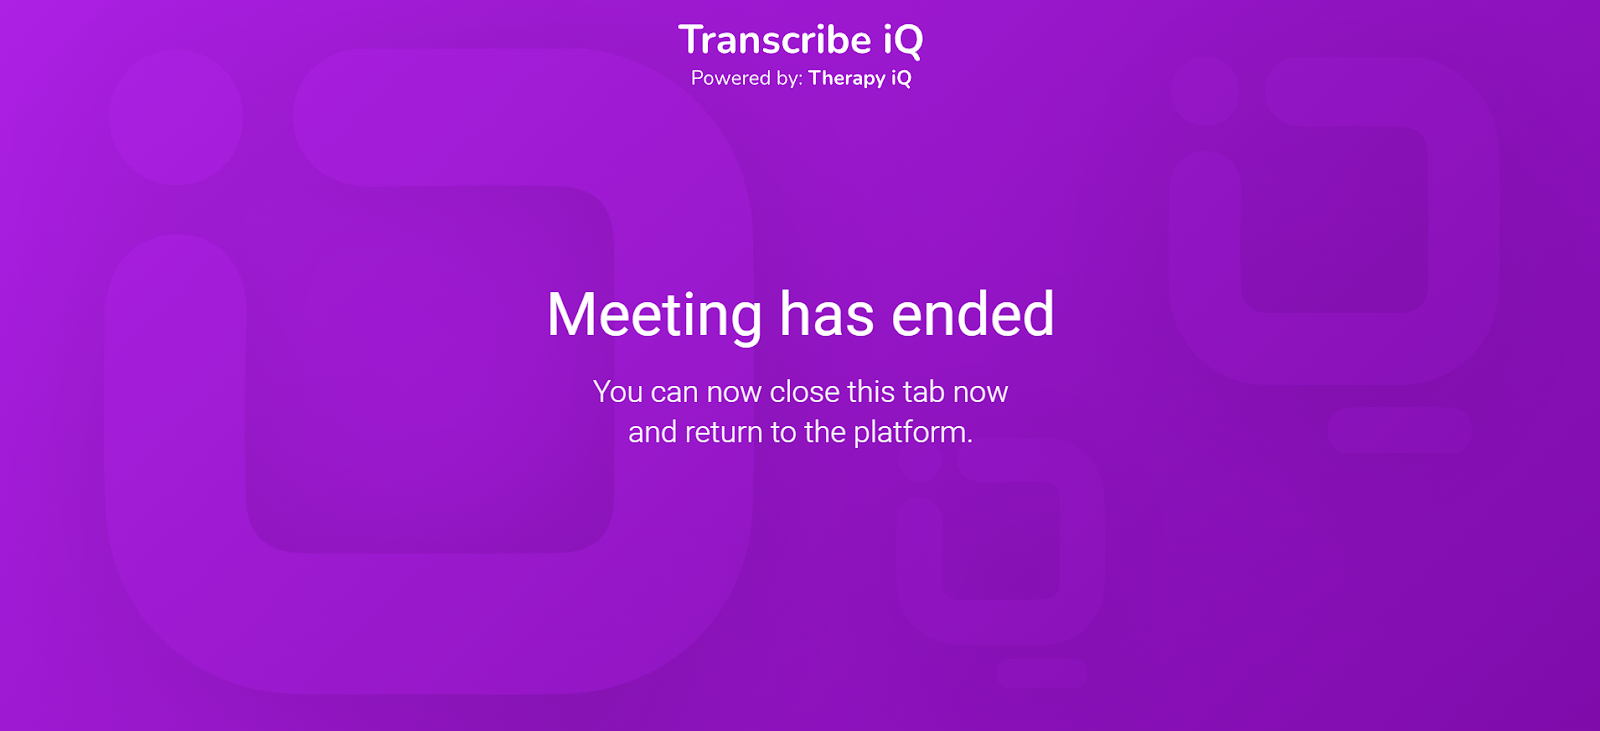
Once confirmed, the transcription will stop and become available when creating progress notes.
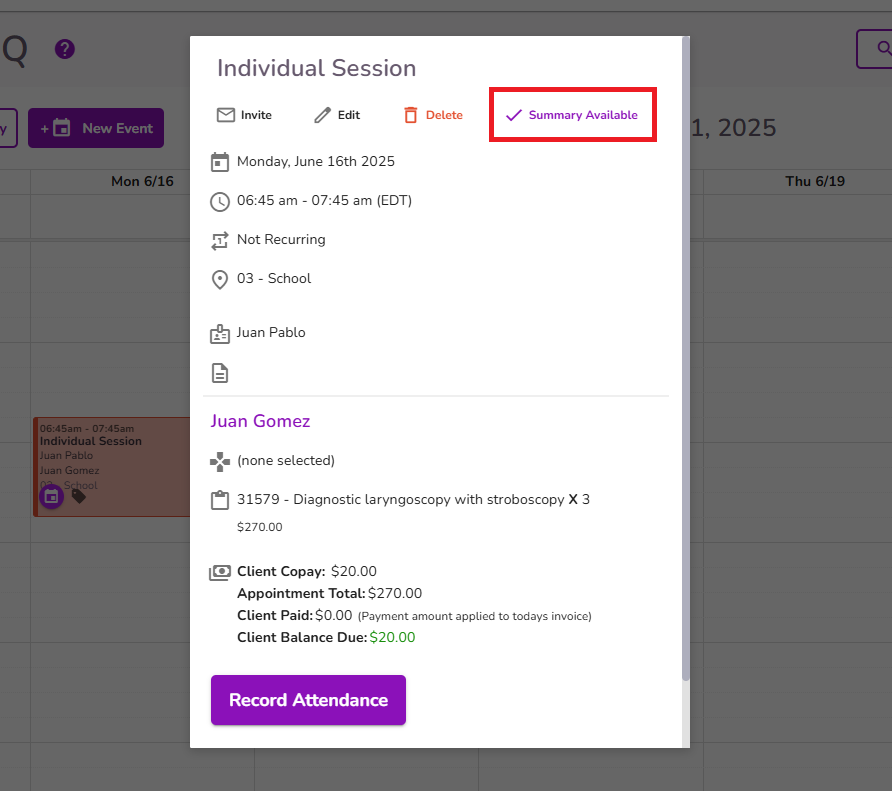
Once the transcription is generated, the button in the top right corner of the calendar will update to 'Summary Available'.
The Transcribe iQ AI Summary will be available within approximately 2 minutes after the session ends
Create Progress Note from the client’s profile.
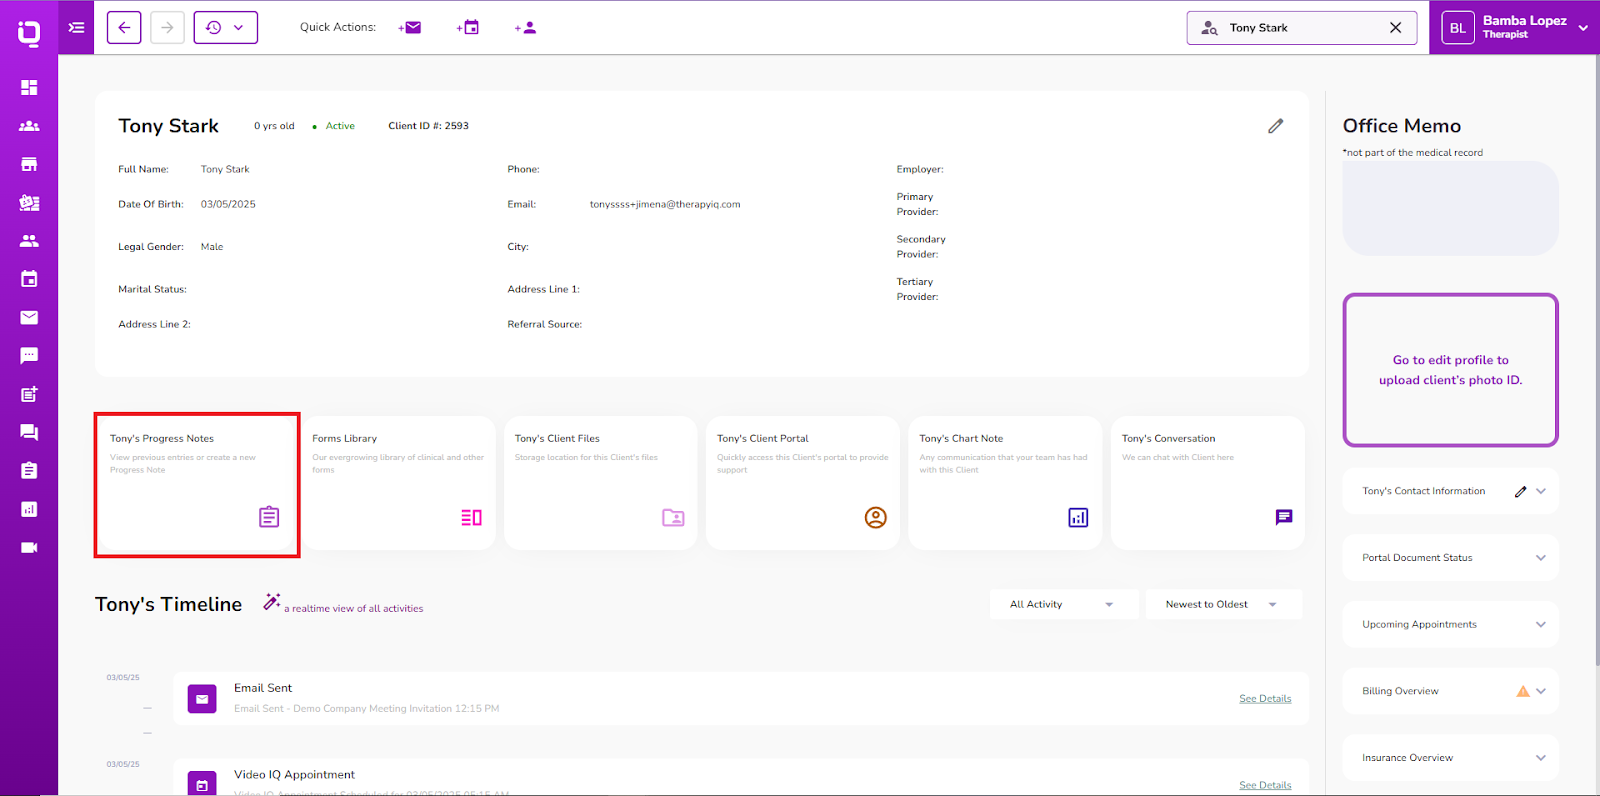
Once completed, navigate to the related client profile and select the Client’s Progress Notes.
NOTE: The Transcribe iQ AI Summary will be available within approximately 2 minutes after the session ends. Please allow this time for processing before accessing the summary.
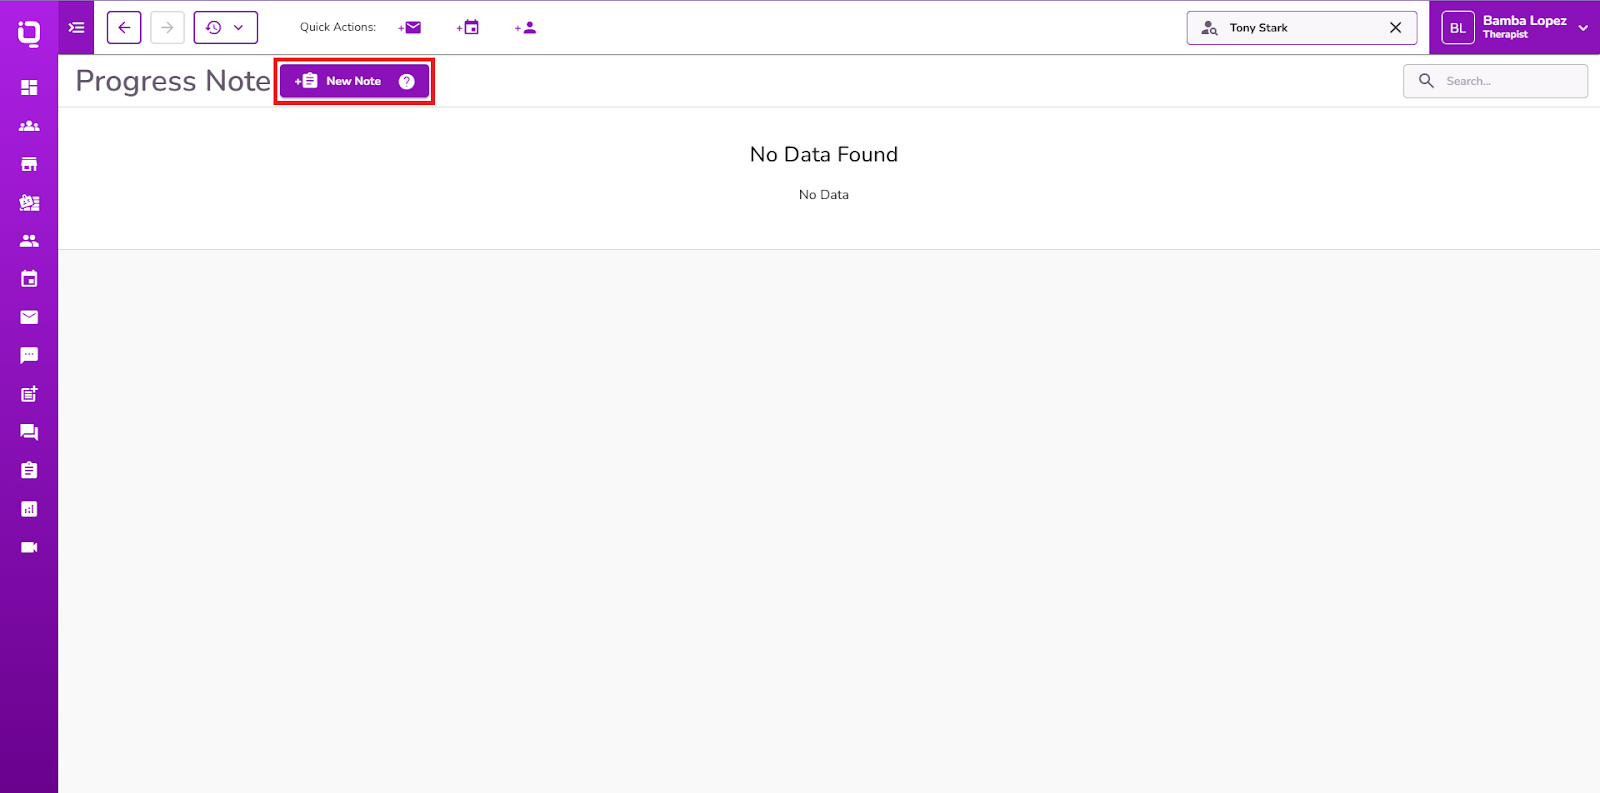
Select the +New Note button to create a new Progress Note.
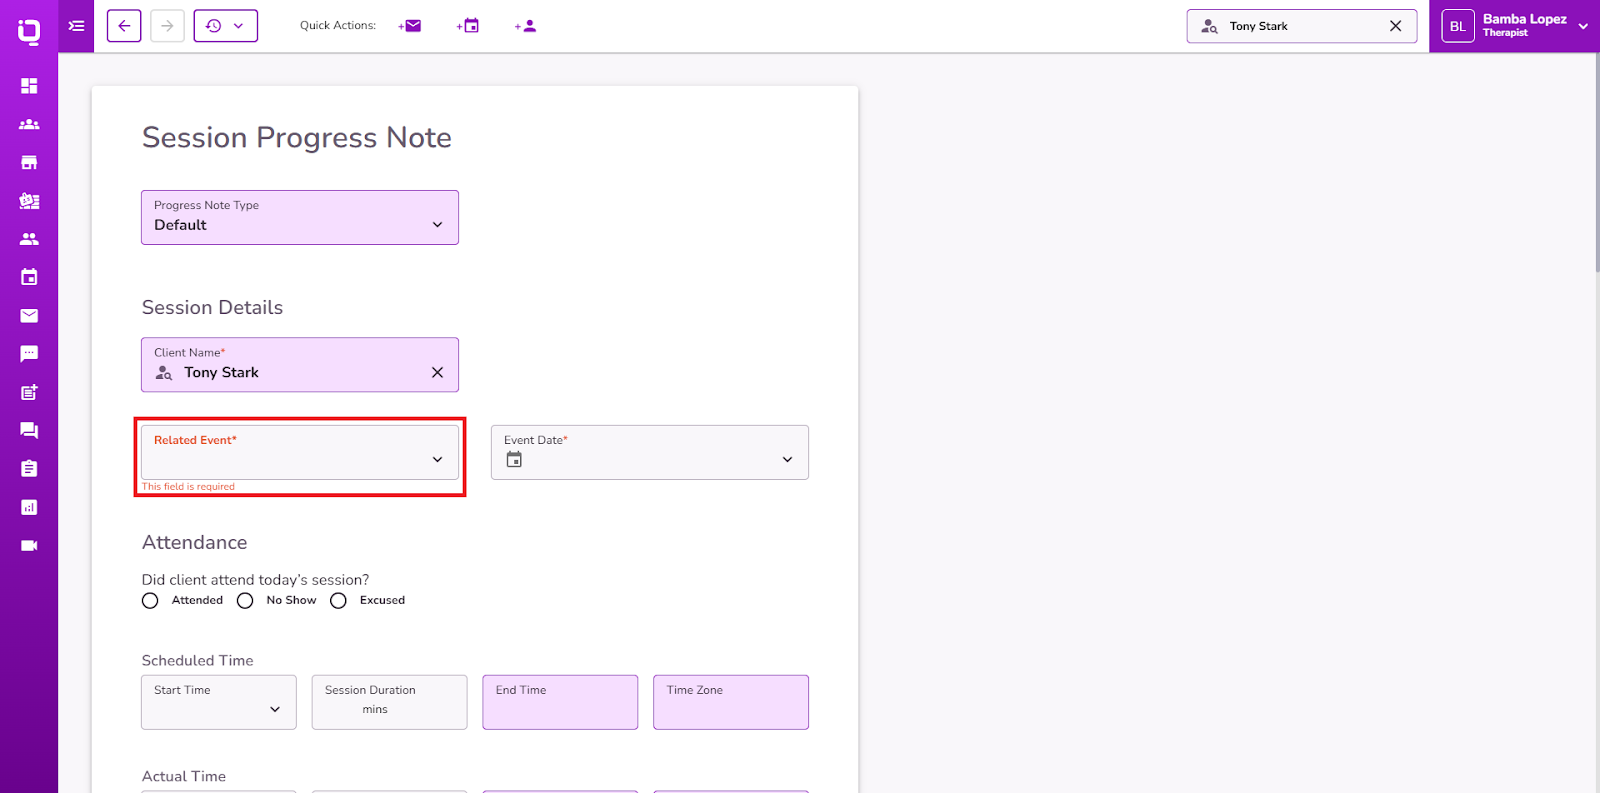
Select the related event on the Progress Note.
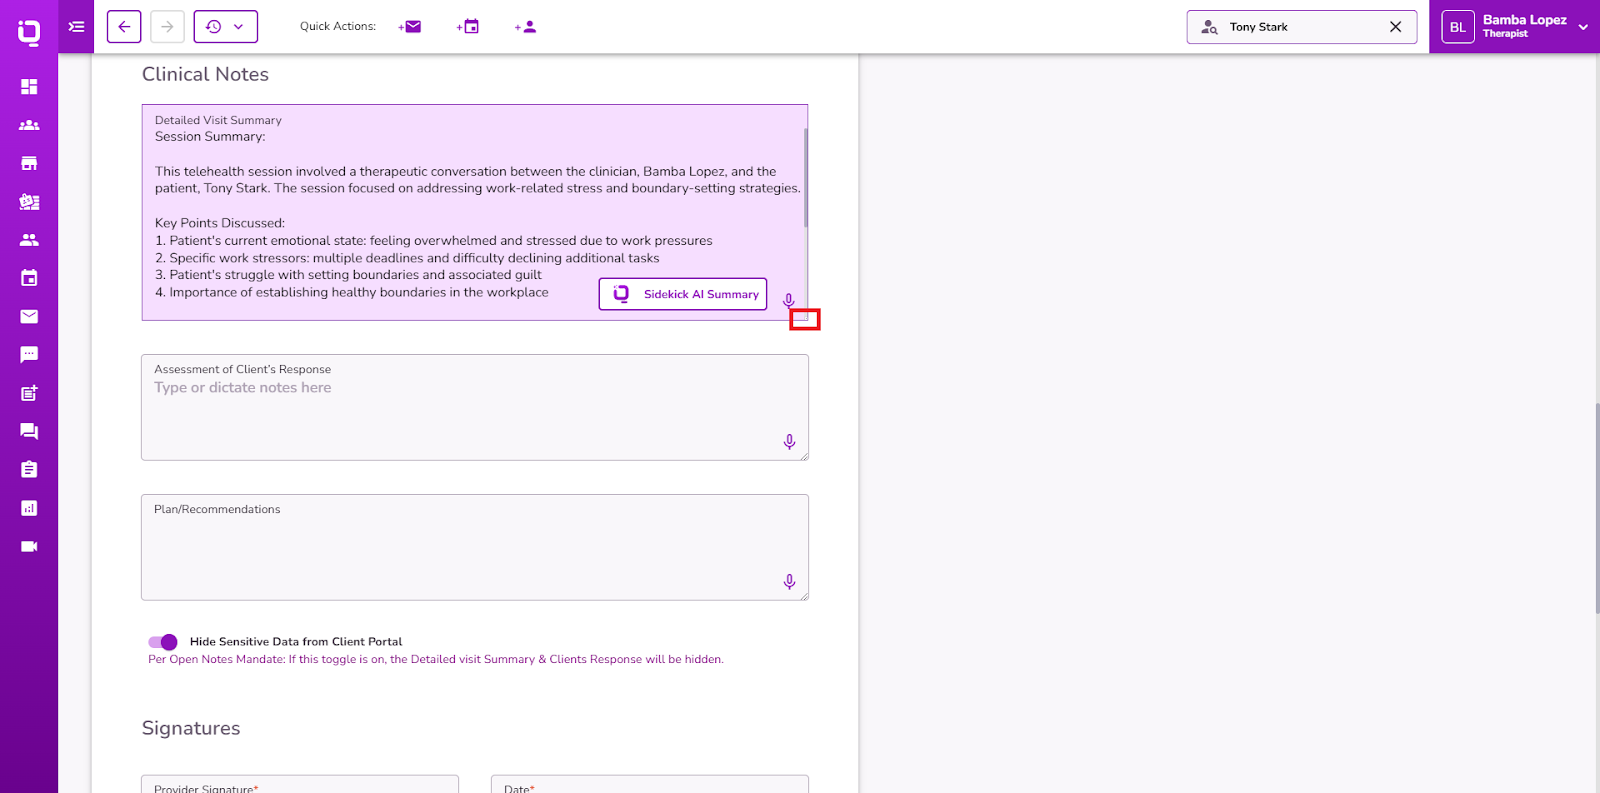
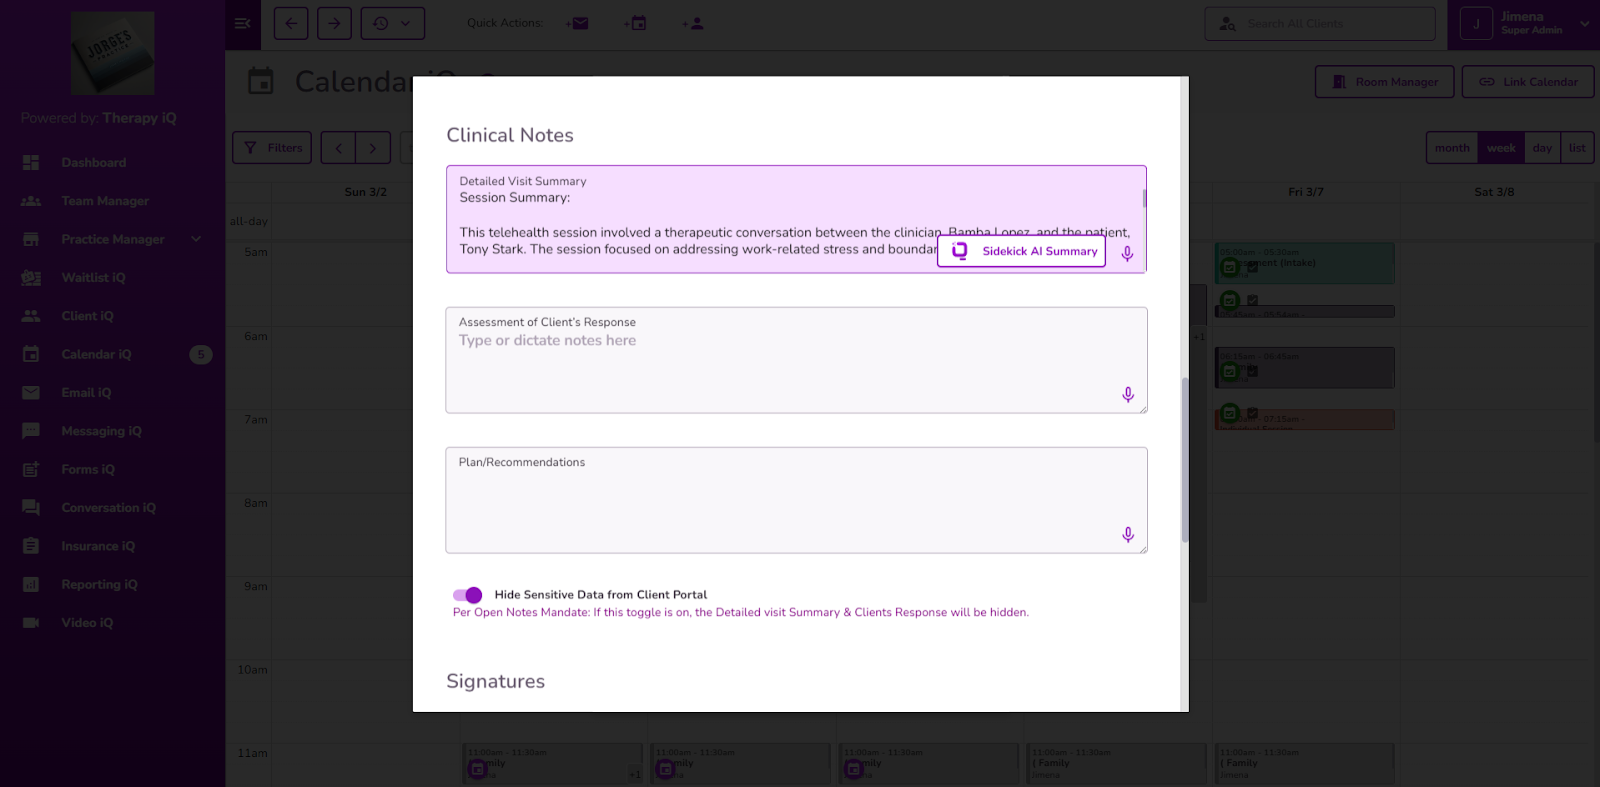
The Transcribe iQ AI Summary is generated in the Detailed Visit Summary field automatically after selecting the related event.
NOTE: Users can edit, refine, or add details as needed.
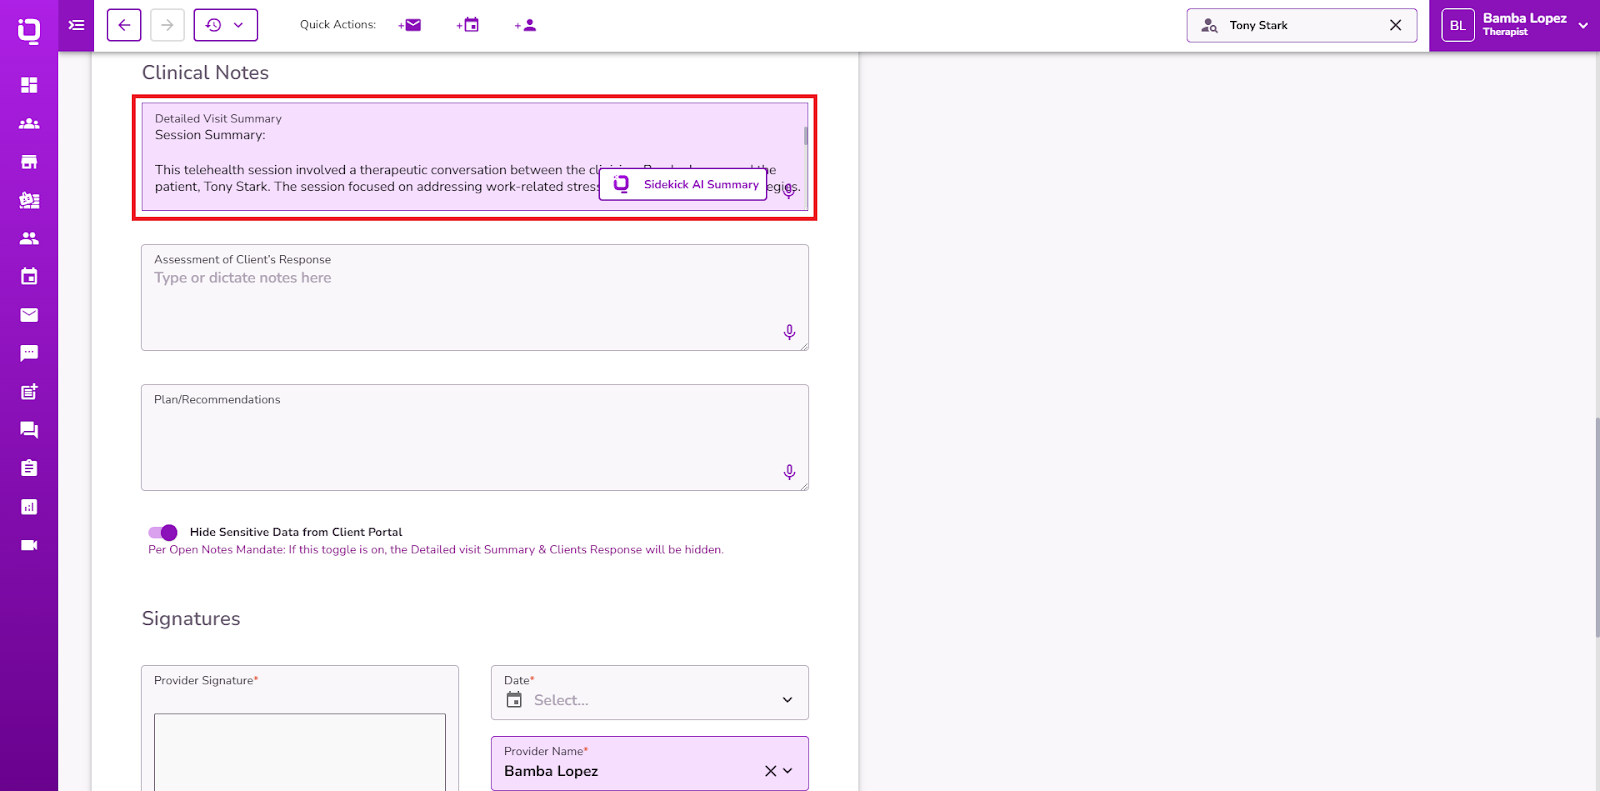
NOTE: The Detailed Visit Summary field can be expanded by dragging the right corner at the bottom.
If the user wants to regenerate, they must:
- Unselect the related Video iQ session from the progress note.
- Reselect the same session to trigger summary regeneration.
NOTE: If any edits are made to the Transcribe iQ AI Summary and the user wants to generate again the Transcribe iQ AI Summary the edits will be removed.
Generating Transcribe iQ AI Summary from Calendar iQ Event
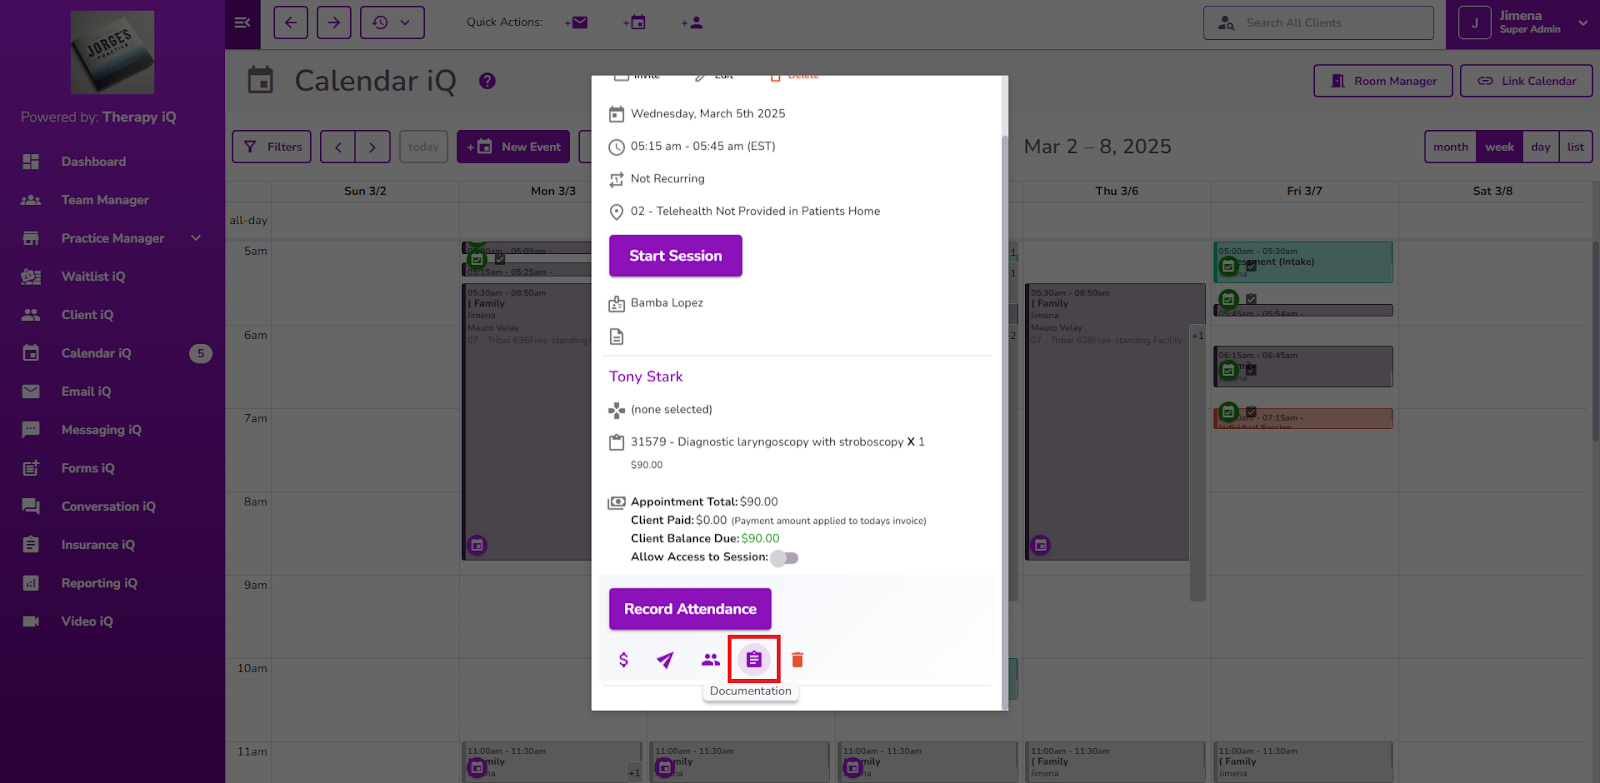
Navigate to Calendar iQ and select the related event, and click on the Documentation icon.
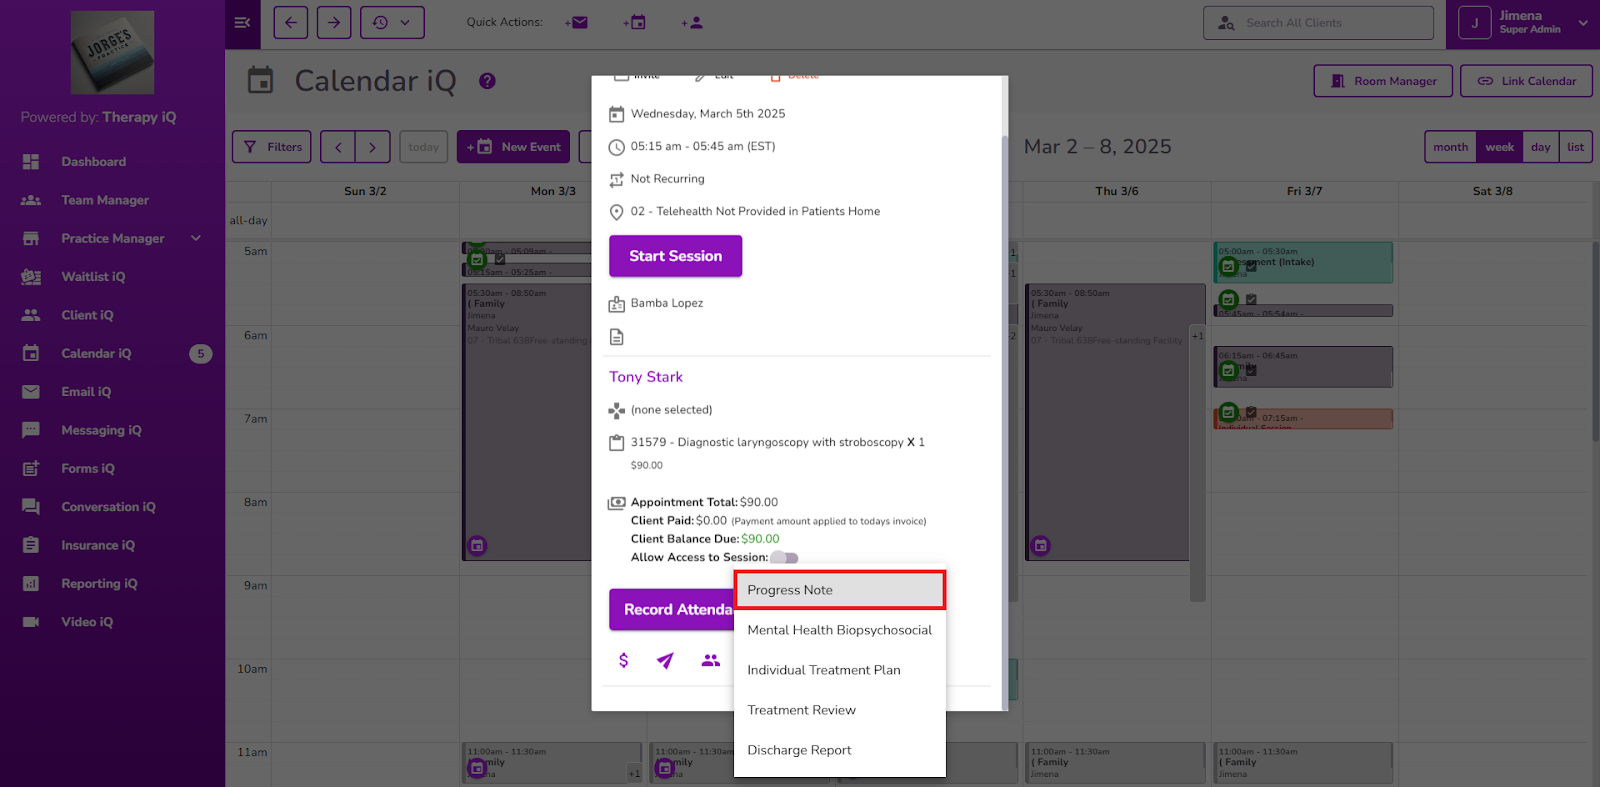
Select Progress Note from the options.
The Progress Note window will pop up with the Related Event auto-populated.
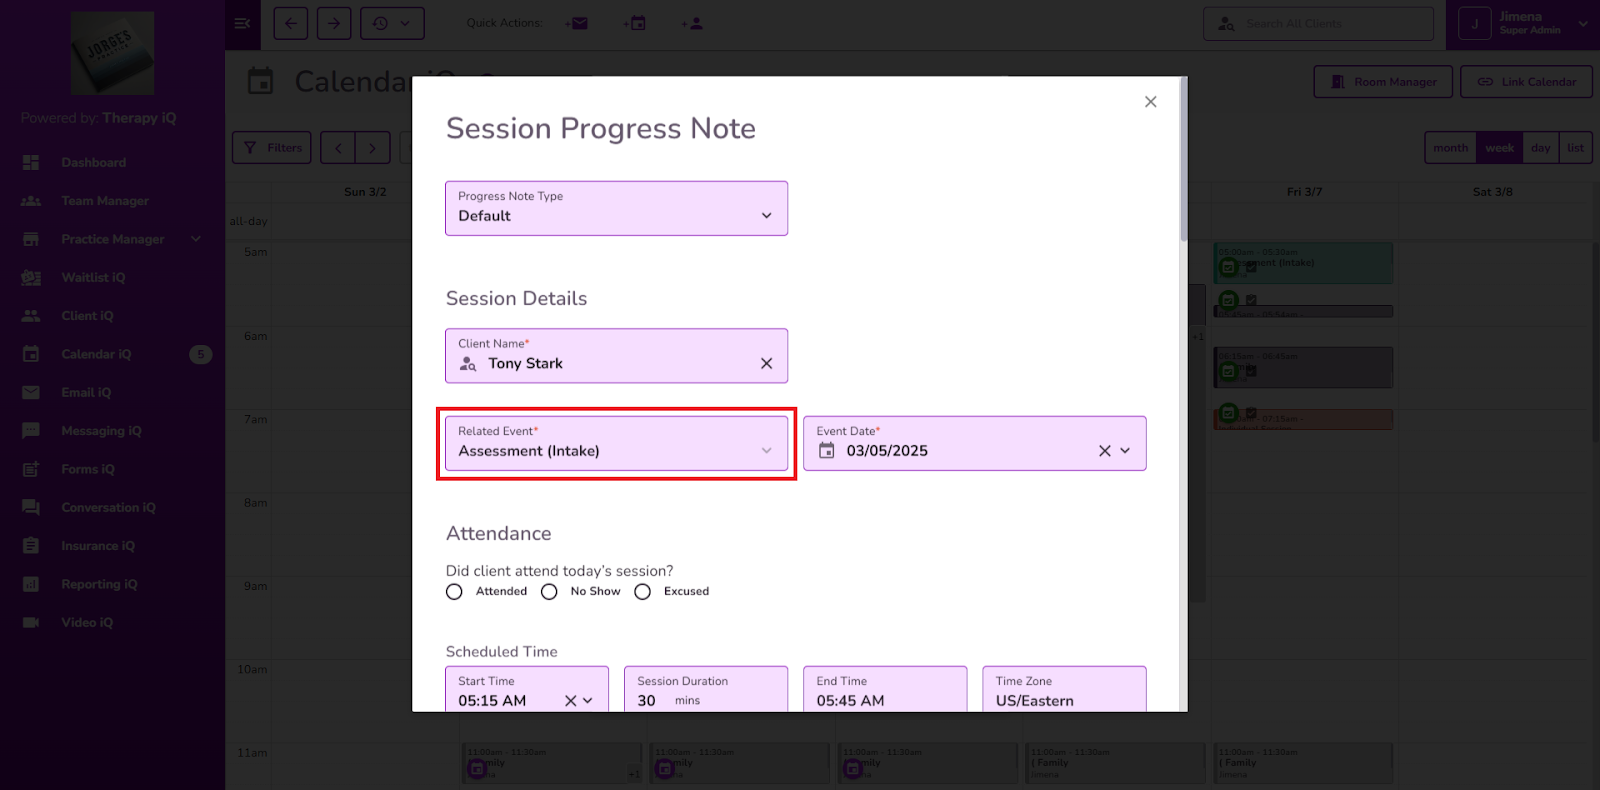
The Transcribe iQ AI Summary will automatically generate in the Detailed Visit Summary field.
Click here for additional information on how to generate AI summaries for Telehealth Sessions.


