How Clients Can Self Schedule Events
This guide will show you how clients can self schedule appointments from their portal after providers have completed the Self Scheduling setup in their profiles.
Click here to learn how to configure self scheduling in your TiQ profile.
Once the client has logged in to the client portal, they will need to:
Select My Appointments

Select the Staff member they want to meet with. Here the client will only be able to select providers that are a part of their treatment team.

Select the Service type for the session

Select the Place Of Service for the session.

Select session Date

Select the session Time. Clients will only see available time slots based on the provider's calendar. If there are appointments already scheduled in Calendar iQ, TiQ will automatically exclude those time slots from the self-scheduling options to avoid double booking.

Review the session details to ensure everything is correct, and Confirm.

The appointment will now be scheduled, and the provider will be notified via email.
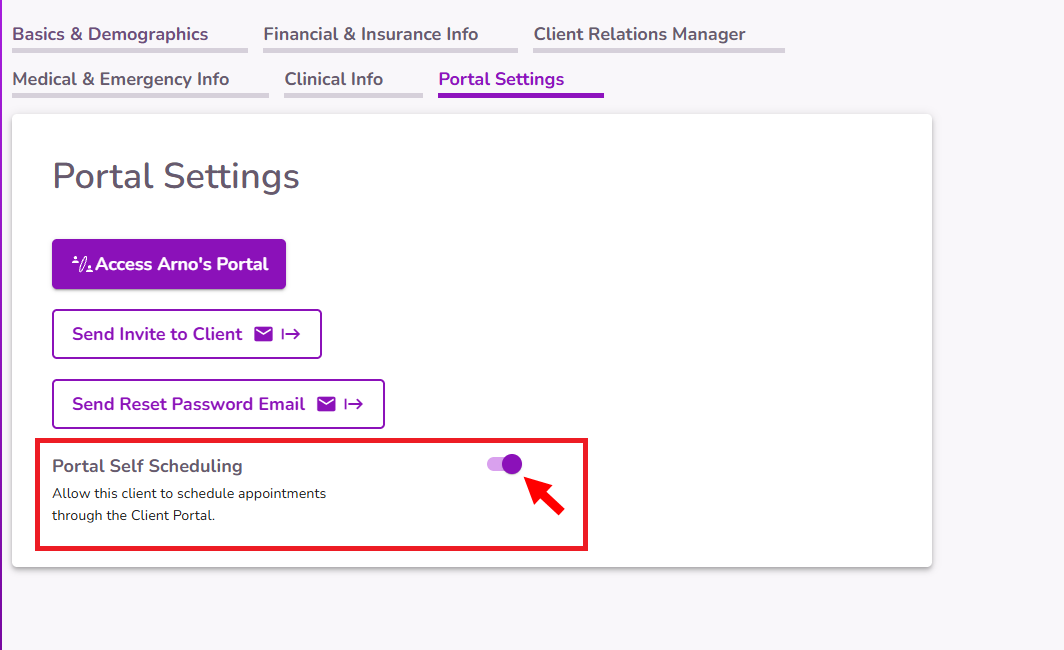
IMPORTANT: You must enable Self Scheduling for the specific clients you'd like to allow to self-schedule appointments with you.
To do this, navigate to the Portal Settings tab in their profiles and turn on the Portal Self Scheduling toggle.