How To Complete A Progress Note
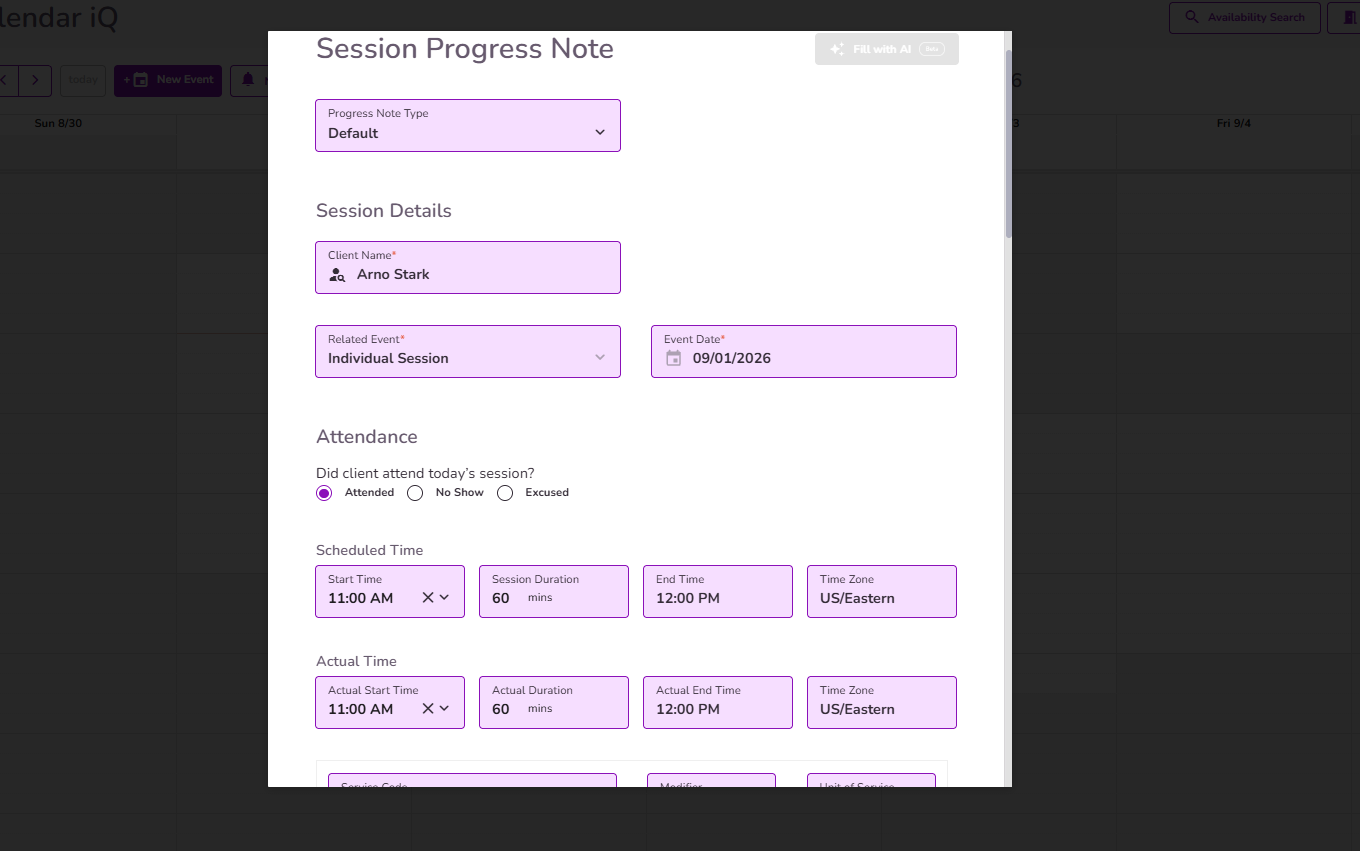
When completing a Progress Note from an event, TiQ will automatically add the Client Name, Related Event, Date, Attendance Status, Scheduled and Actual Start Time, End Time, and Session Duration.
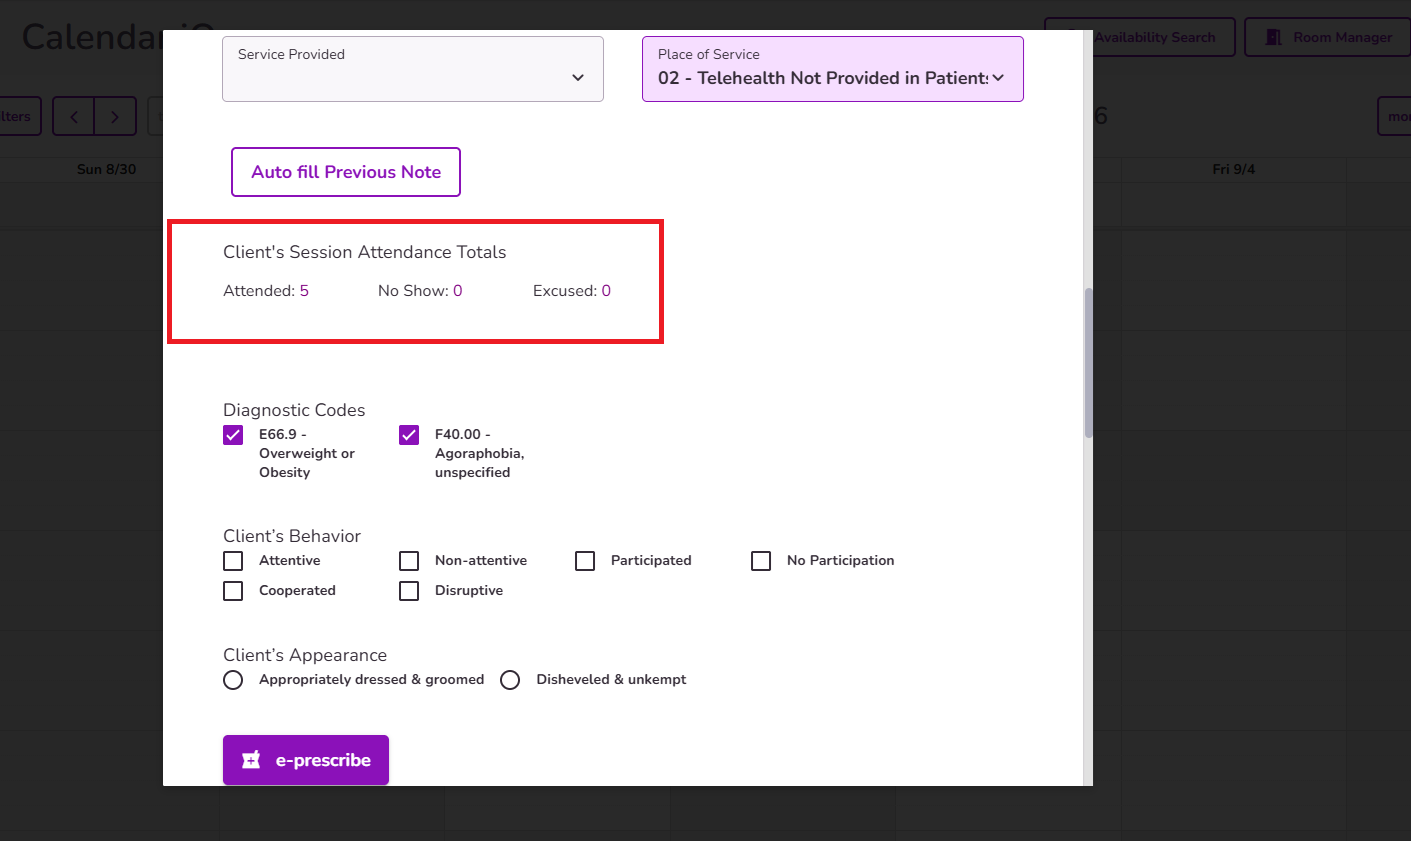
The Client’s Session Attendance Totals will show a count of attended sessions, no-shows, and excused absences
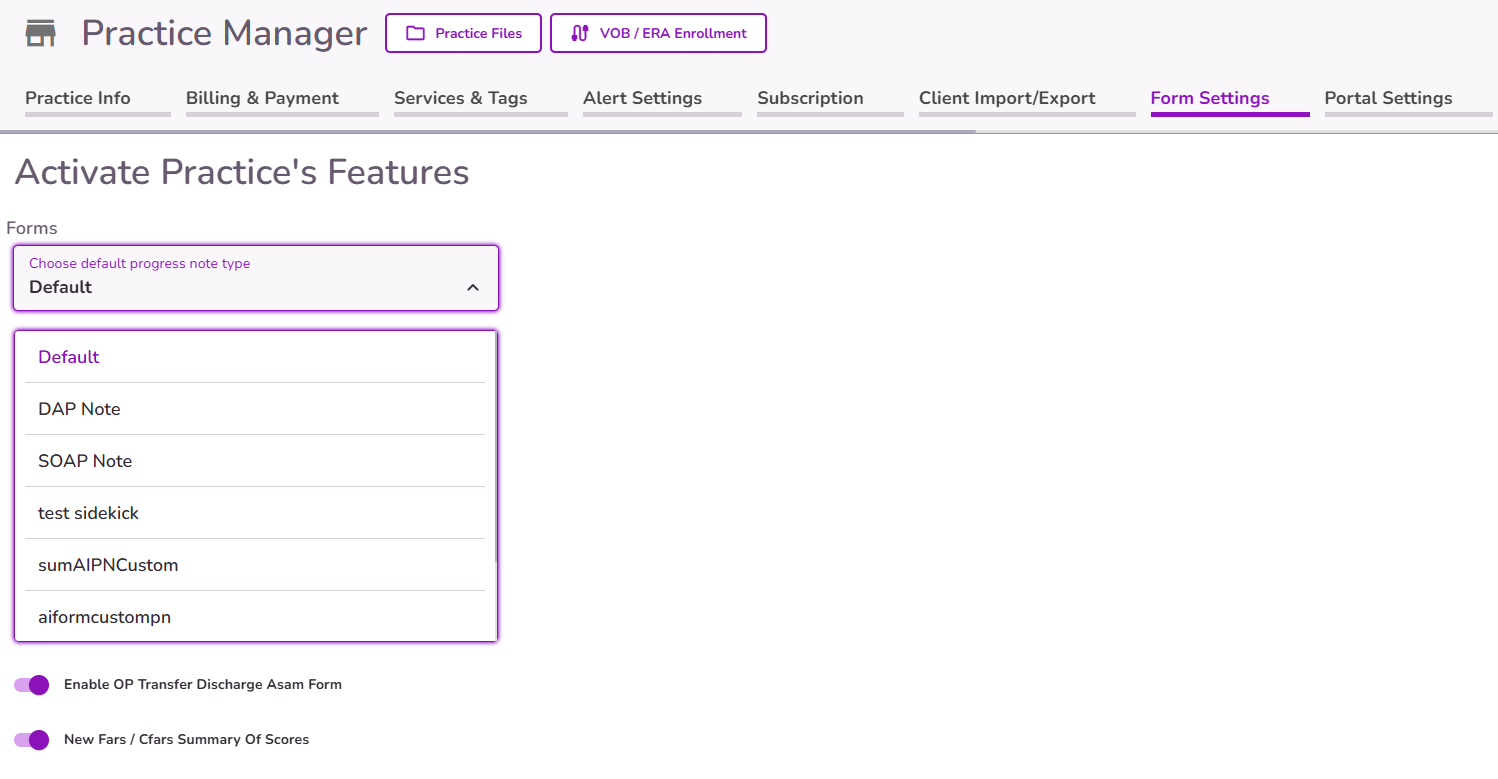
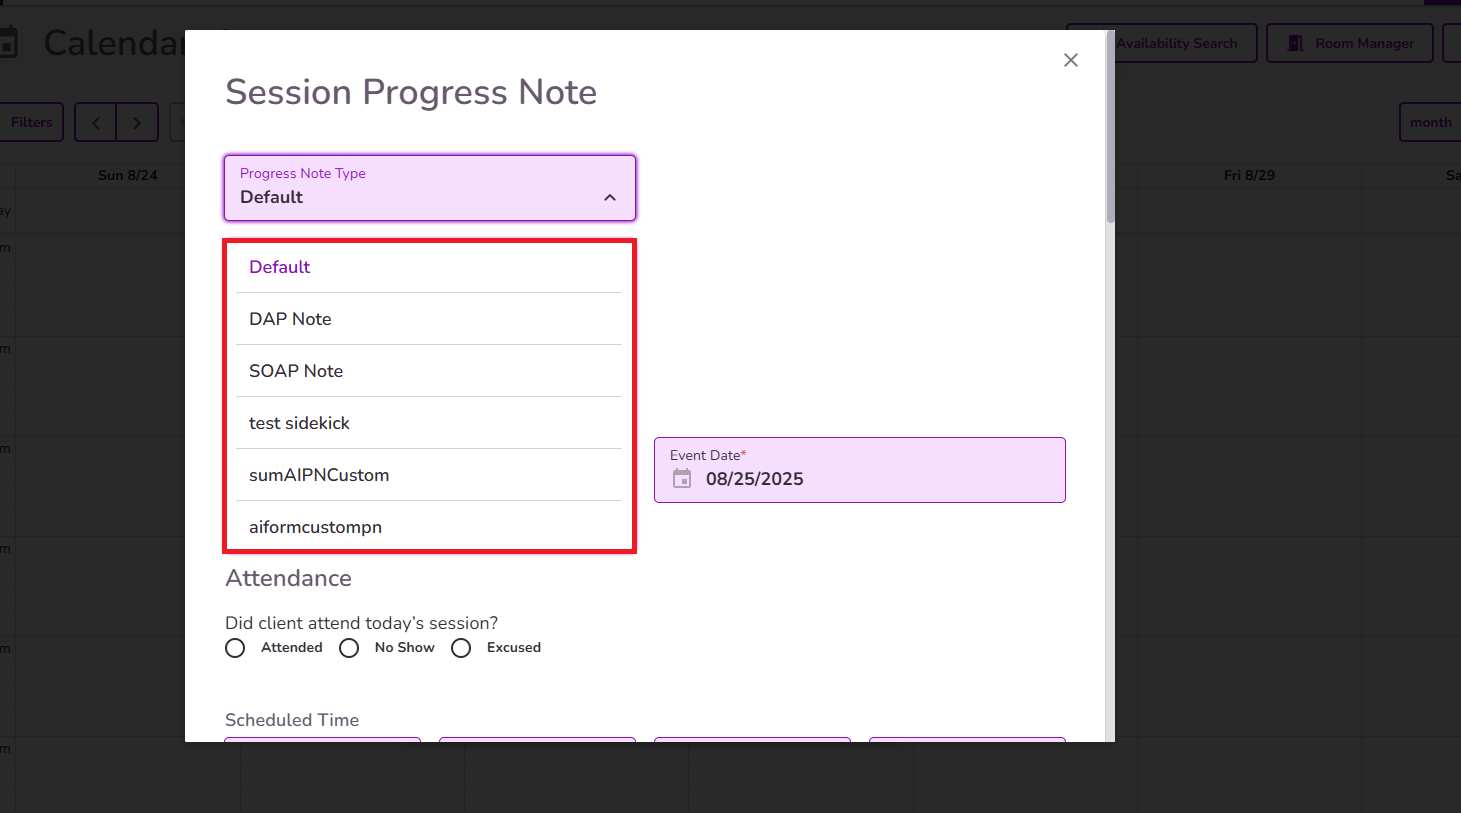
The Form Type will be pulled from the ‘Choose default progress note type’ in the Practice Manager Settings. This settings will display the options Default, DAP note, SOAP note, and any custom progress note types from the practice.
You can still select any other option from the ‘Form Type’ field when creating a progress note.
When completing a Progress Note using the same note type from a previous note, the "Auto Fill Previous Note" button will appear.
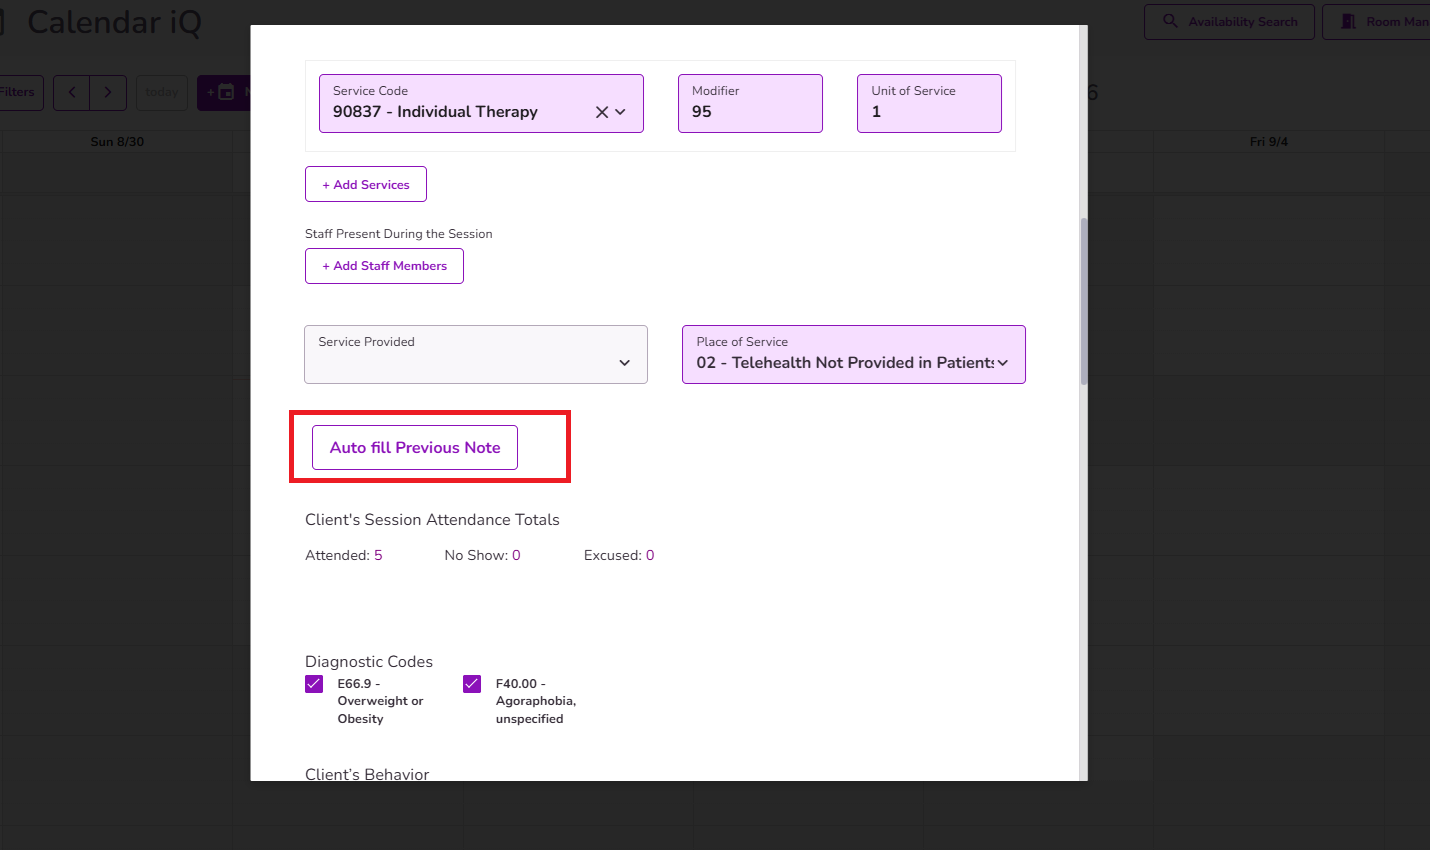
When selected, it will pull the information from the most recent note of that same type into the current note. This allows users to automatically carry over relevant clinical details and treatment plan goals into the new note based on the selected Form Type.
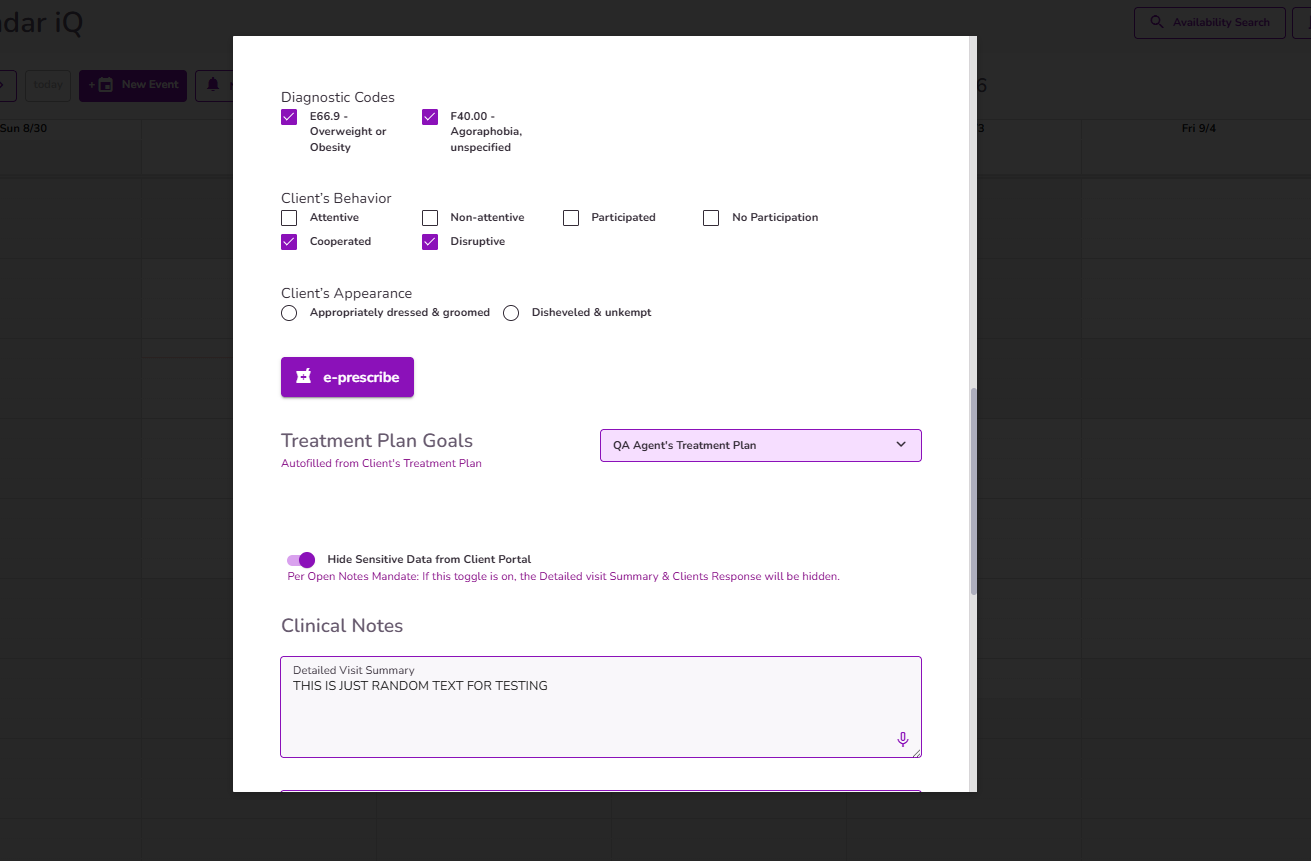
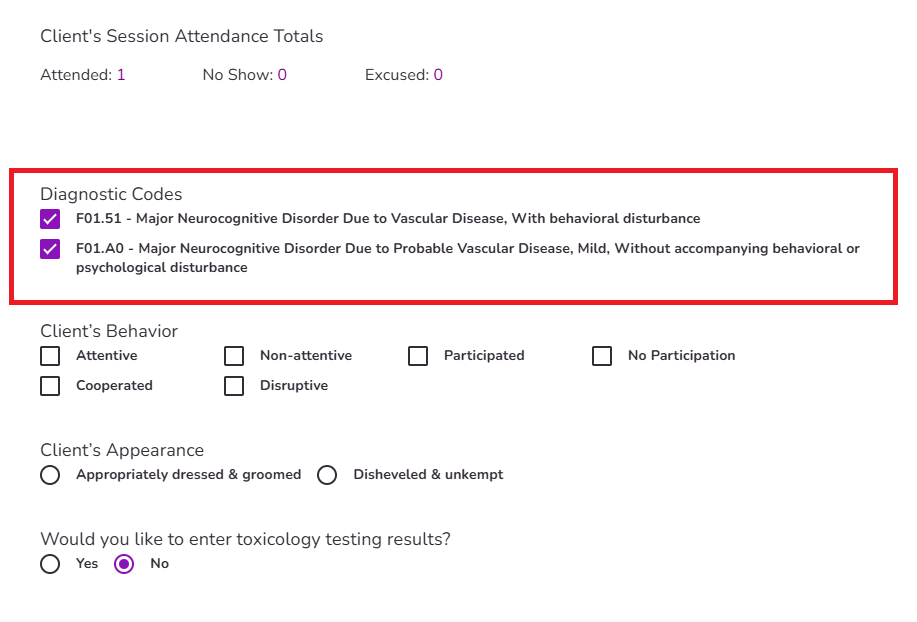
Diagnosis codes added to the client's profile or treatment plan will be available for selection within the progress note. You can manually choose any or all of them, making it easy to track and reference the diagnostics addressed during that session.
NOTE: These codes will also appear in the PDF version of the note.
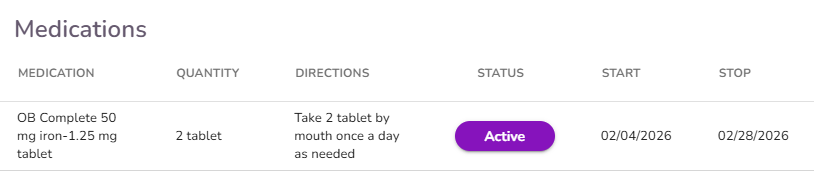
The client’s Medications information would also be available within the Progress Note retrieved directly from Dr. First. All medication information shown is read-only and reflects the most current data available from Dr. First at the time the note is created.
NOTE: The Medications table is available on the Client Profile for all providers. However, within the Progress Note, the Medications table is only visible to providers who have access to ePrescribe.
IMPORTANT: The medications visible in the progress note are only the ones that were prescribed through that note directly. If you'd like to review the full list of medications, regardless of when they were prescribed, you'll need to navigate to RCopia or to the Clinical Info tab in the client profile.
In the Treatment Plan Goals section, select a Treatment Plan from the dropdown. TiQ will automatically generate the client's treatment goals, objectives, and interventions from the selected client’s treatment plan.
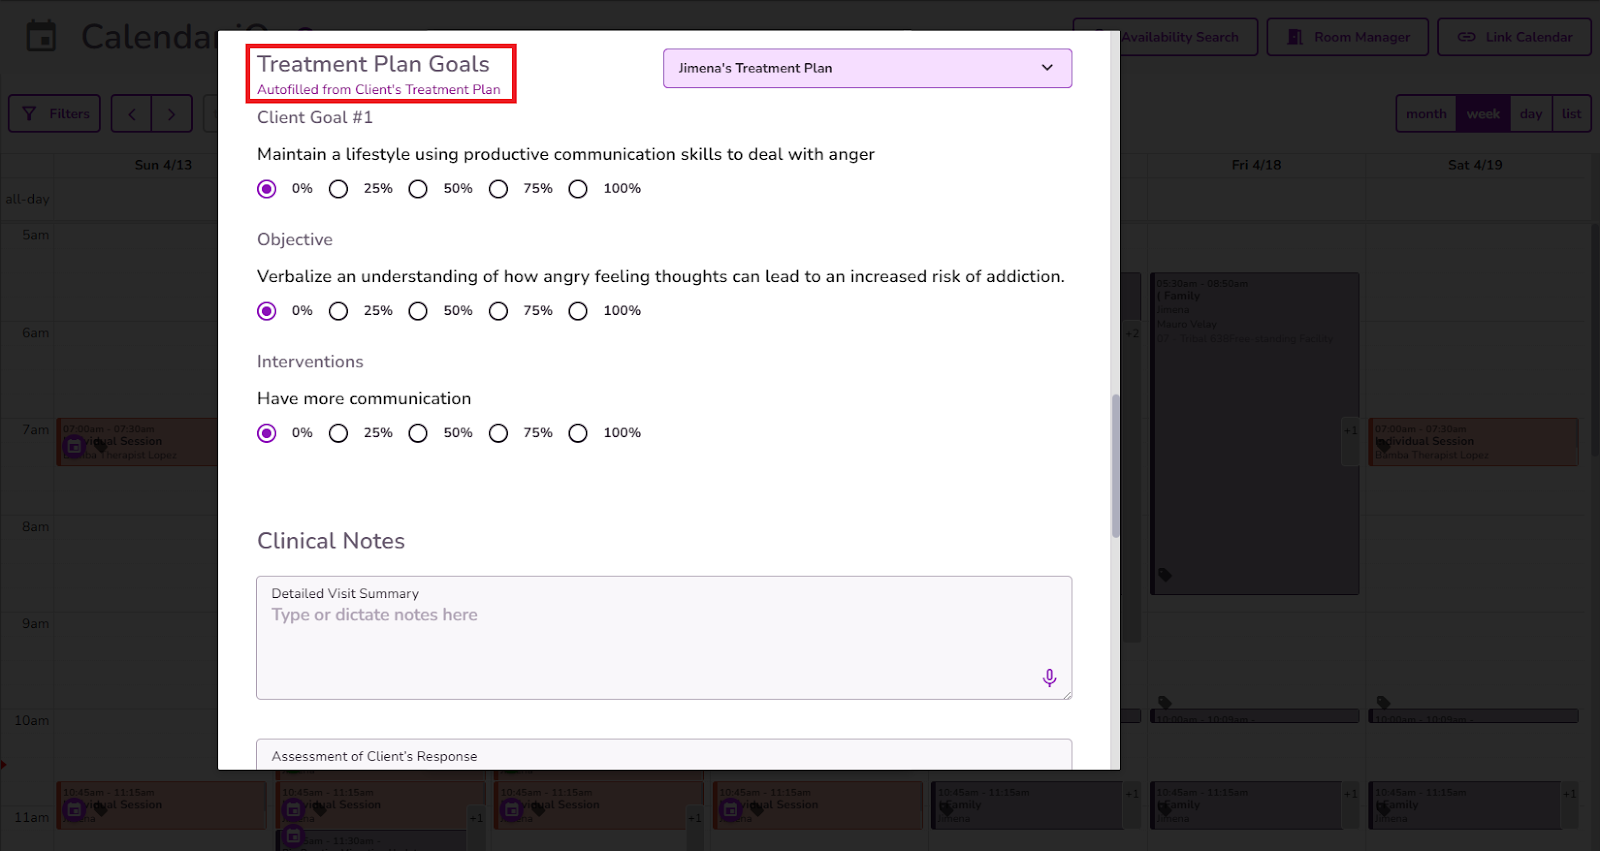
Use the radial percentage selectors next to each Goal, Objective, and Intervention to indicate progress.
Available percentages: 0%, 25%, 50%, 75%, and 100%.
Click once to select a percentage. The value will auto-save.
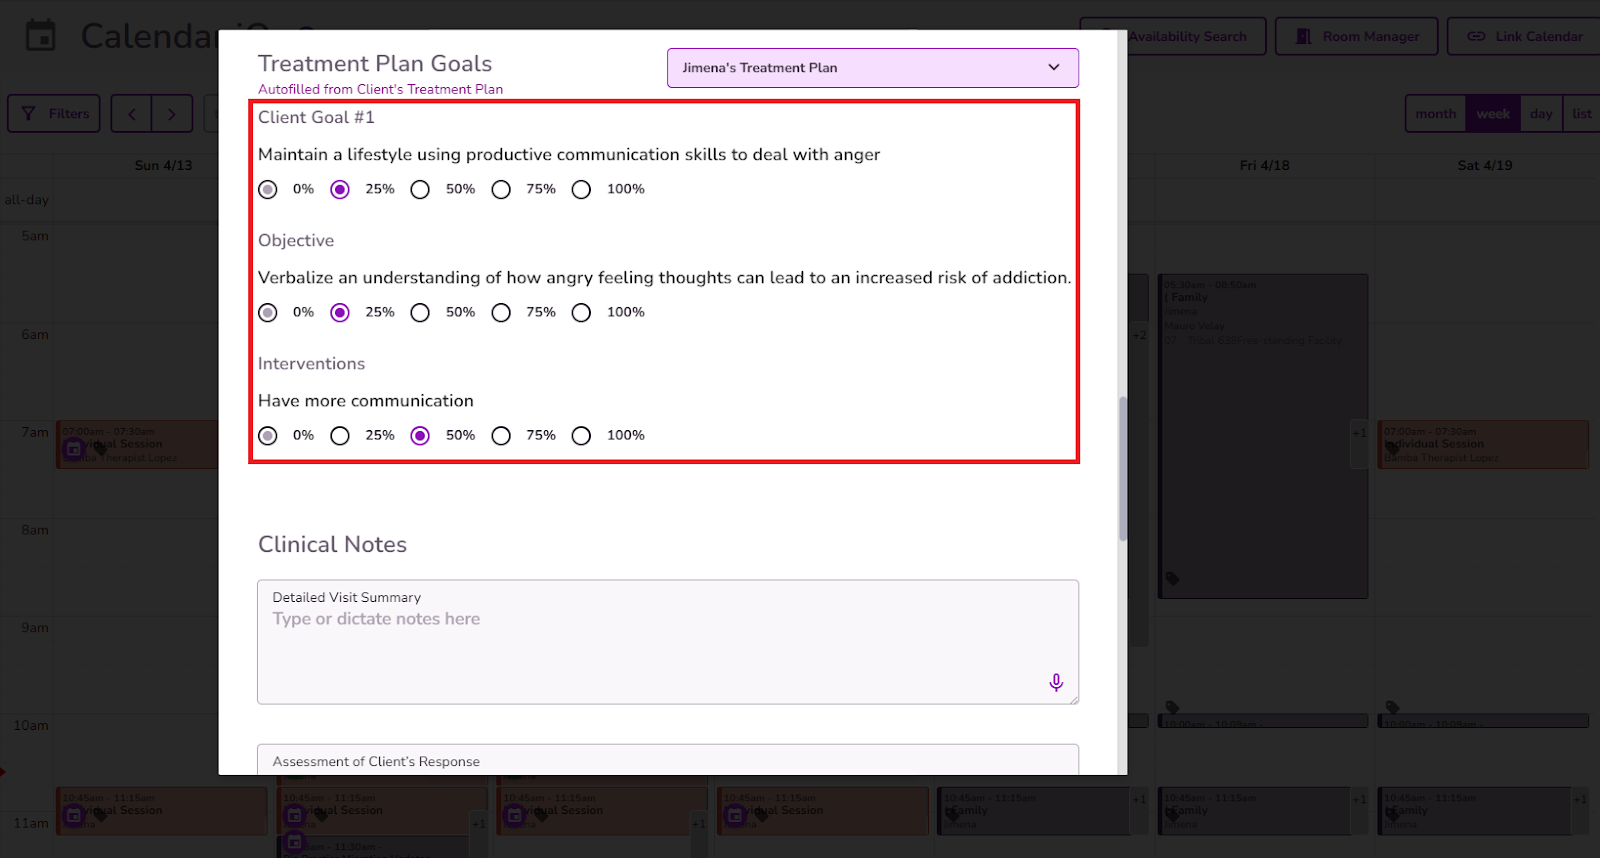
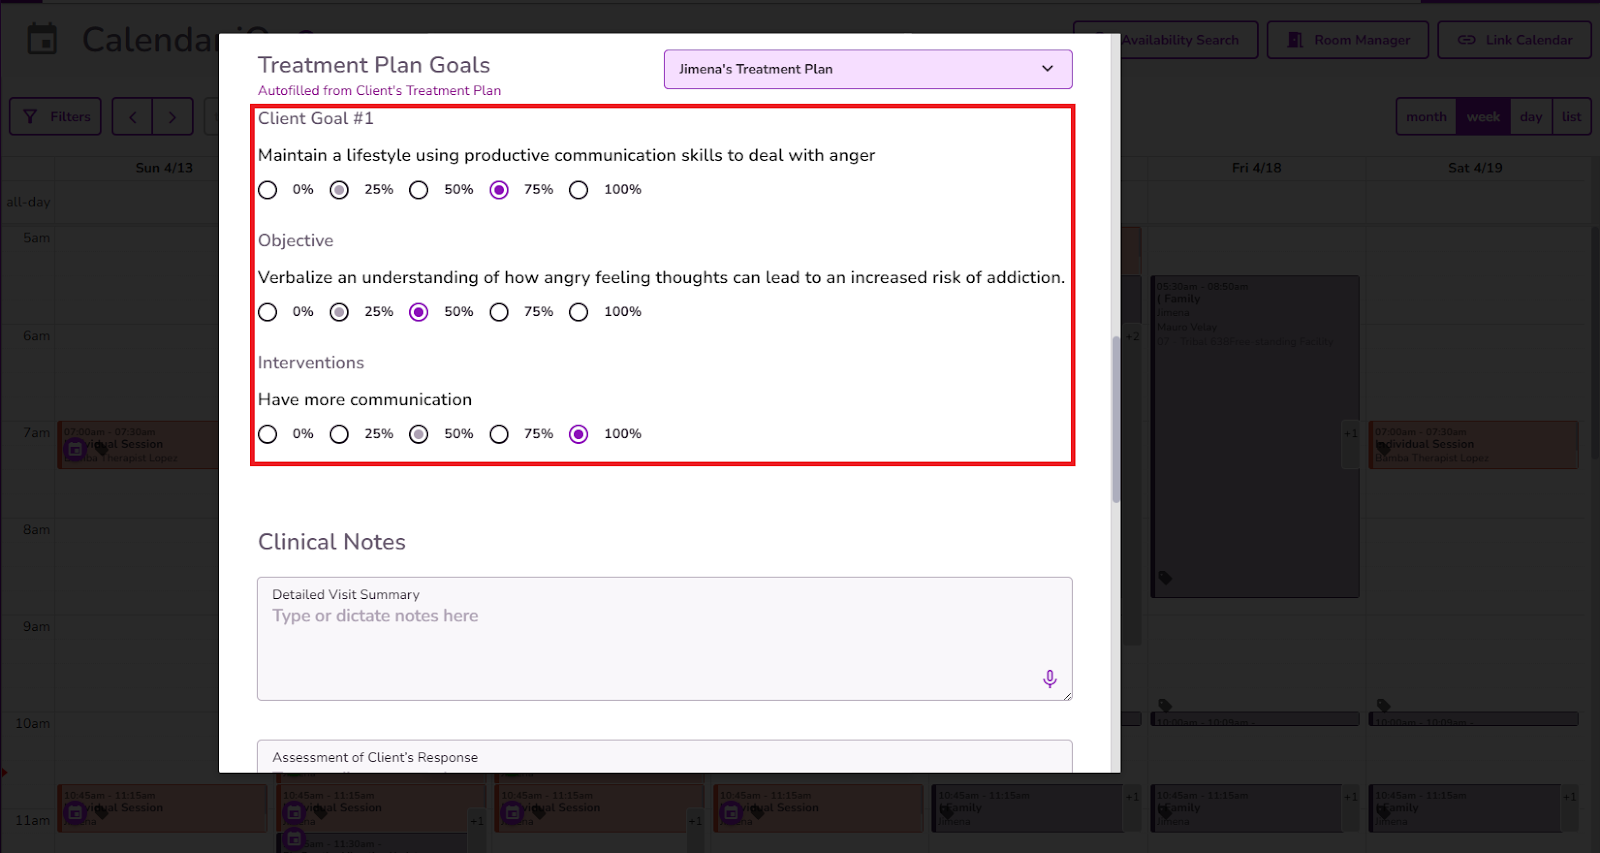
NOTE: The last selected percentage will remain visible in default state for future reference.
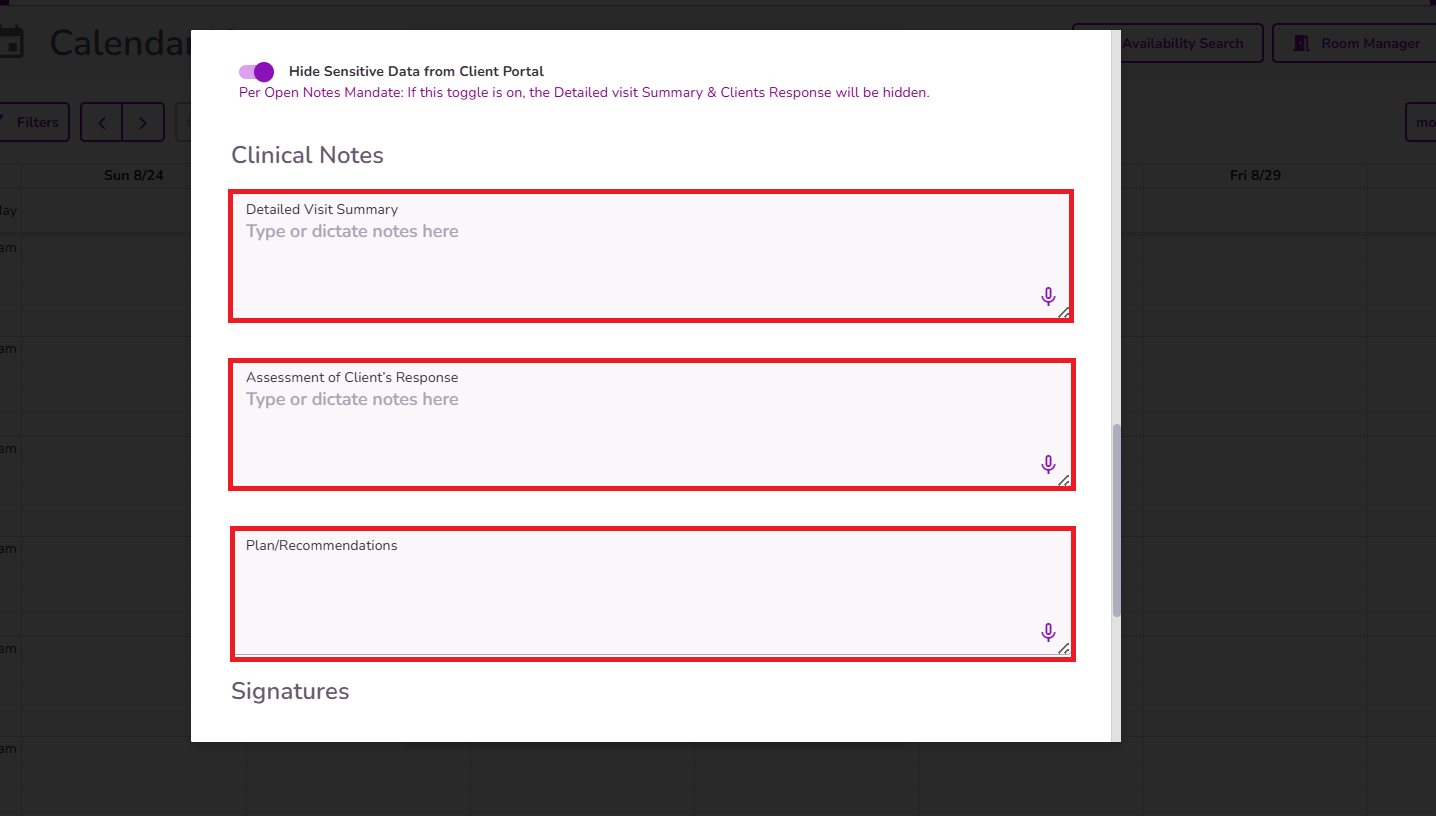
Complete Detailed Visit Summary, Assessment of Client Response and Plan/Recommendations
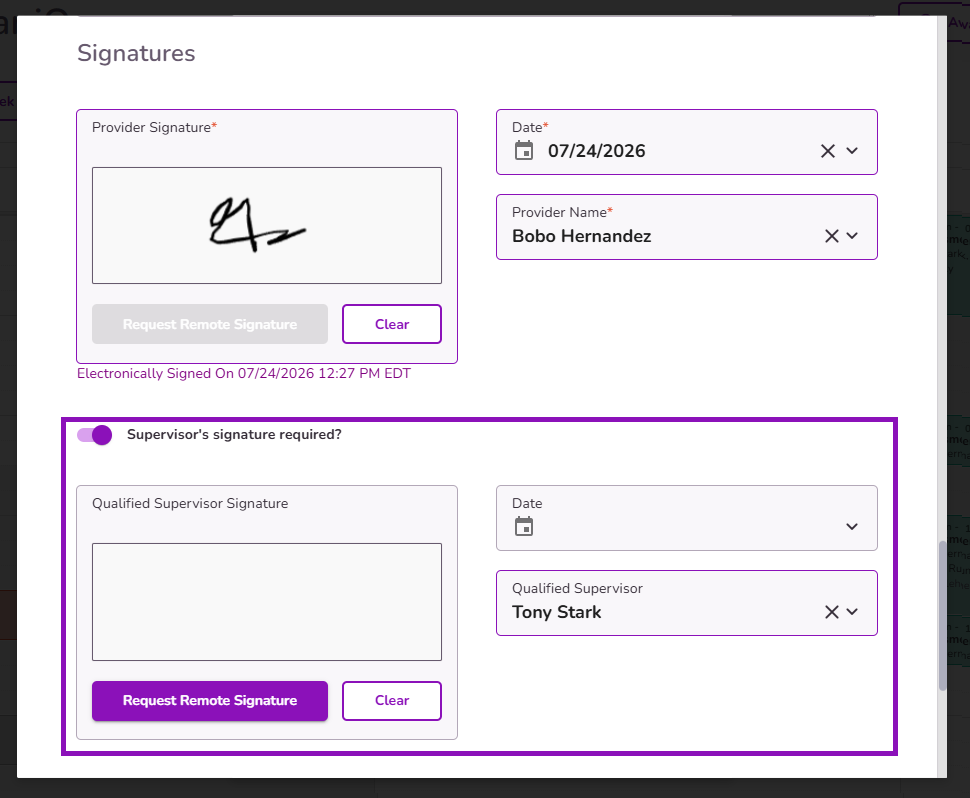
If your supervisor needs to review and co-sign your note, the Supervisor’s Signature Required? Toggle will be enabled by default. Once the note is submitted, an alert will be generated for the supervisor, prompting them to review and sign it from their end.
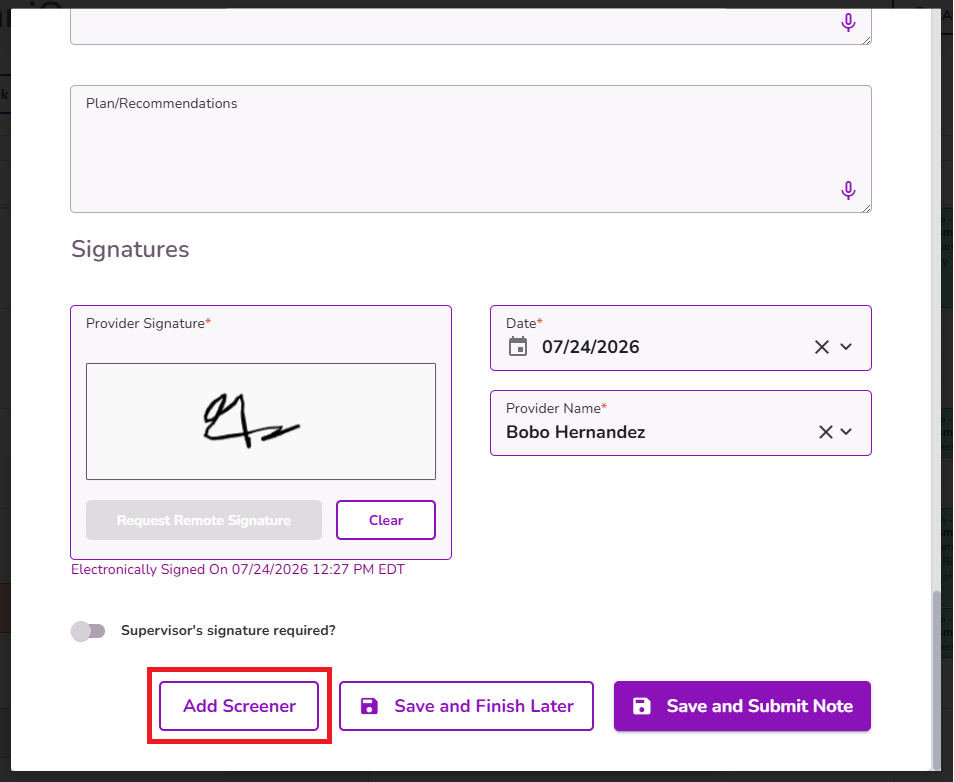
From the progress note, you have the option to complete a screener if needed. Once submitted, the screener will be automatically saved in the Forms Library and in Client Files within the client’s profile.
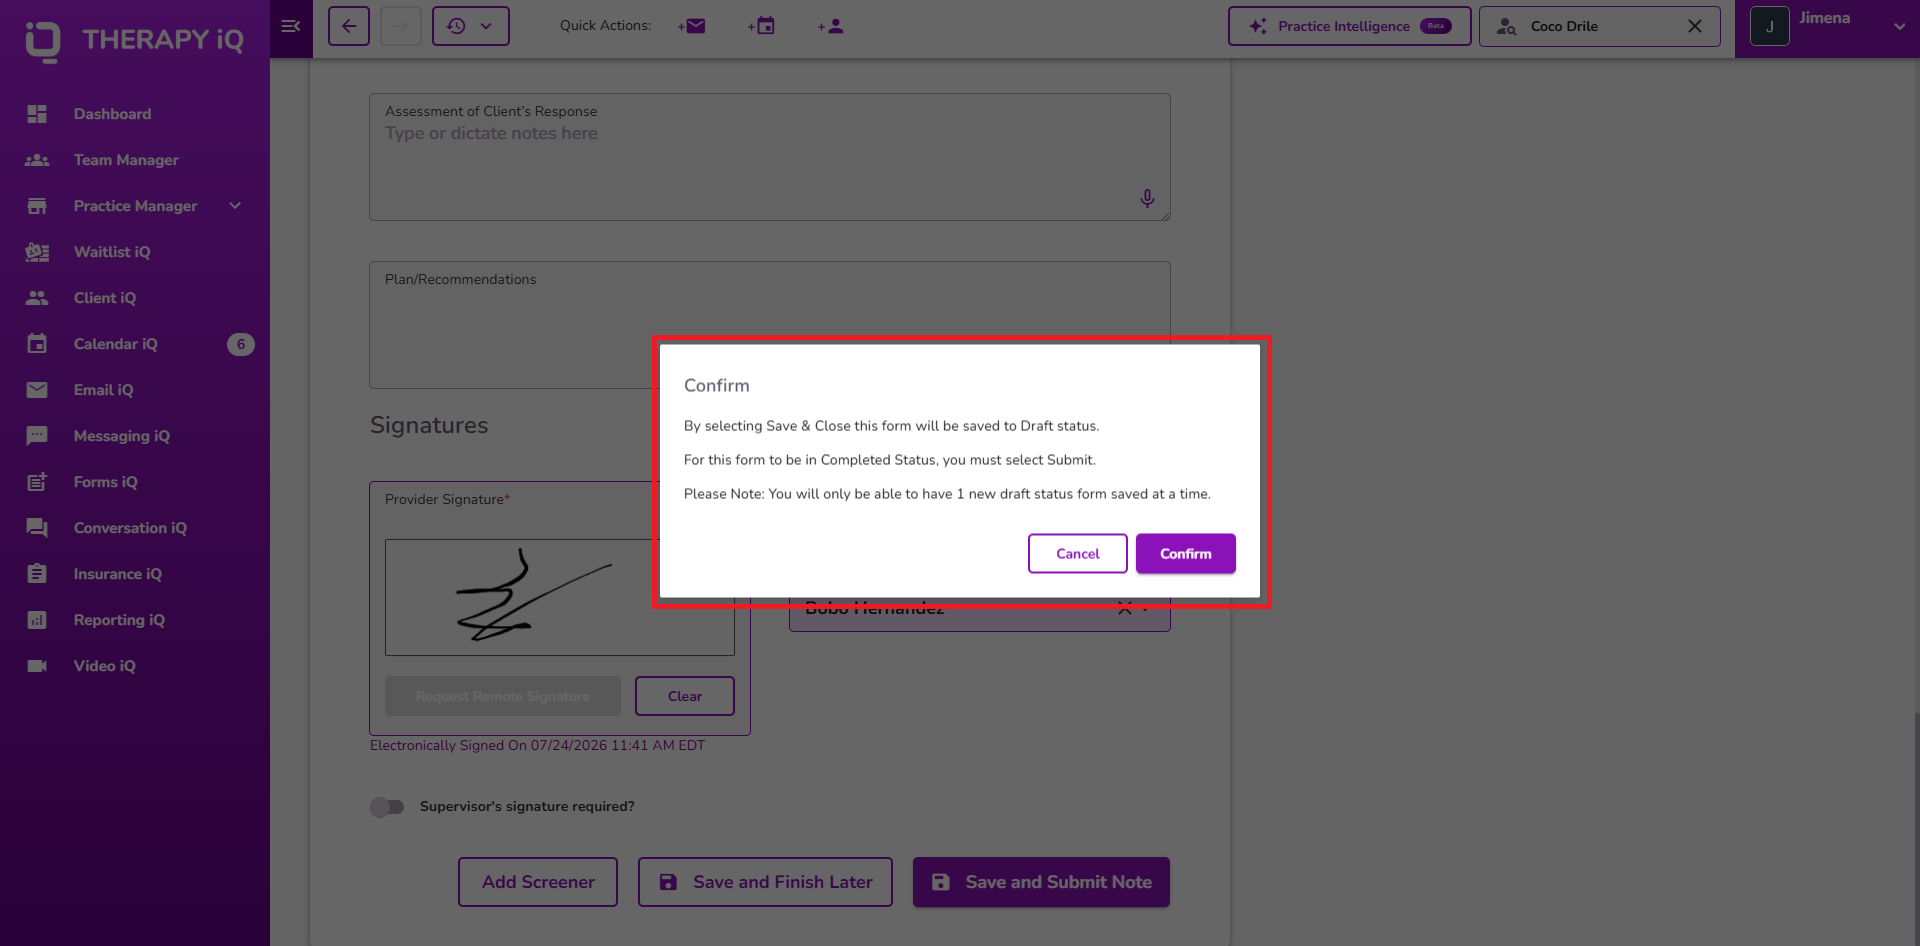
You can select Save and Finish Later to save the progress note as a draft in the client’s profile.
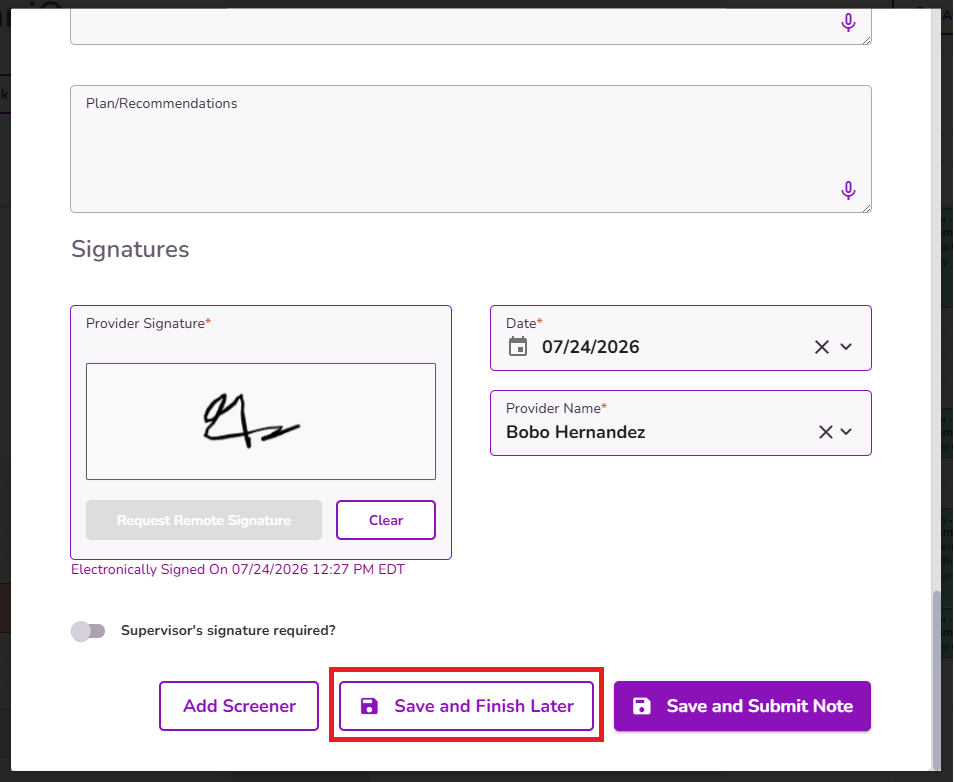
IMPORTANT: The system allows saving one draft per provider, note type, and client combination. This means that a single provider can have multiple drafts saved at the same time for different note types, and multiple providers can also have separate drafts saved for the same client at the same time.
Once the Progress note is completed select Save and Submit Note to properly submit the note.
Remember that only submitted documents are considered complete. If you don’t submit your note on time, it will generate a Missing Document > Progress Note alert in your Dashboard.
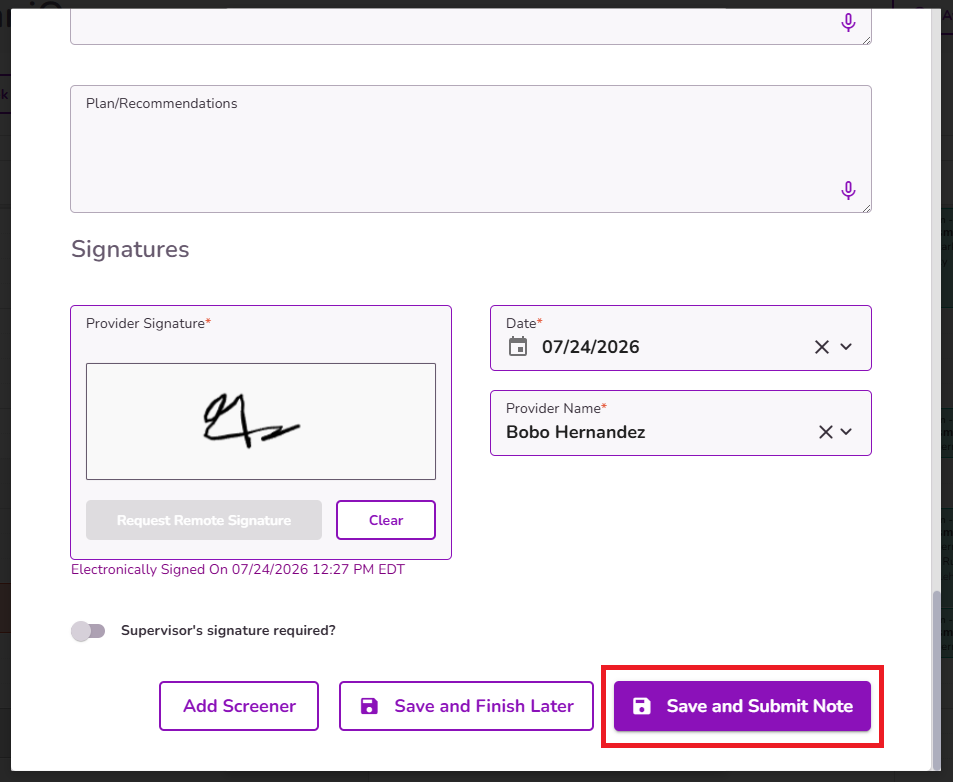
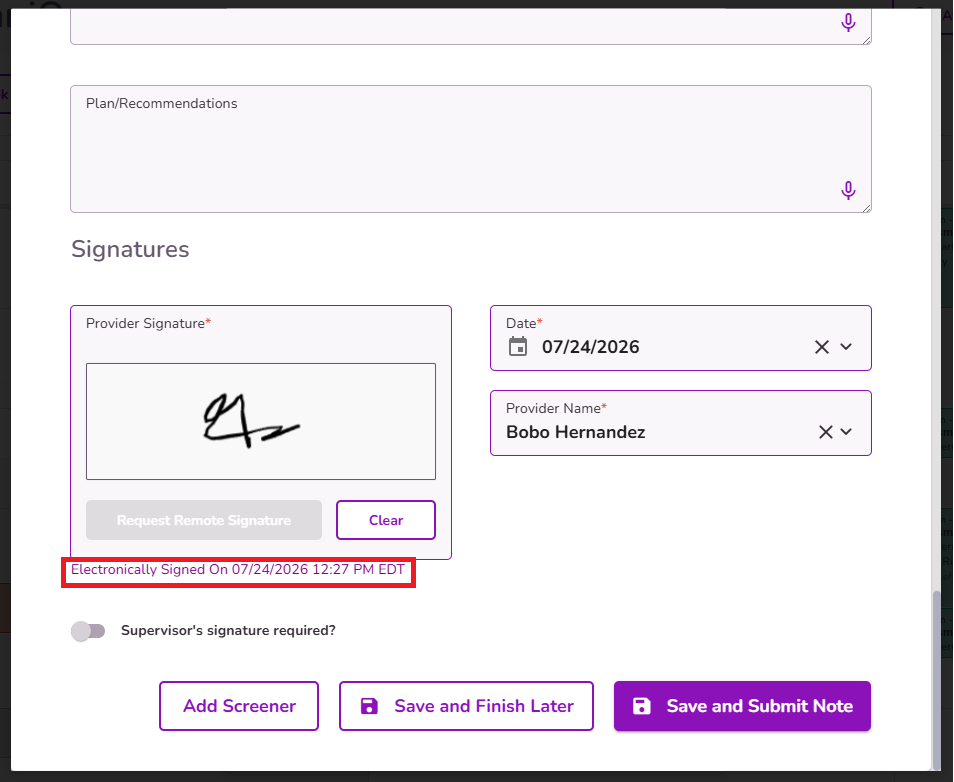
NOTE: Once a Progress Note is signed, TiQ automatically records a signature timestamp beneath the Provider Signature (and Supervisor Signature, if applicable) in the format "Electronically Signed On MM/DD/YYYY at 00:00PM EST”. If a signature is later modified or re-applied, the timestamp will update to reflect the most recent signature. The timestamp shown on the form will also appear on the generated PDF.
Click here to learn about the features that make it easy to fill out a progress note in TIQ.


