.png)
How To Update Your Insurance Information
Whether you are new to TiQ and setting up your insurance information for the first time, or simply looking to update or add an additional insurance, this guide will walk you through the process step by step.
NOTE: Once insurance information has been added, you can make updates as needed; however, only your provider can remove it upon request.
To update your insurance information navigate to the "My Profile" option in your Navigation Bar.
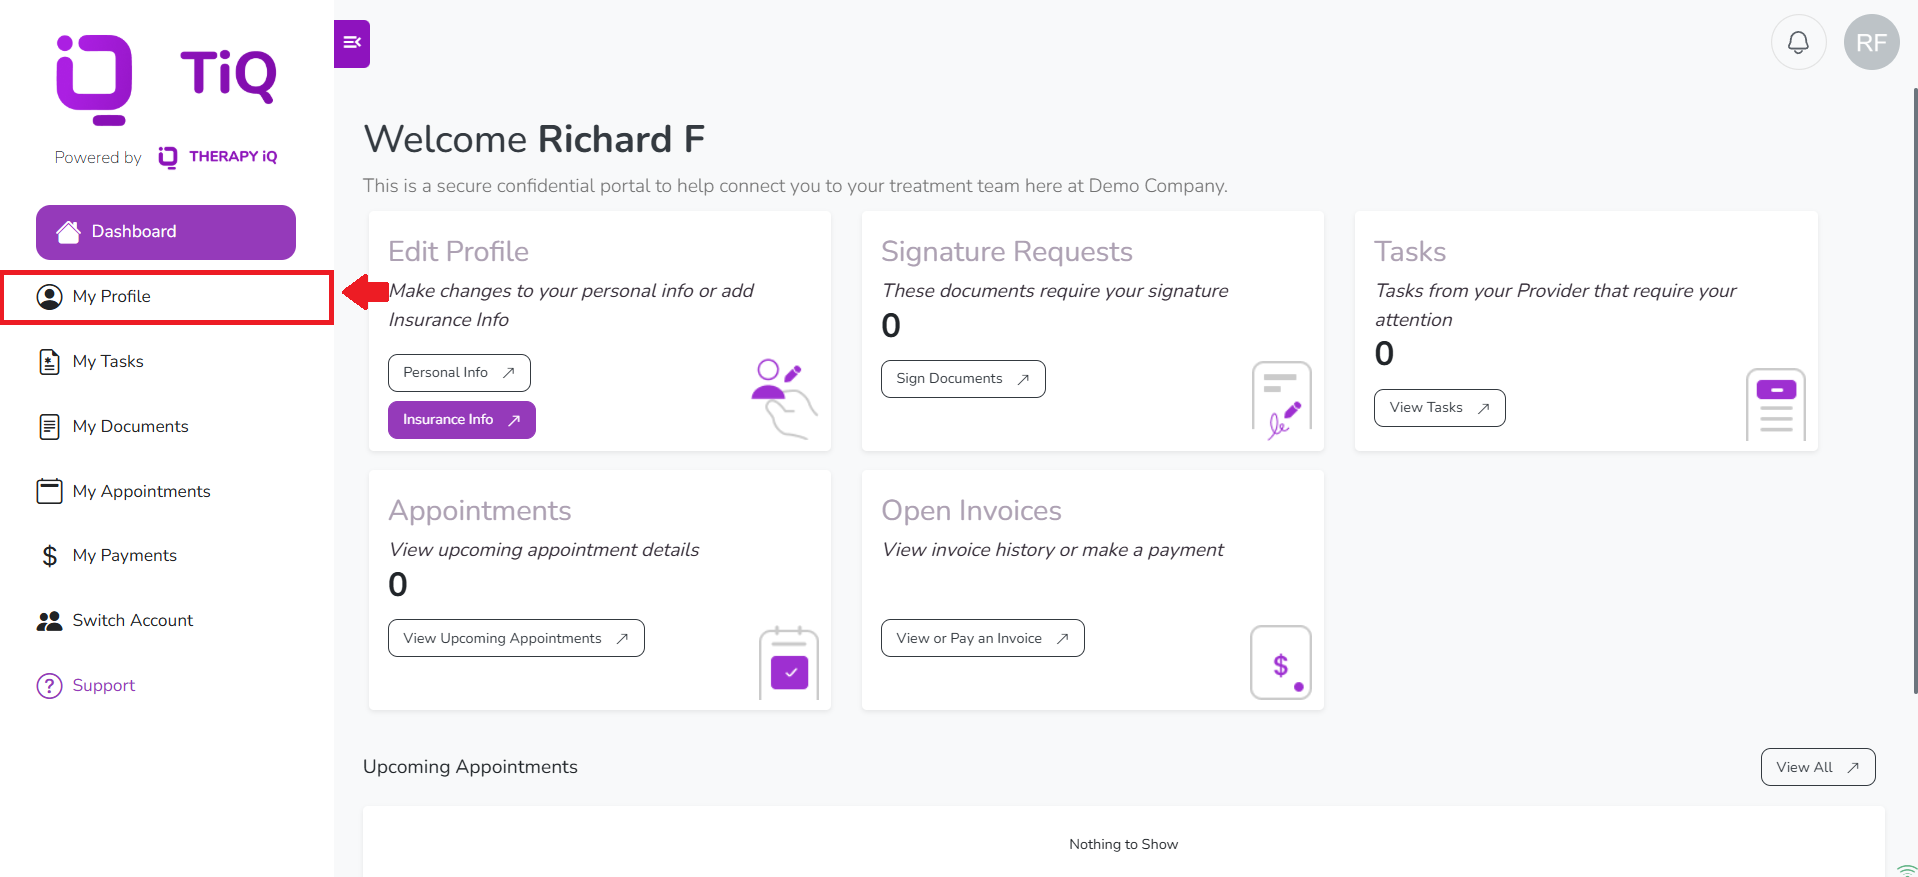
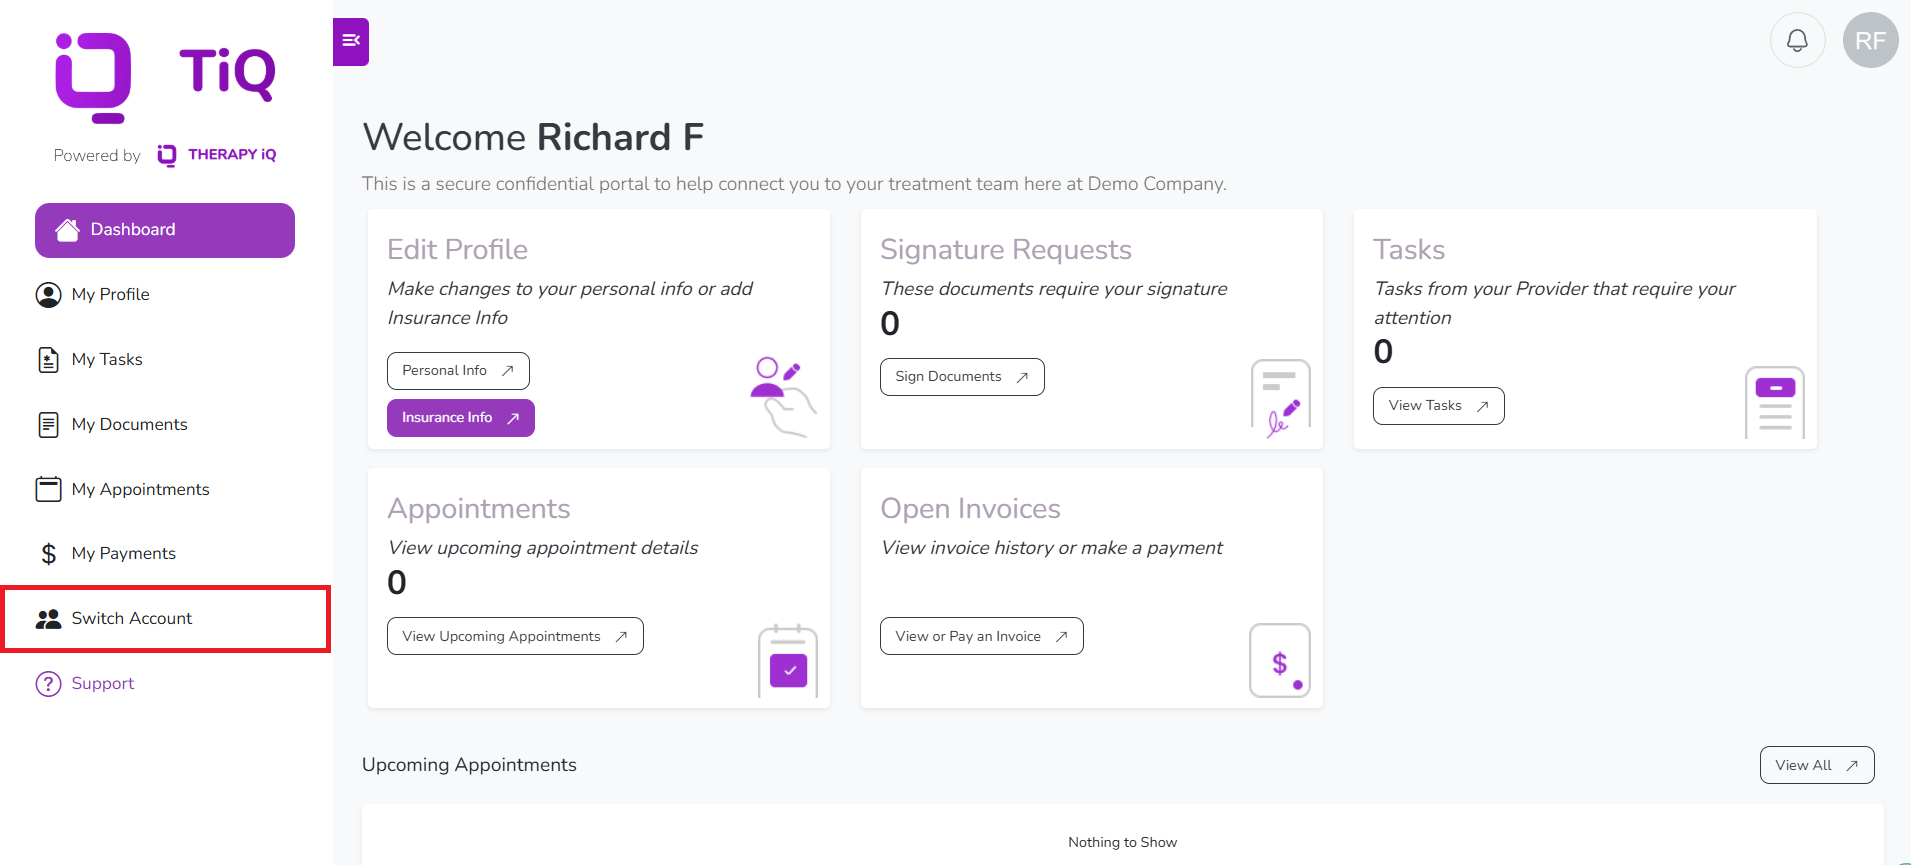
NOTE: If you’re a contact (such as a legal guardian or parent), navigate to Switch Account from the navigation bar to access the correct client’s portal.
From My Profile, select Edit Profile to access your profile settings.

TIP: You can easily access your profile settings from anywhere in your portal by selecting your profile icon at the top right and choosing Edit Profile.

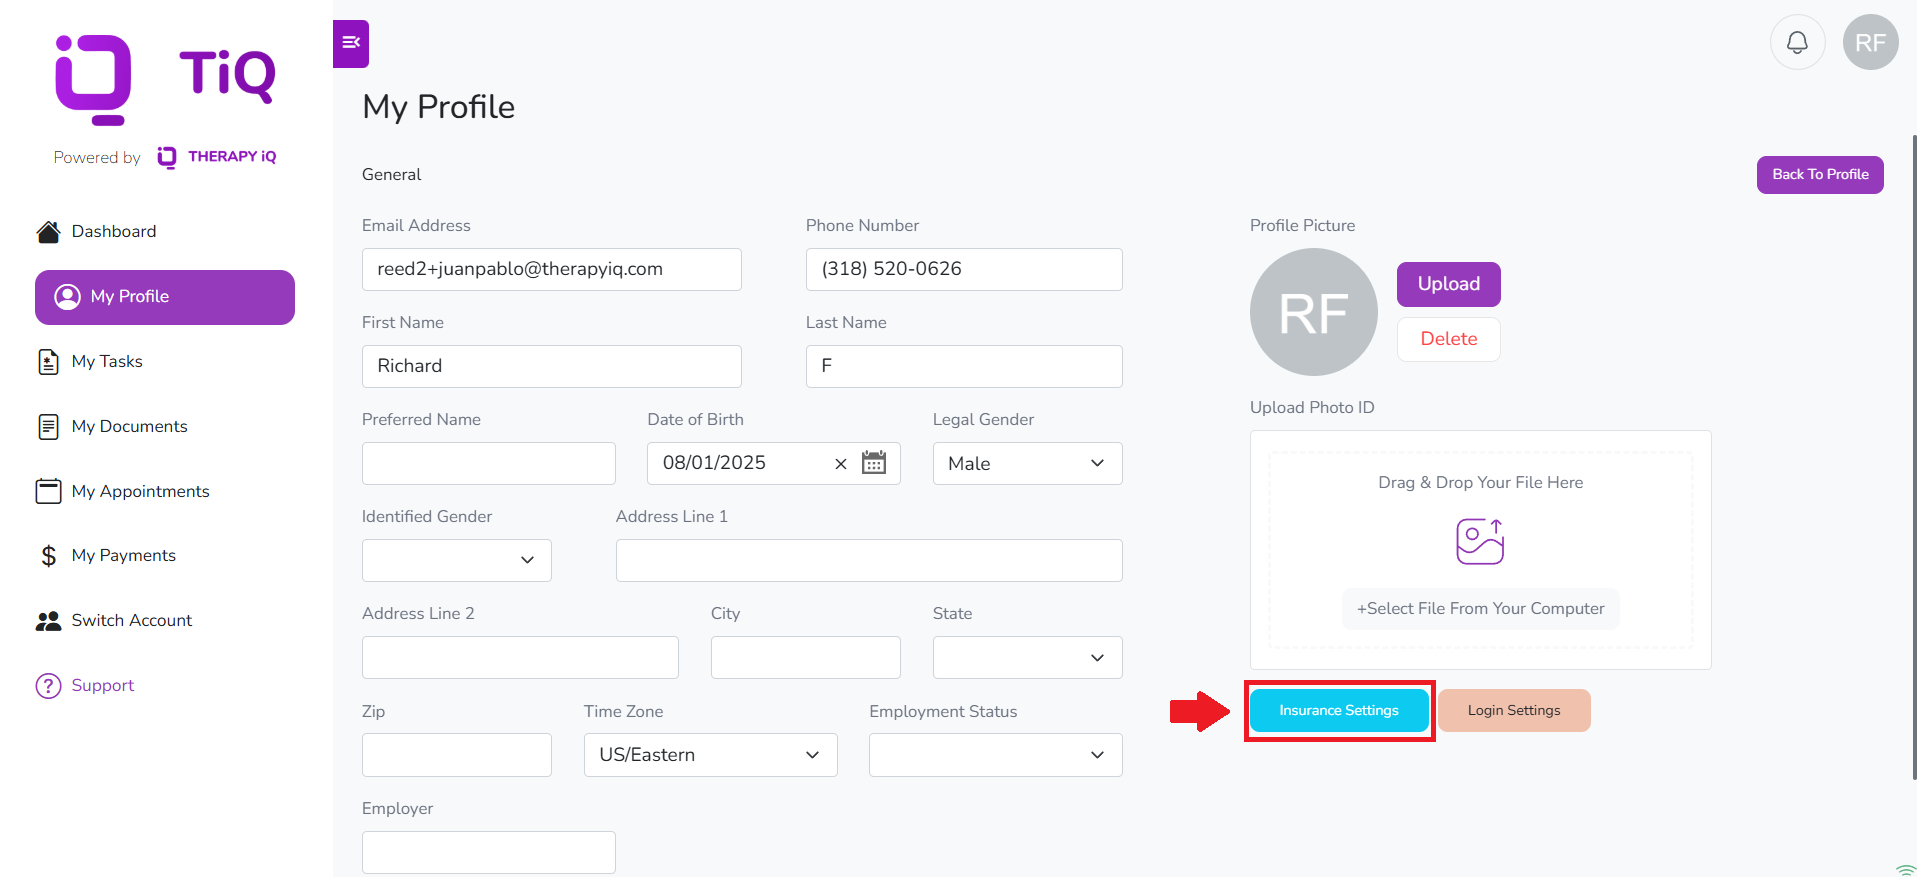
From your profile settings, navigate to the Insurance Settings button.
An Insurance Information pop-up will appear, allowing you to enter or update your primary, secondary, and tertiary insurance details. You will also have the option to upload images of the front and back of your insurance card for reference.

Make sure your insurance card images are in the correct file format before uploading them.

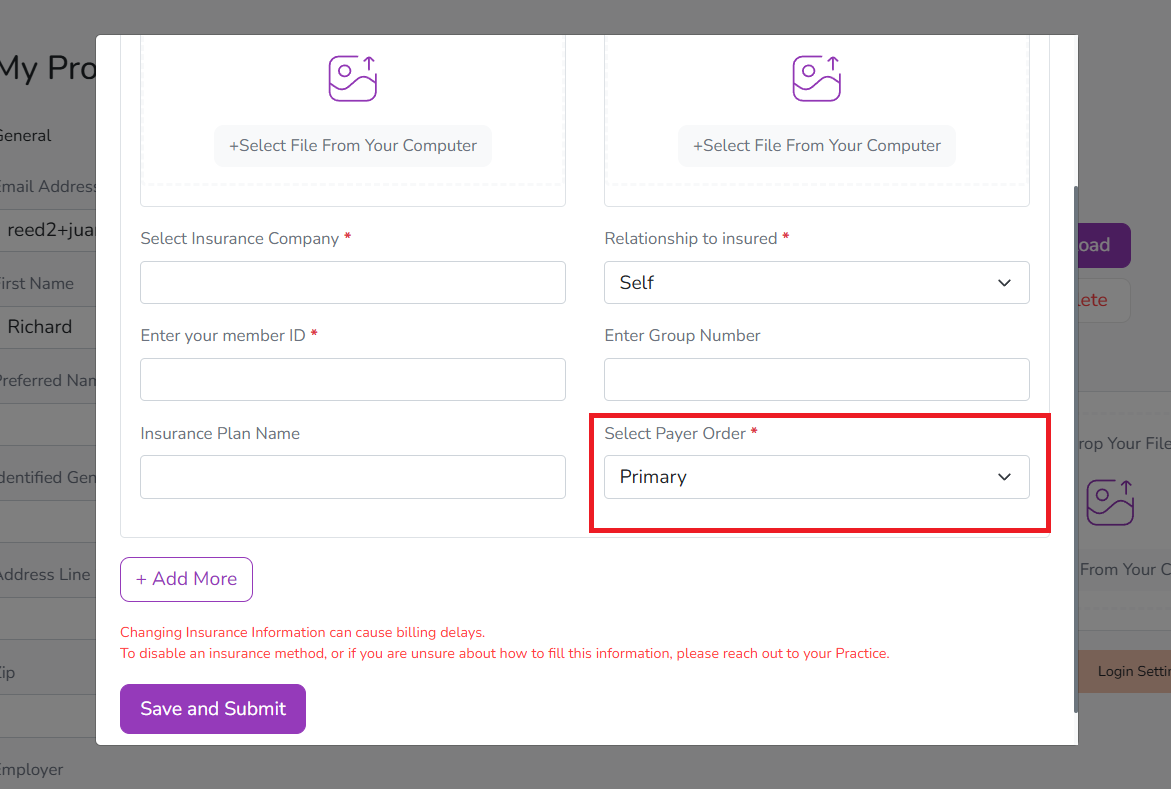
Enter the detailed information for each payer to ensure accurate billing.

From the Select Insurance Company field, be sure to choose an existing option from the dropdown menu to ensure it’s added correctly. Manually typing the name may prevent the information from being properly saved or tracked.

Make sure to enter the correct Member ID.

It’s important to select the correct Payer Order for each insurance to ensure accurate billing.
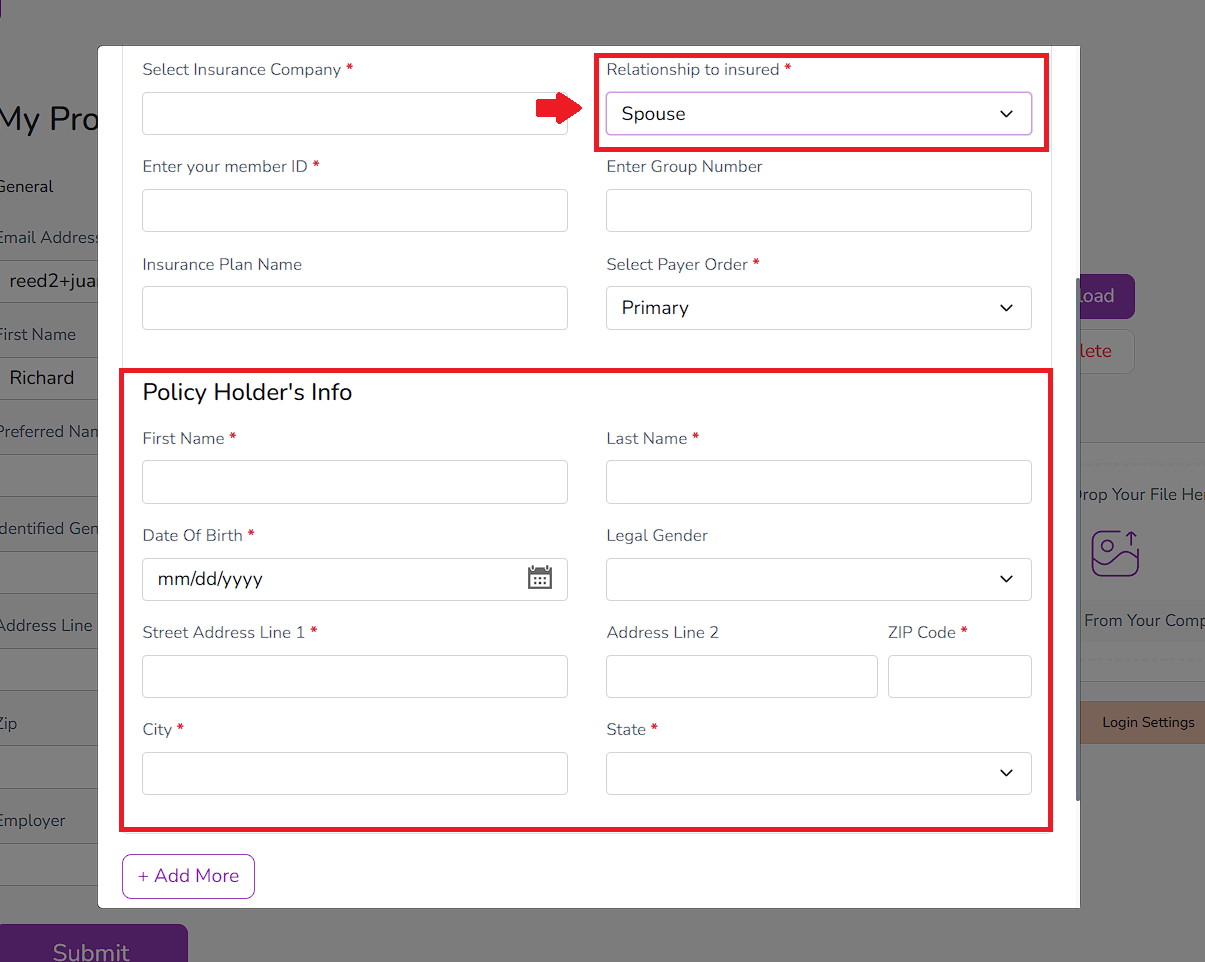
Select the Relationship to Insured from the list.

NOTE: If you select any option other than Self, additional fields will appear for that payer, allowing you to enter the Policy Holder's information.
To add more payers, click the + Add More button. This allows you to include up to three different payers and assign the appropriate order for each.

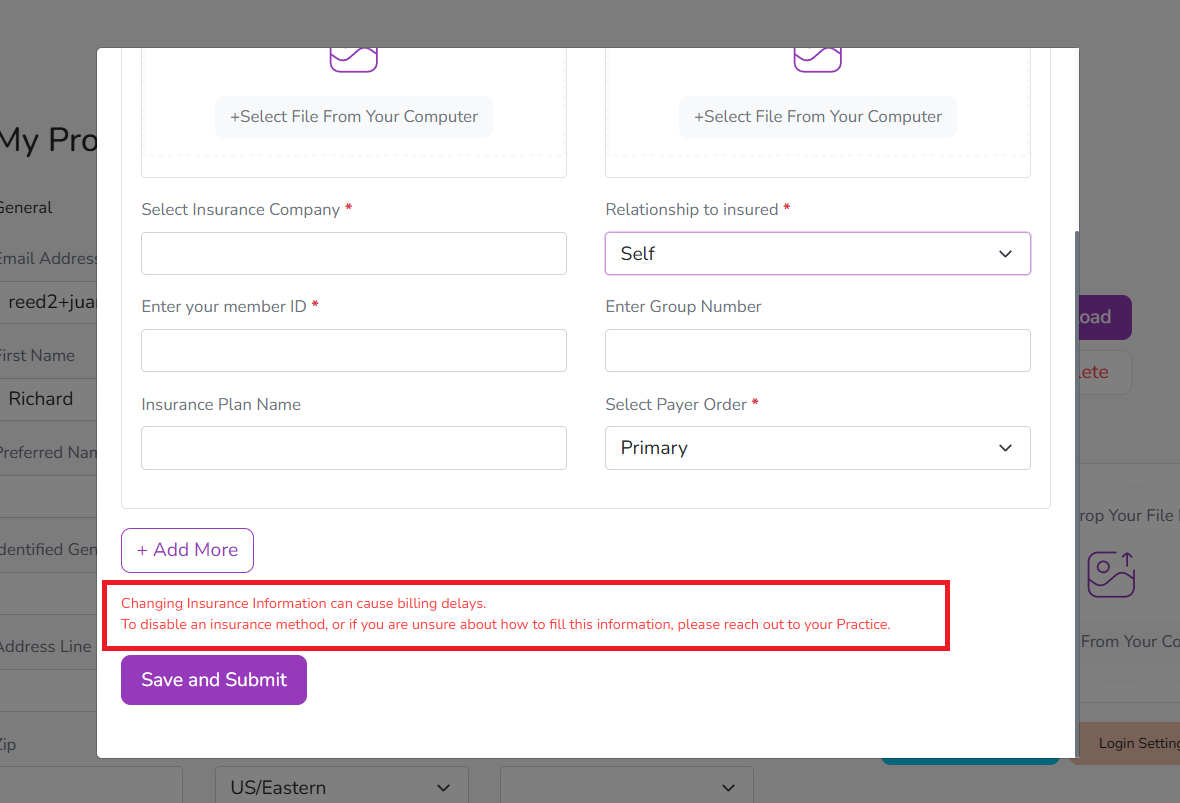
A message will appear below your insurance details, reminding you that updating any insurance information may cause billing delays. If you have questions about your payer details or wish to remove any of them, please contact your provider or practice.
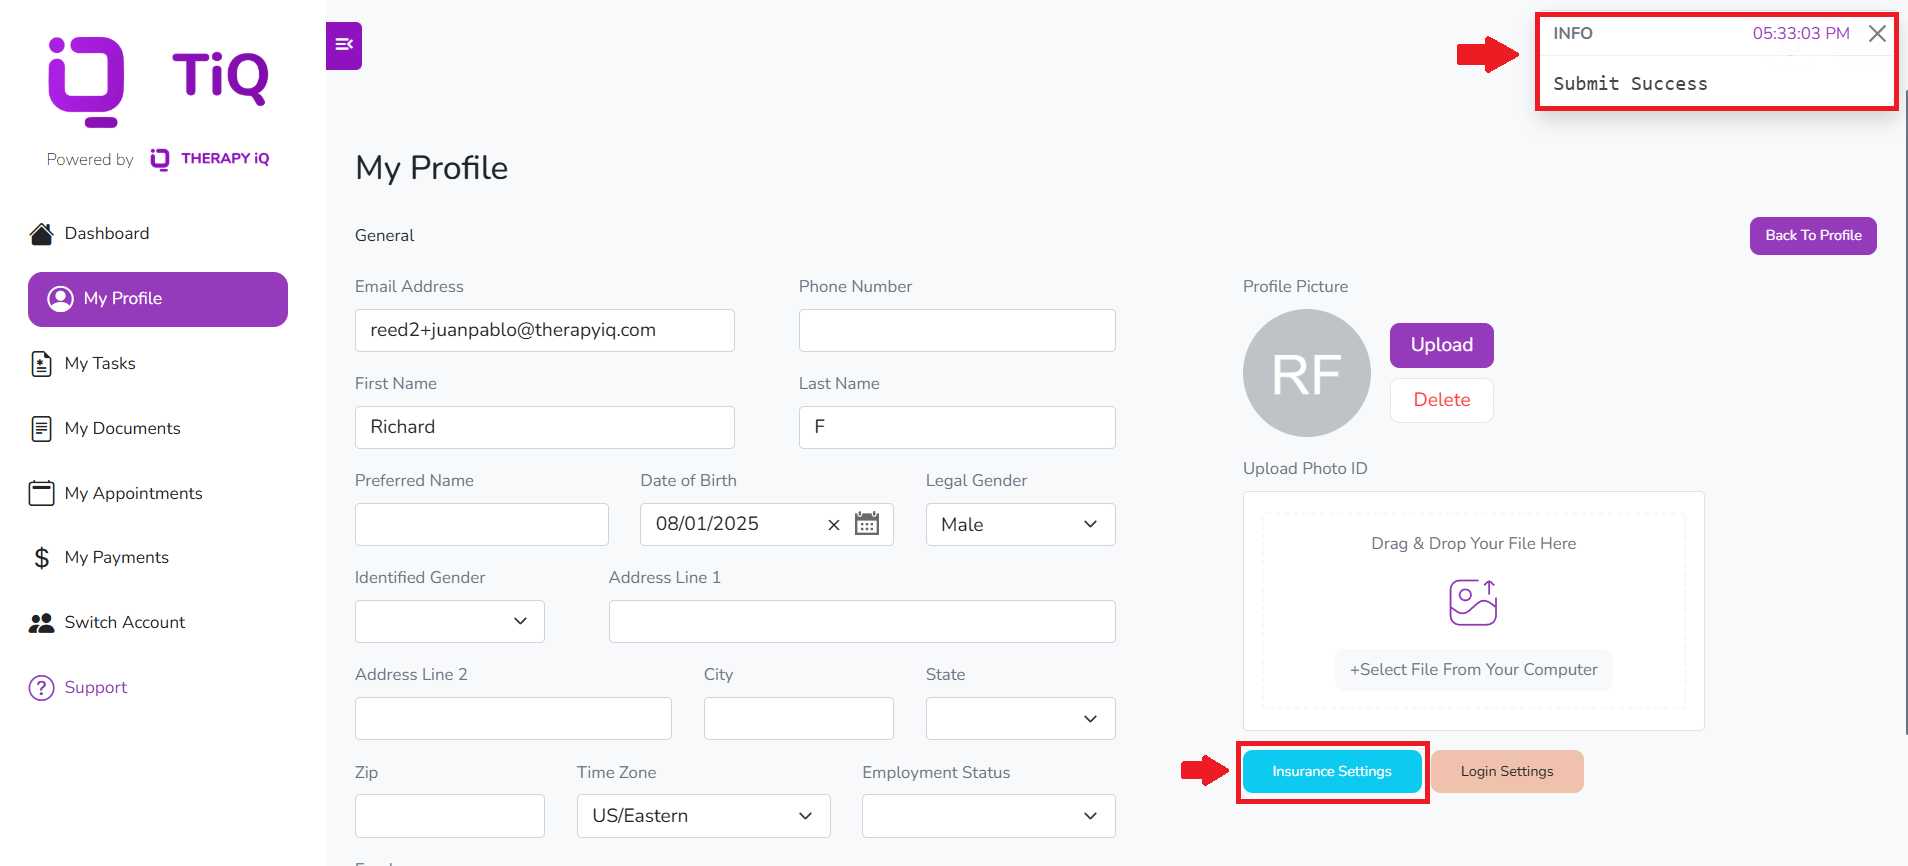
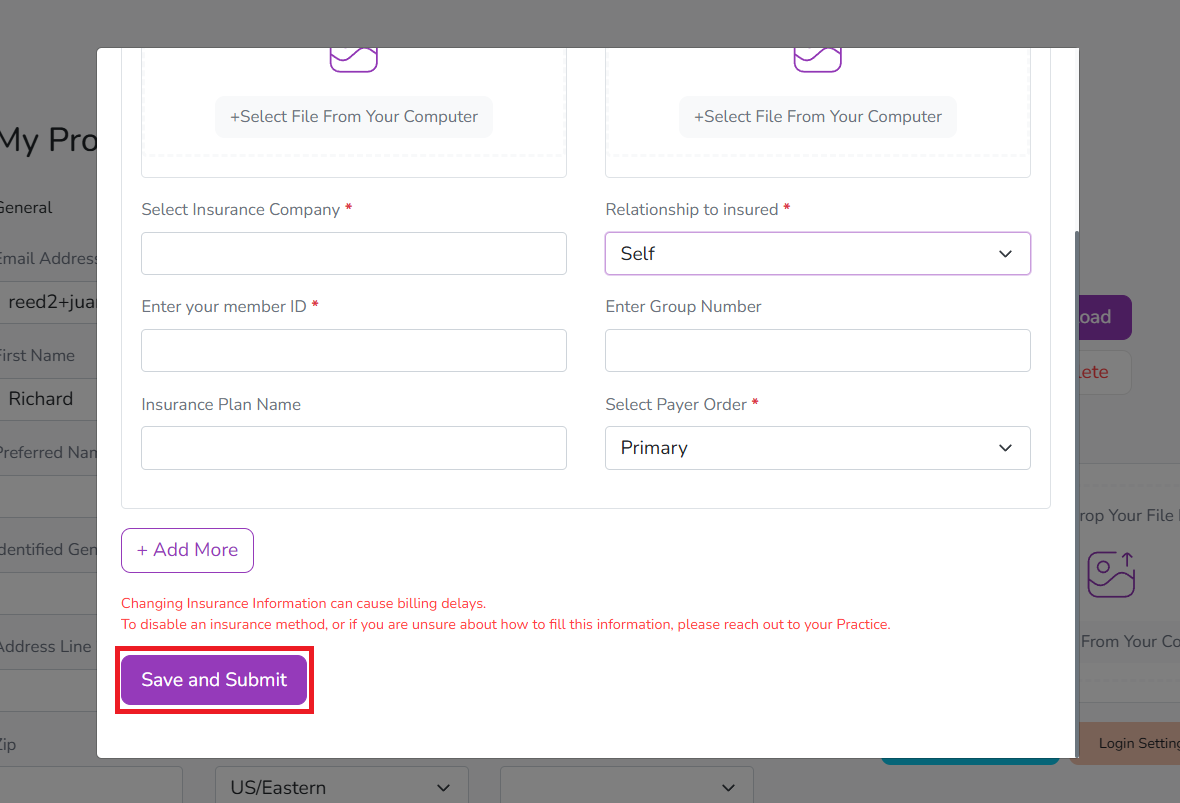
Once all the information has been entered, click Save and Submit to ensure your details or updates are properly saved.
A confirmation message will appear in the top right corner indicating that your information was successfully saved. Your insurance details will be stored in your profile under the Insurance Settings section.