Understanding Client Tags
Tags are used to sort or group clients for better tracking or filtering. This guide will show you how to create tags for your clients.
To Create Client Tags
Navigate to the Services & Tags tab in Practice Manager.

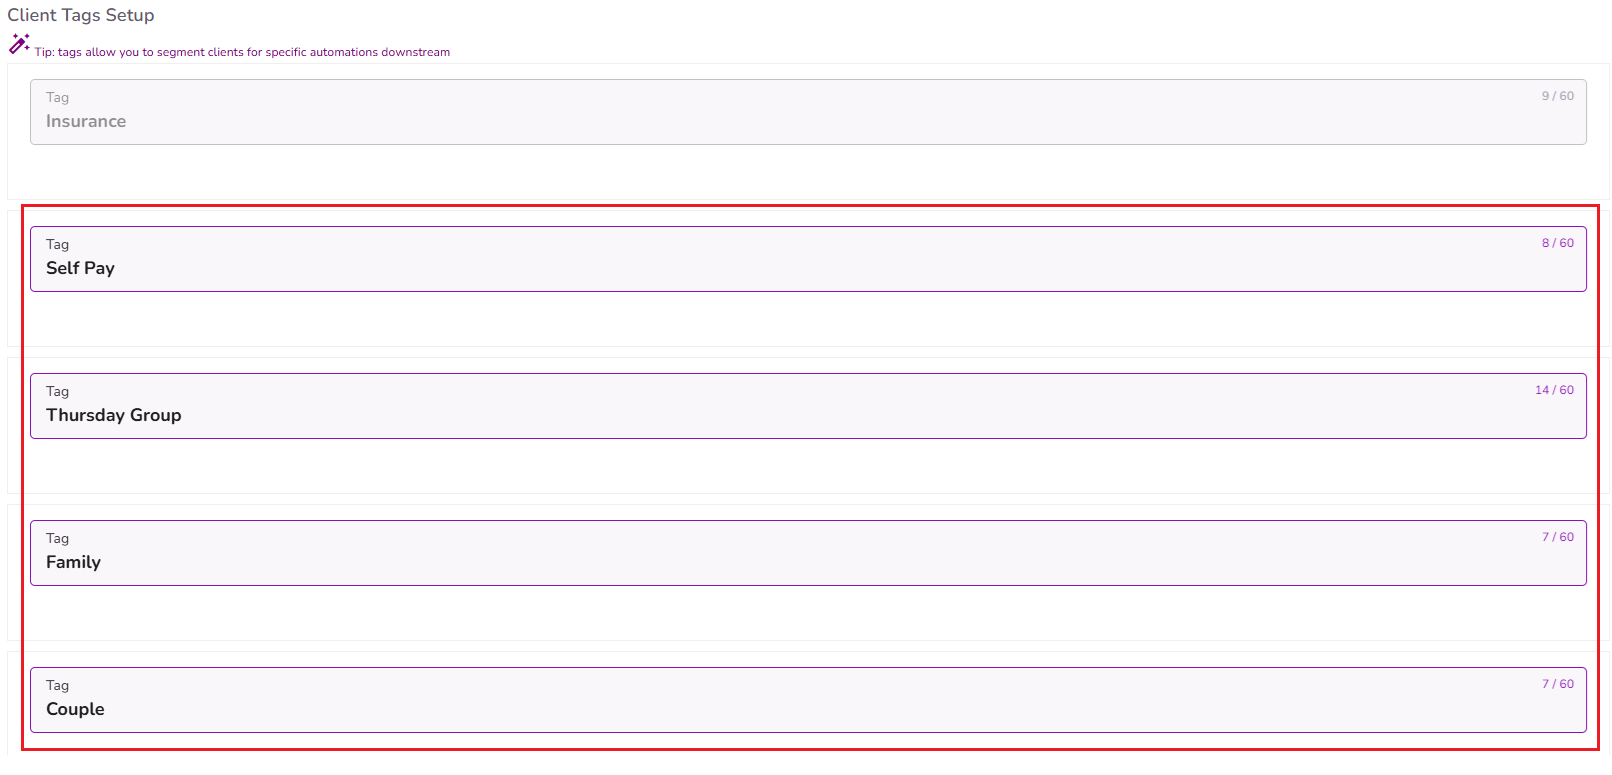
Scroll down to find the 'Client Tags Setup' section and select '+ Add More' button.
IMPORTANT: The “Insurance” tag is preset by default and will be automatically assigned to any client once insurance information is added to their profile.

Add all the tags you need, one by one
Select the Submit button to save your changes

To Assign Tags To Clients
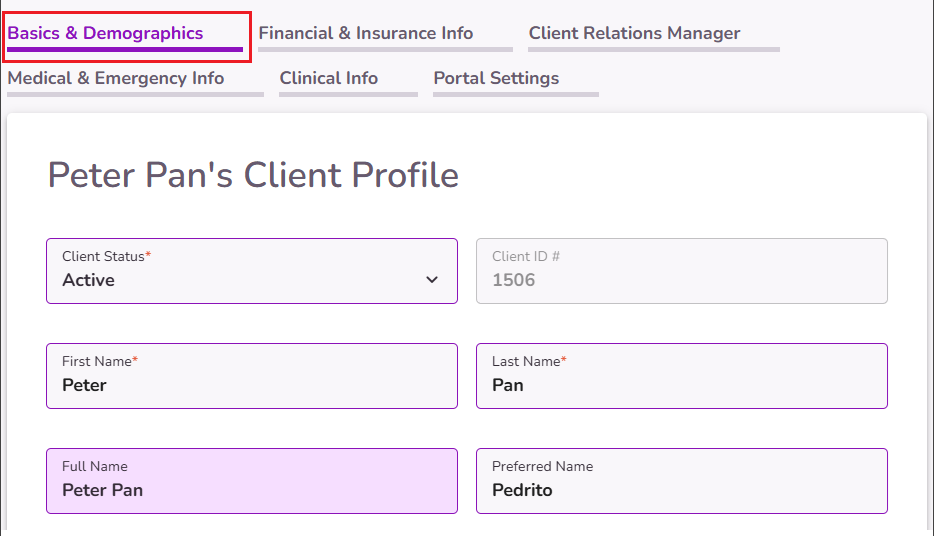
Select the Edit icon in the client profile

You will now see the Client Profile Editor page

Scroll to the bottom under the Basic & Demographics tab
You'll get to the Assign Tags section. There you'll see all the tags you created. Select the ones you'd like to assign to the client.
NOTE: The "Insurance" tag will be automatically assigned to any client with active insurance information on file.
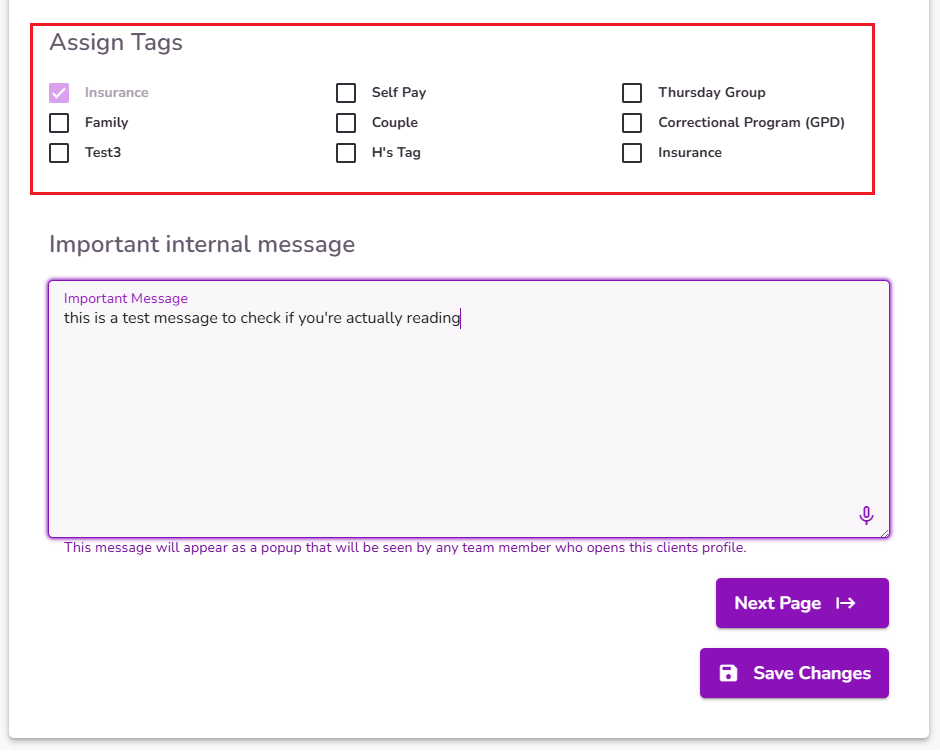
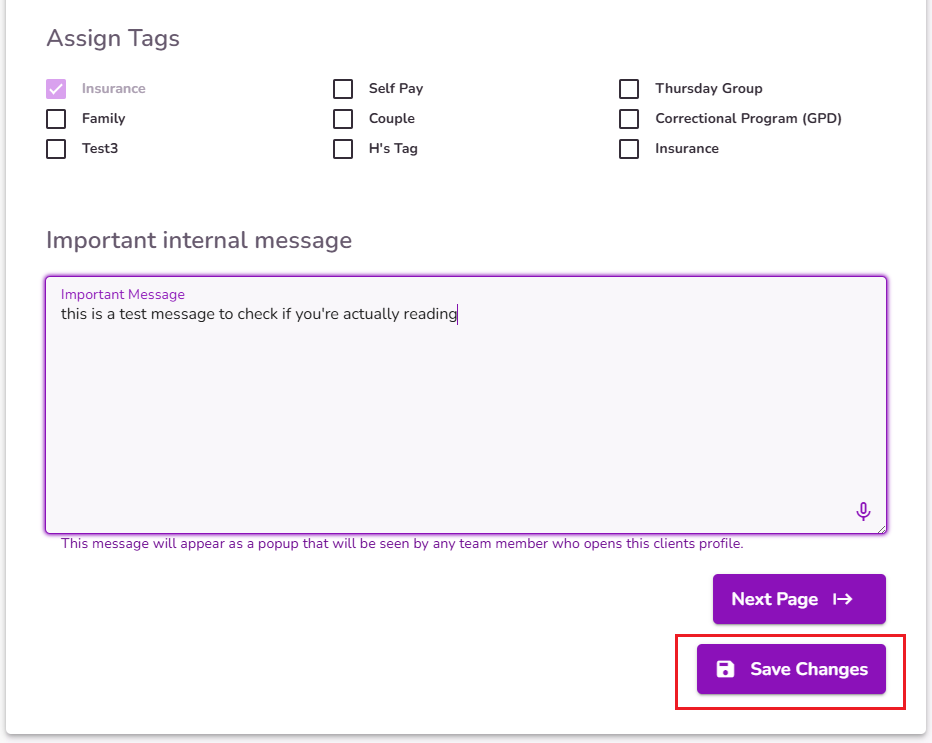
Select the Save Changes button
Client Tags are displayed in reports like the Ledger or the claim log in Insurance iQ. They can be used to filter or group clients for reporting or other purposes.


