How to Process Secondary Insurance Claims
As a reminder, the following tasks must be completed before you can begin billing insurance using TiQ
- Your company's insurance billing settings must be complete and accurate within your company settings
- The client, associated with the claim being processed, must have complete and accurate insurance information within their client profile
- To receive communications (e.g. ERAs, Verification of Benefits) from the clearinghouse, you must complete the enrollments necessary for the provider.
Within TiQ, secondary claims are generated at the same time as primary and will be shown in pending primary status once a calendar event has been marked attended. Claims are only generated for clients that have insurance info entered into their client profile.
IMPORTANT: If any changes are made to the event, prior to the claim being submitted, the information will update on the claim log main page and the claim form.
From Insurance iQ, select Secondary Claims tab.

A secondary claim will automatically be generated as "Pending Primary" for clients with secondary insurance information in their profiles once an event is marked as attended.
Once ERA from primary is received the Secondary claim status changes to Ready to submit.

By clicking on the insurance claim line, the insurance claim form will open, allowing you to review and make any necessary changes before submission.
Note: Merged claims will display the combined claim information under the Primary Payer Adjustments fields.

Once reviewed, scroll down and click Submit to send the claim to the clearinghouse

Once submitted, the status will update automatically to "Submitted."

Once a notification is received from the clearinghouse, a Notification Bell will appear in the new notification column until viewed.
The claim status will automatically update based on the submission process with the clearinghouse and the corresponding payer.

Select the Row of the claim you wish to check notifications for to view notifications and take the appropriate actions.
Note: Once the notification has been viewed, the bell icon will be removed.
Click on the three-dot menu to select "Mark Unread" if you want the notification bell to reappear after viewing the claim form. Additional options, such as "Enter Copay," "Edit," and "Archive," will also be available from the menu for each claim.

Click here to understand claim statuses.
Within the Secondary Claim tab you will have :
- Add Filters

This button allows you filter by: Clients, Service Date, Submission Date, Tags, Provider, Claim Status, and Payer to find specific claims

- Bulk Claim Options

Bulk Claim Export
This option allows you to export into an Excel file ALL insurance claims on the log without having to select any specific claims
NOTE: If a filter is added to the claim log, it will also apply to the Excel spreadsheet.
You can also select specific claims to bulk export, just select the claims needed from the log, and click Bulk Claim Export, the files will download in an Excel spreadsheet.

Important: Merged claims can be selected for Bulk Claim Export but cannot be included in Bulk Submission or merged again.
- Bulk Claim Submission
This option allows you to select and submit more than one claim at a time.
NOTE: By default, this button is grayed out, once a claim is selected it becomes available.

Once you are ready to submit the claims, select Submit Claims.

- Search Box
Using the Search Box you can find claims for a specific client or payer.
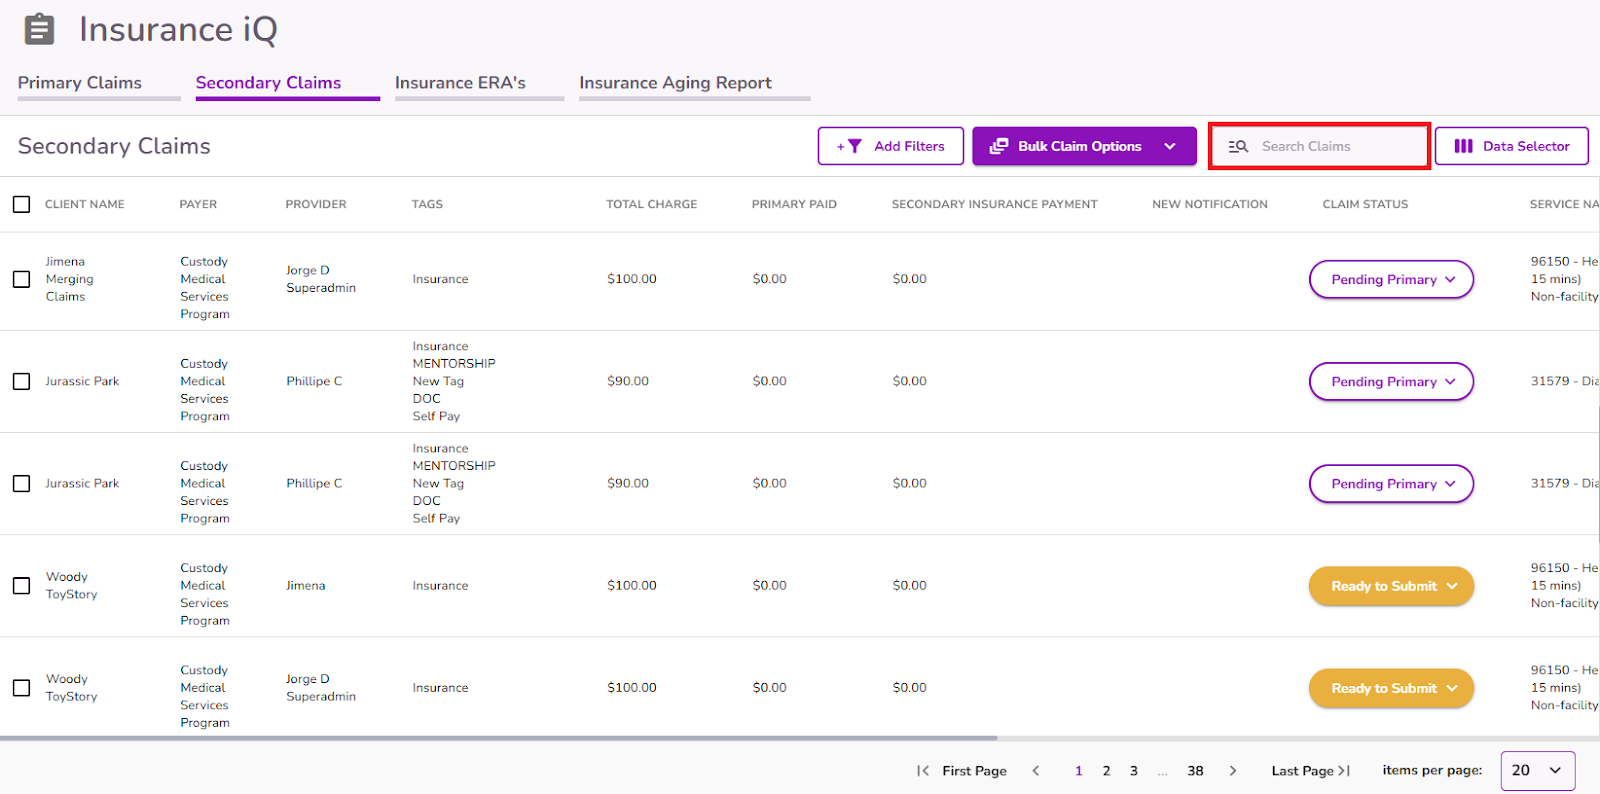
- Data Selector
With this button, you can select which columns to display in the report.

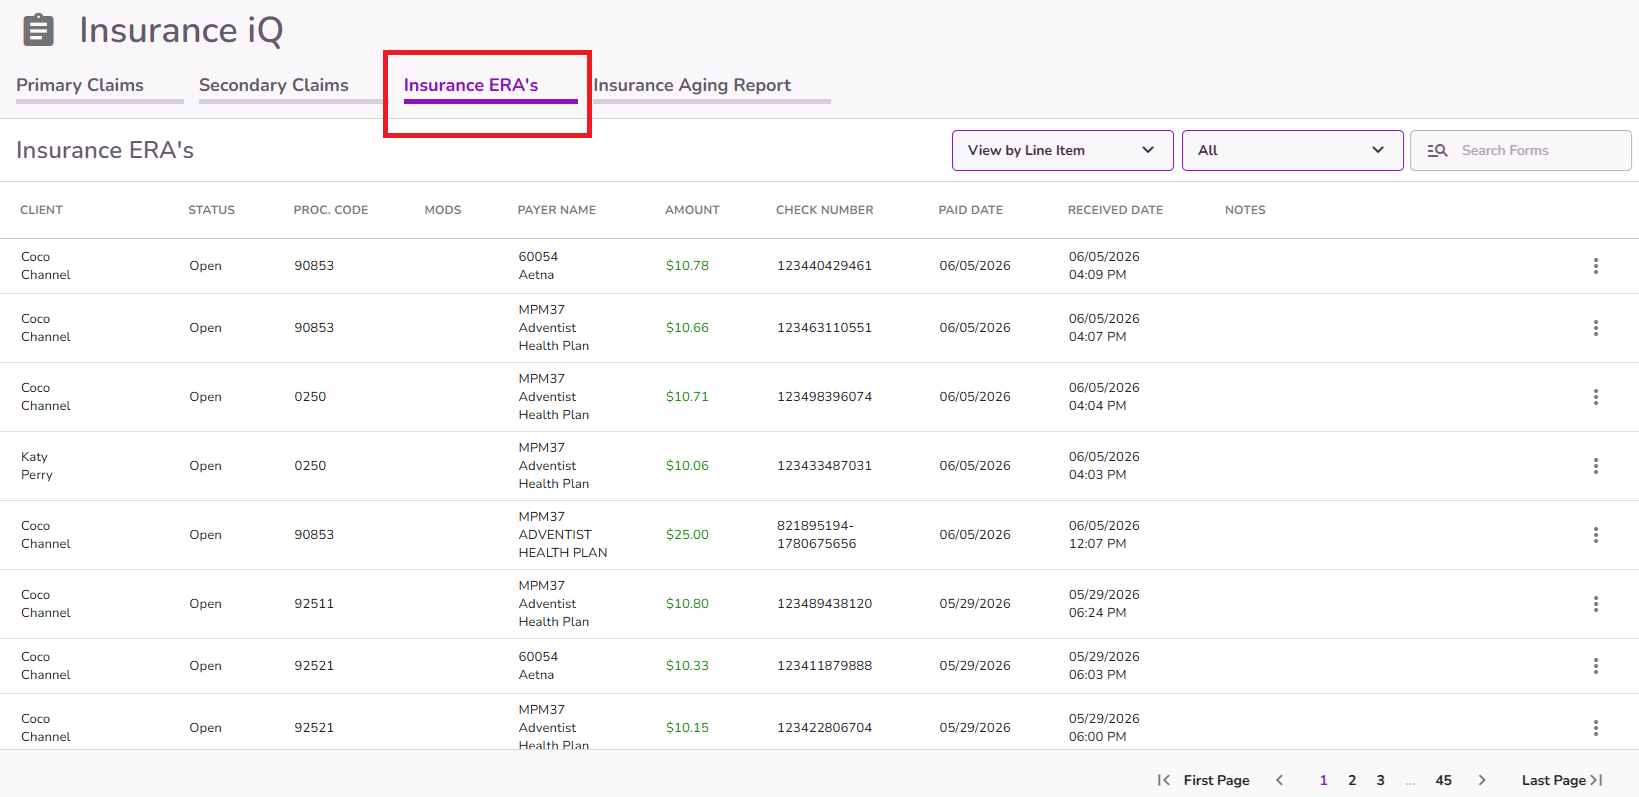
- Locating ERAs:
Once a secondary claim has been processed and an ERA is received, it will be available under the Insurance ERA tab. From there, you can review the payment and adjustment details directly from the ERA.
Important: If the Auto Post feature is enabled, ERAs that include both payments and adjustments will be posted automatically. However, when a secondary ERA has a $0 payment and only includes an adjustment, the adjustment will not be posted automatically.
In these cases, you can manually post the adjustment by selecting Post ERA from the three-dot menu associated with the ERA.
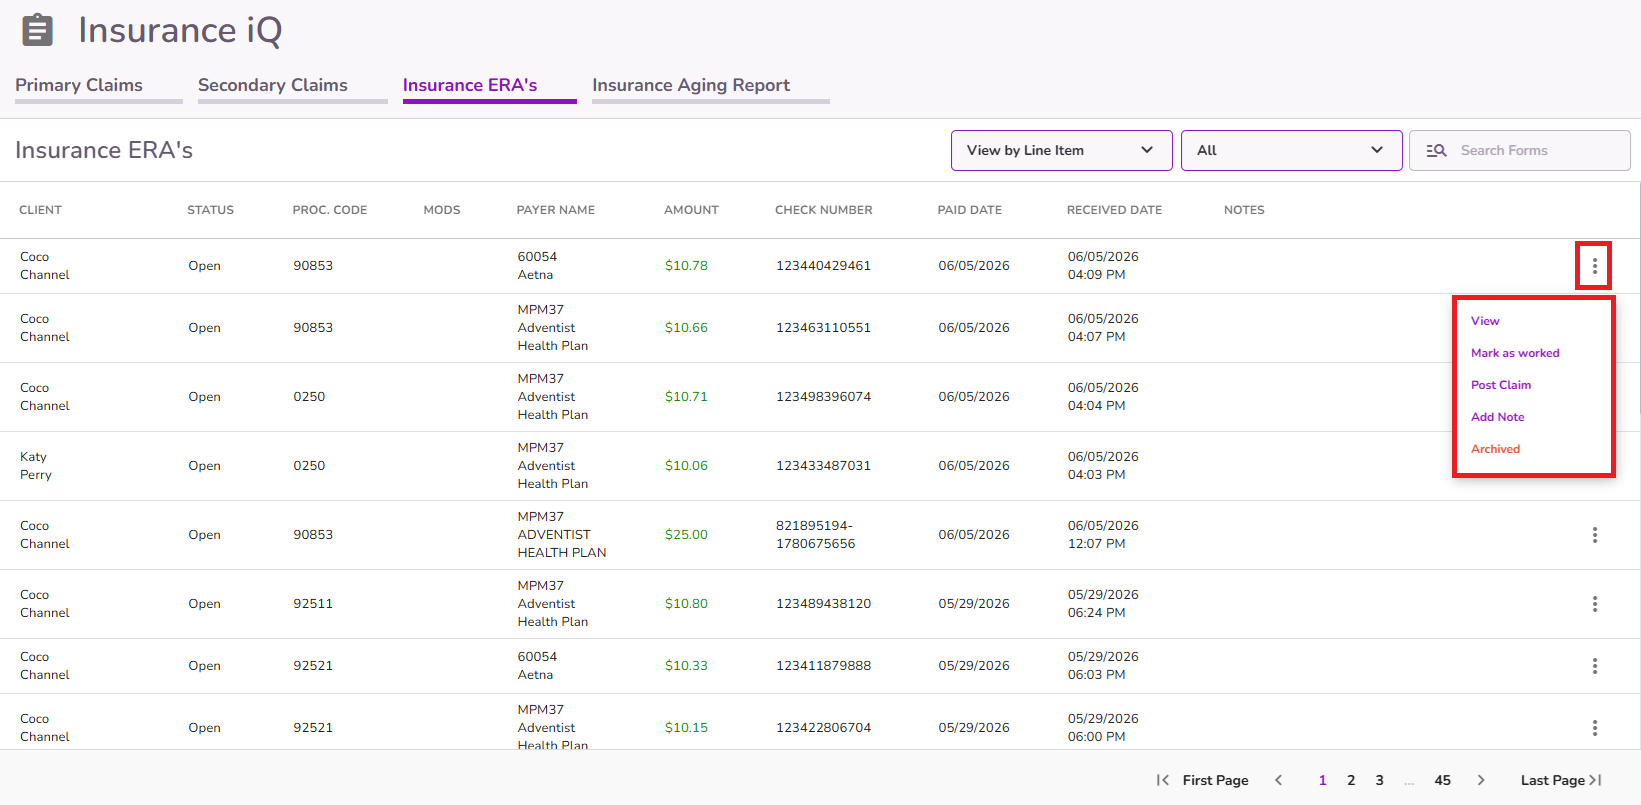
For additional information about the ERA Auto postin, please refer to our guide here.


