How To Create Standalone Invoices (Not Related To Events)
Invoices in TiQ are generated from appointments. Each time an appointment is scheduled, an invoice is automatically created in the client’s ledger with related details from the event, such as services, treatment team, dates, balances, and more.
In cases where you need to create an invoice directly from the client’s ledger (for example, to record an appointment or charge that was not originally tracked from an appointment through TiQ), you also have the option to generate one manually.
This guide will walk you through creating an invoice without an appointment:
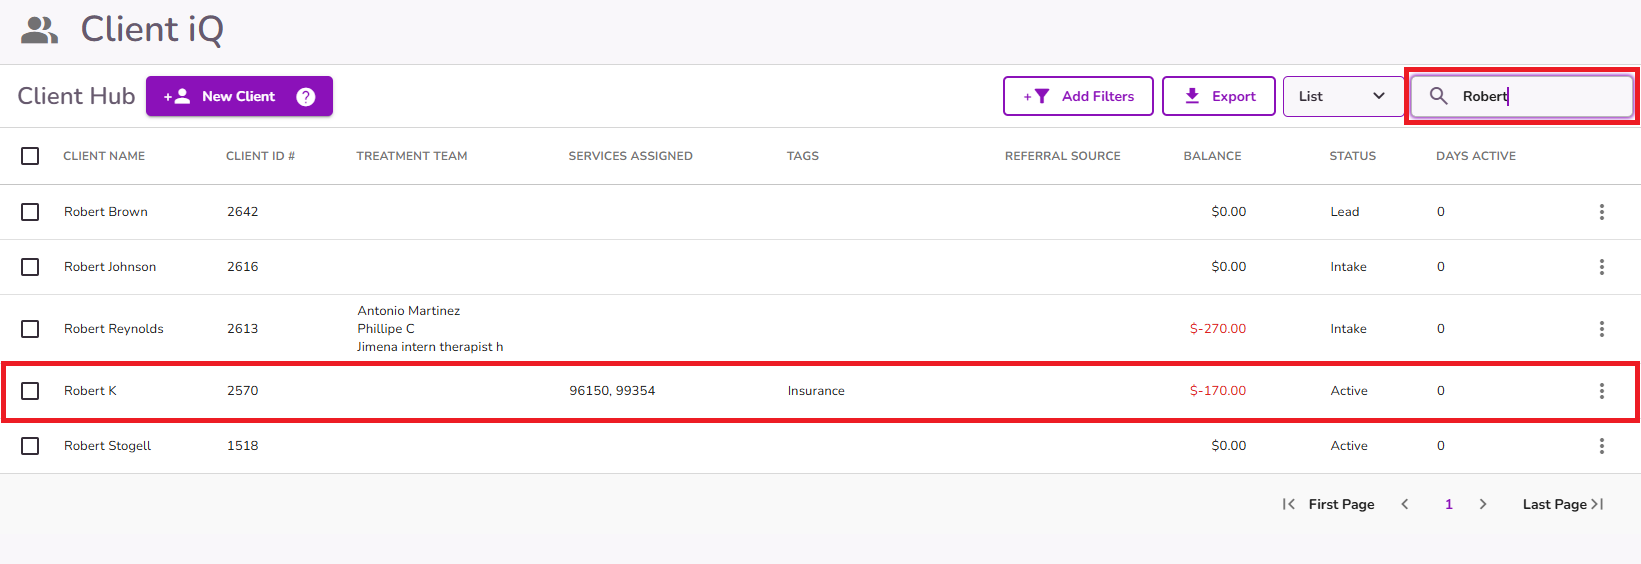
From the Navigation Bar, select Client iQ.

Search for or select your client from the Client iQ list.
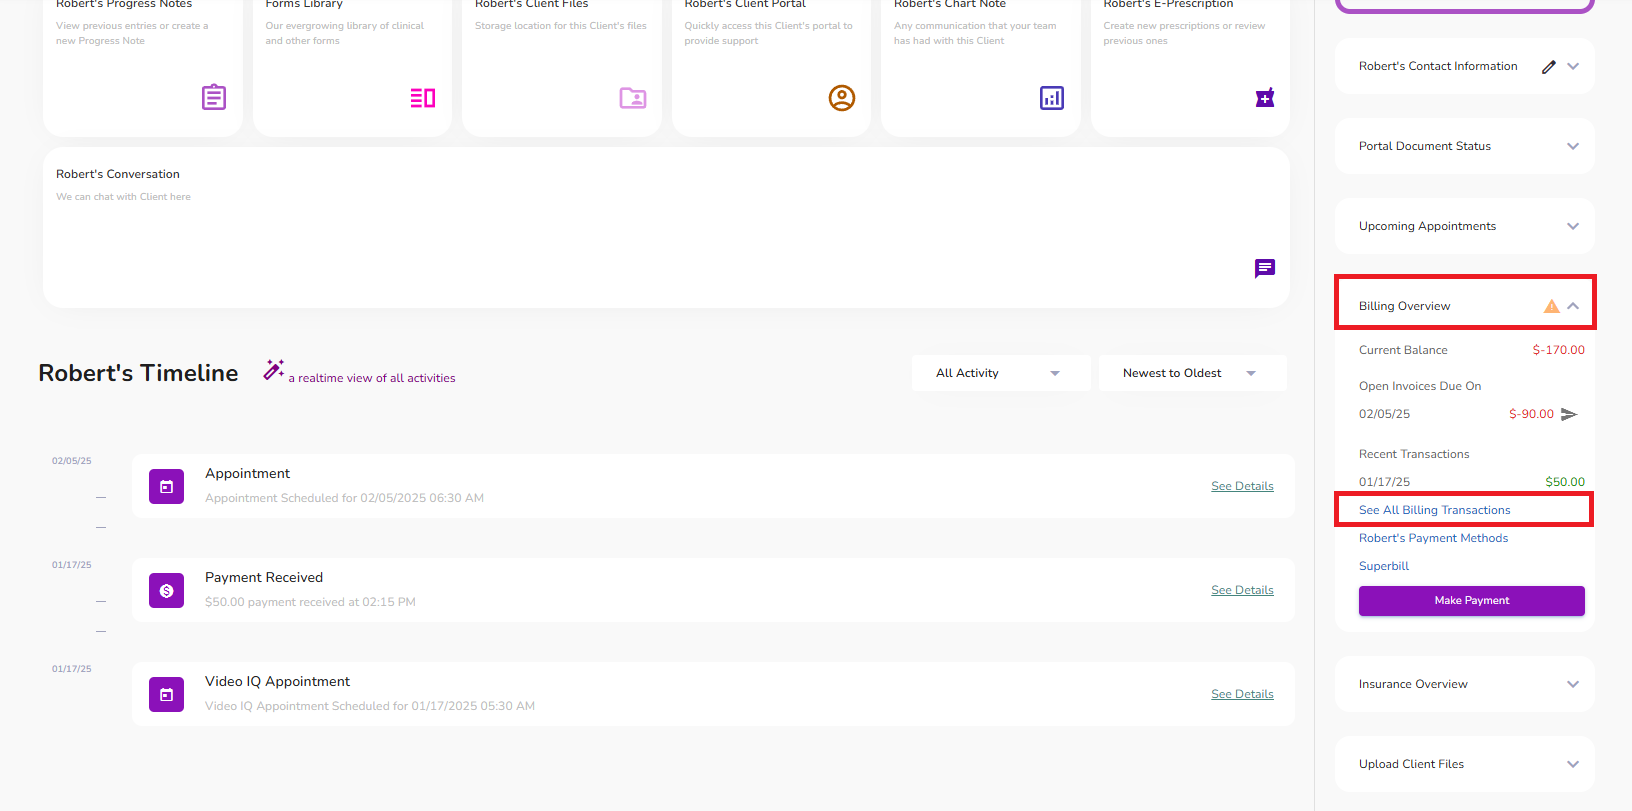
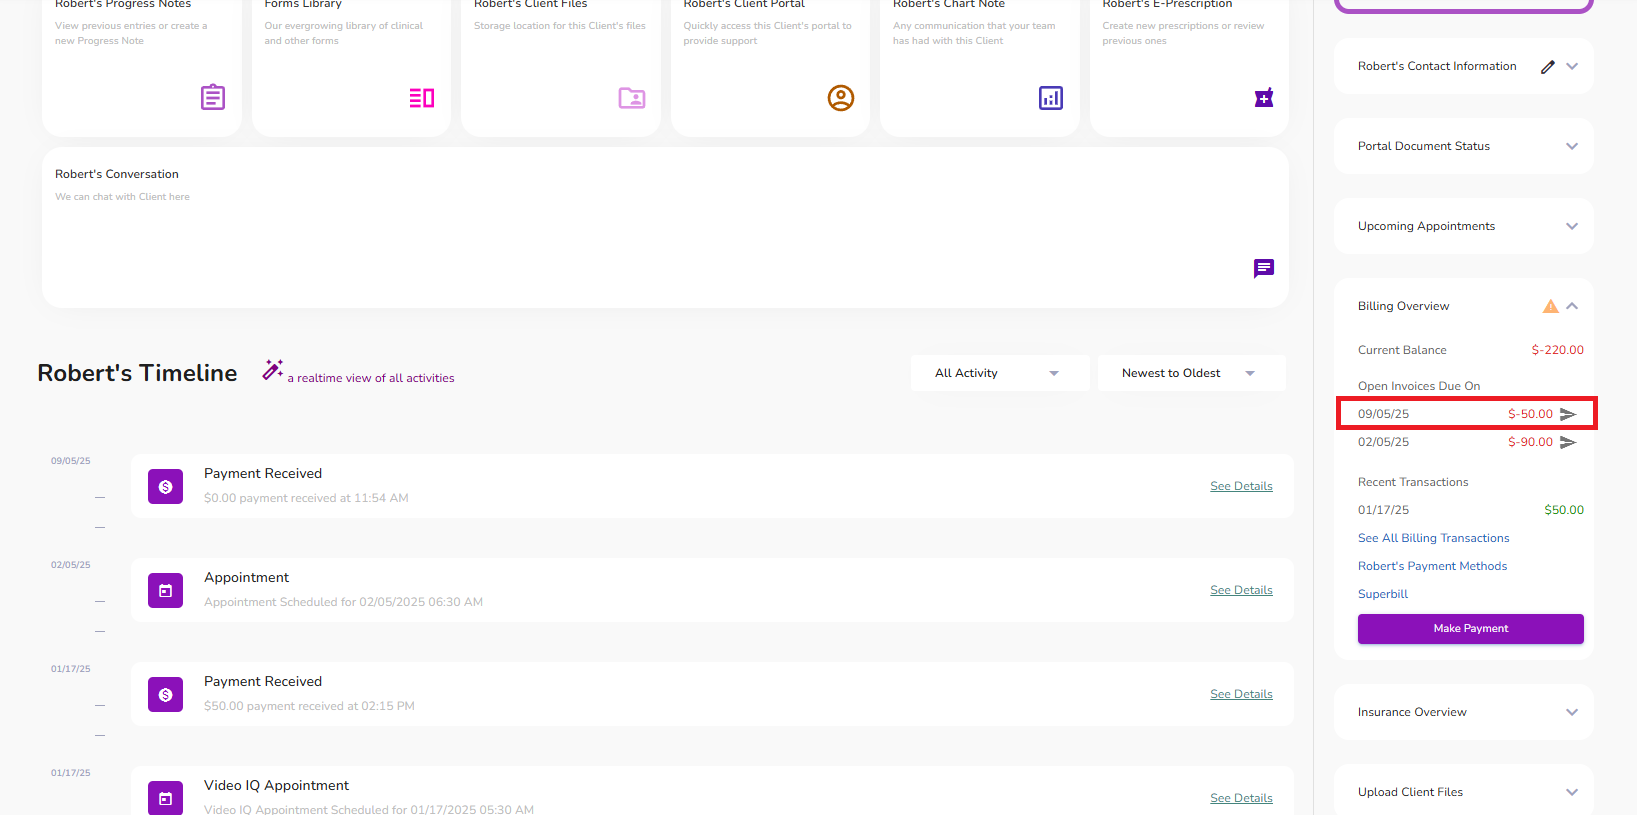
From the client’s profile, open the ledger by clicking See All Billing Transactions under the Billing Overview dropdown.
In the ledger, click +New at the top and select Invoice.
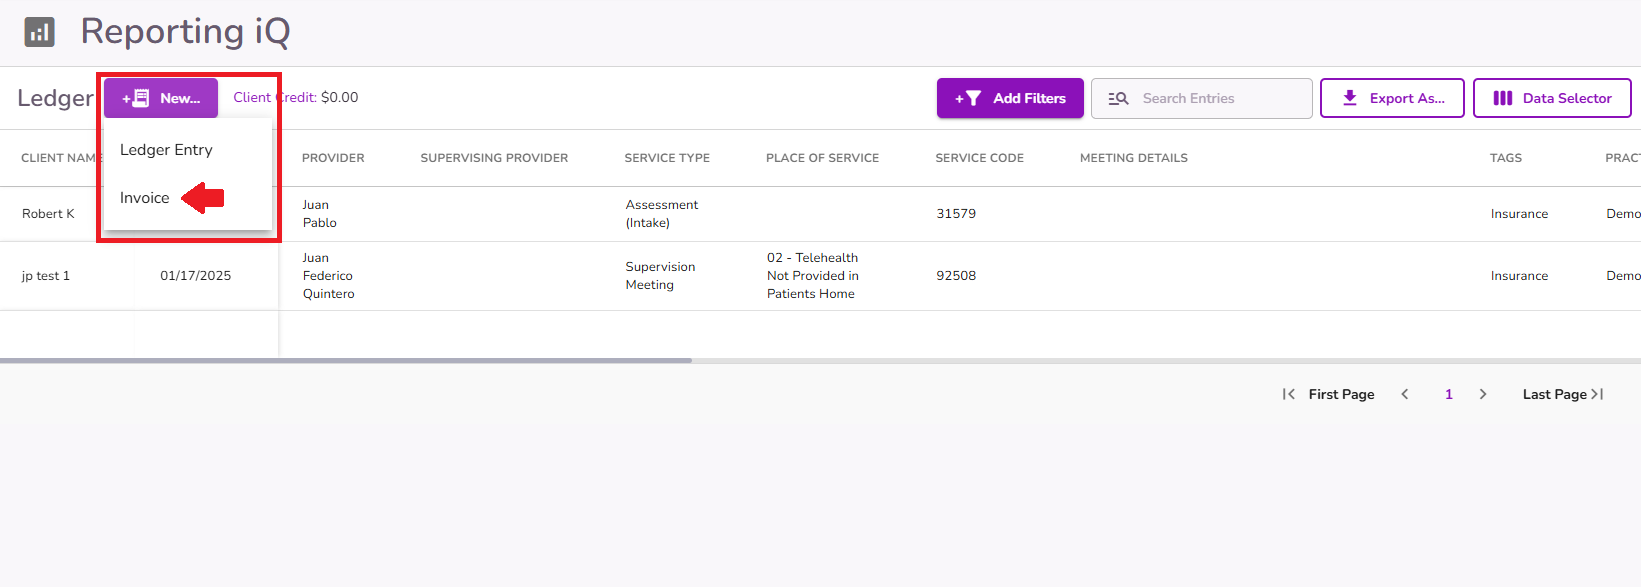
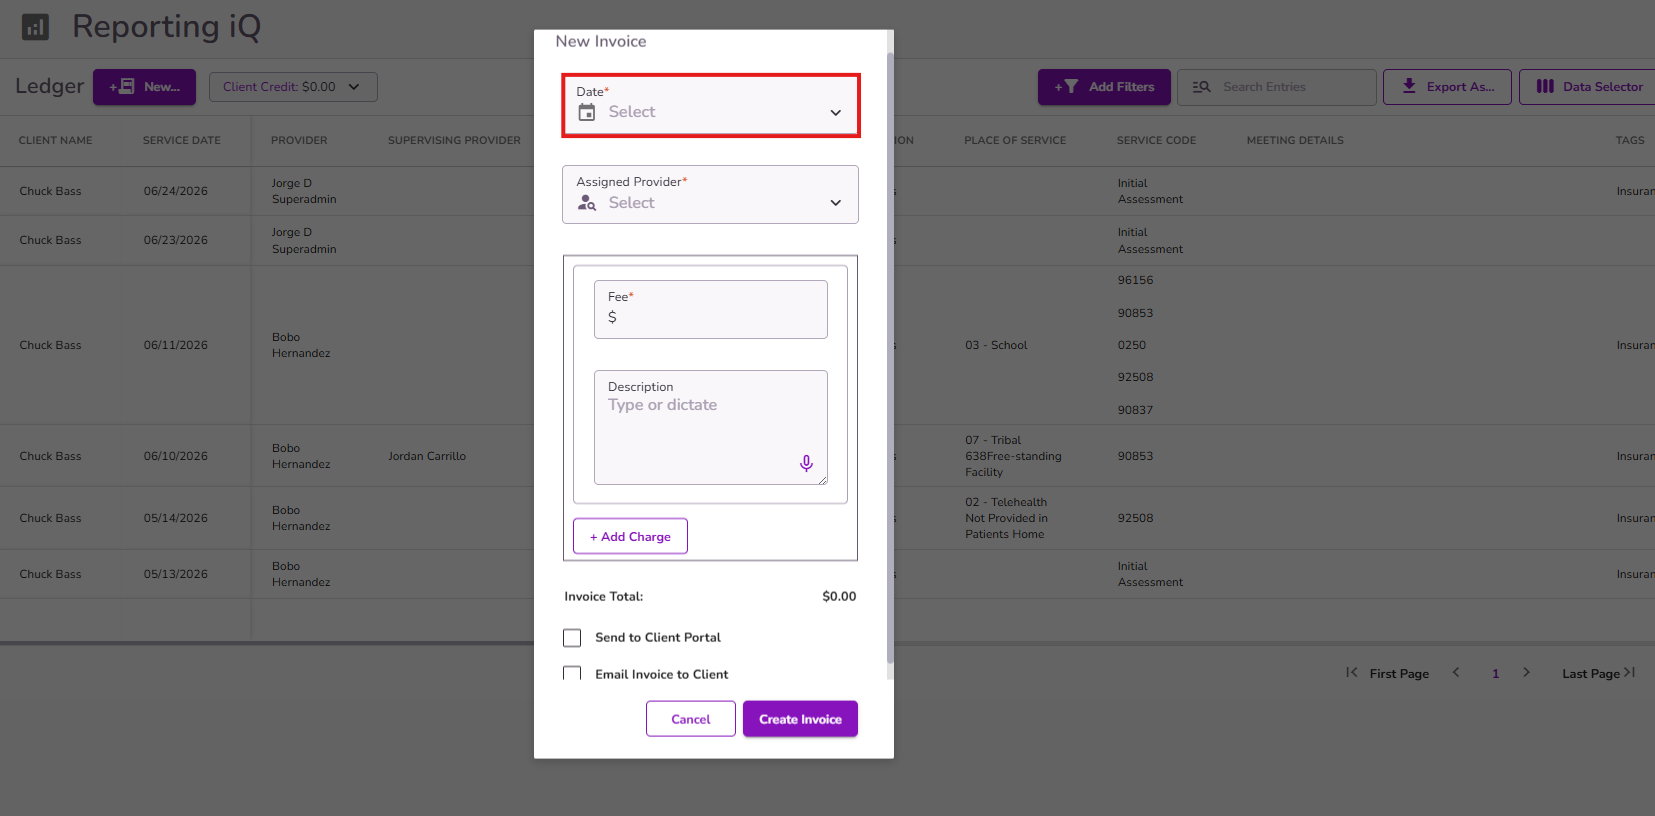
A pop-up will appear allowing you to enter invoice details.
Select the service date.
Add the assigned provider to this ledger entry.

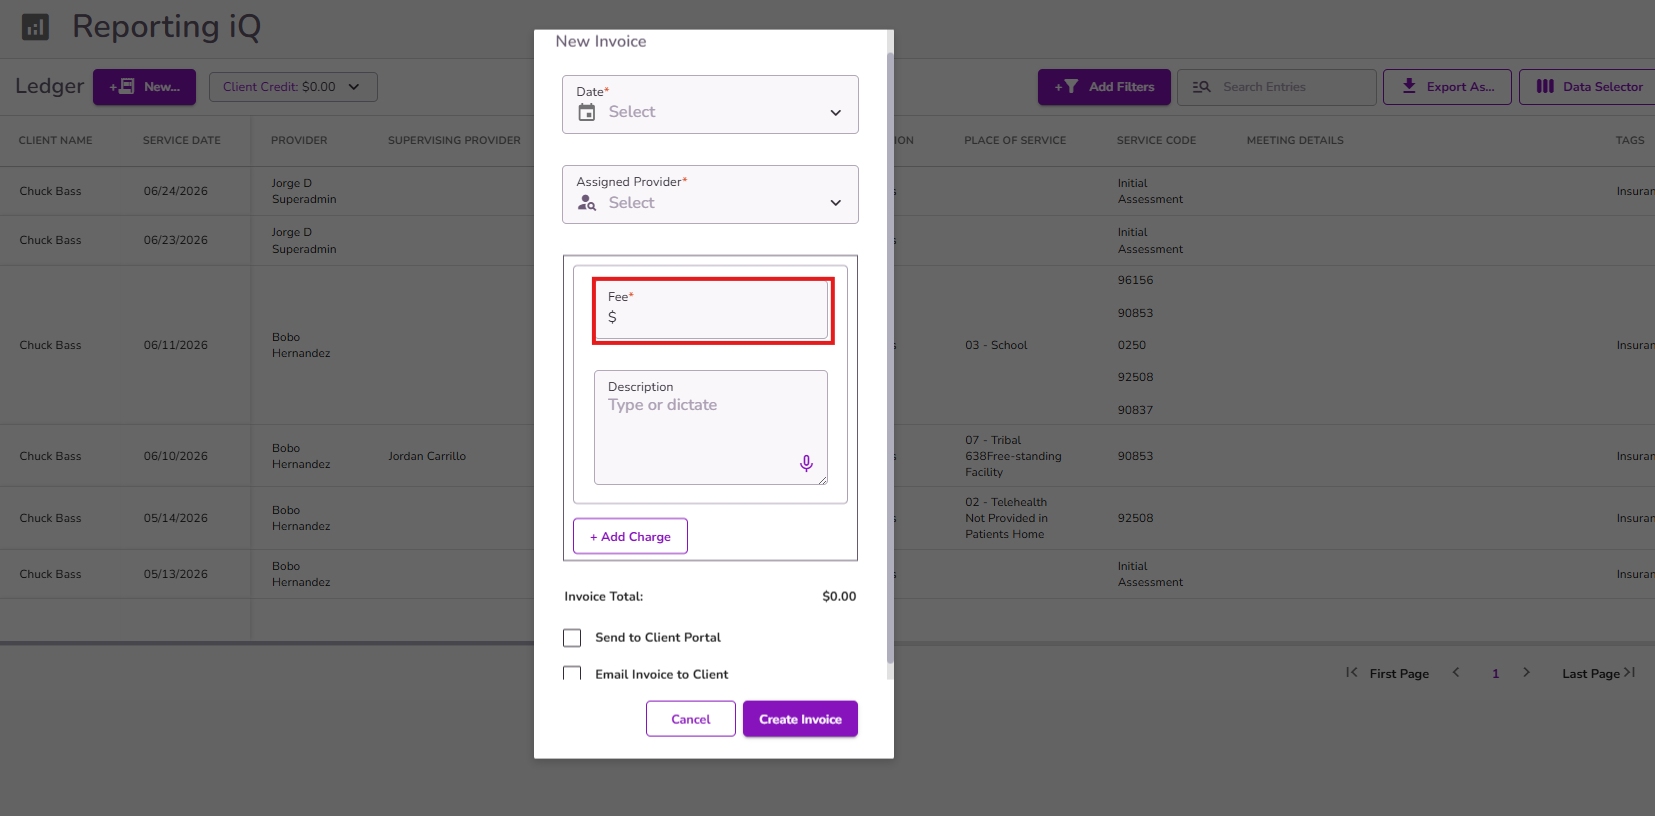
Enter the corresponding fee to invoice. This will display in the ledger as the Full Service Fee, Client Service Fee, and Client Invoice.
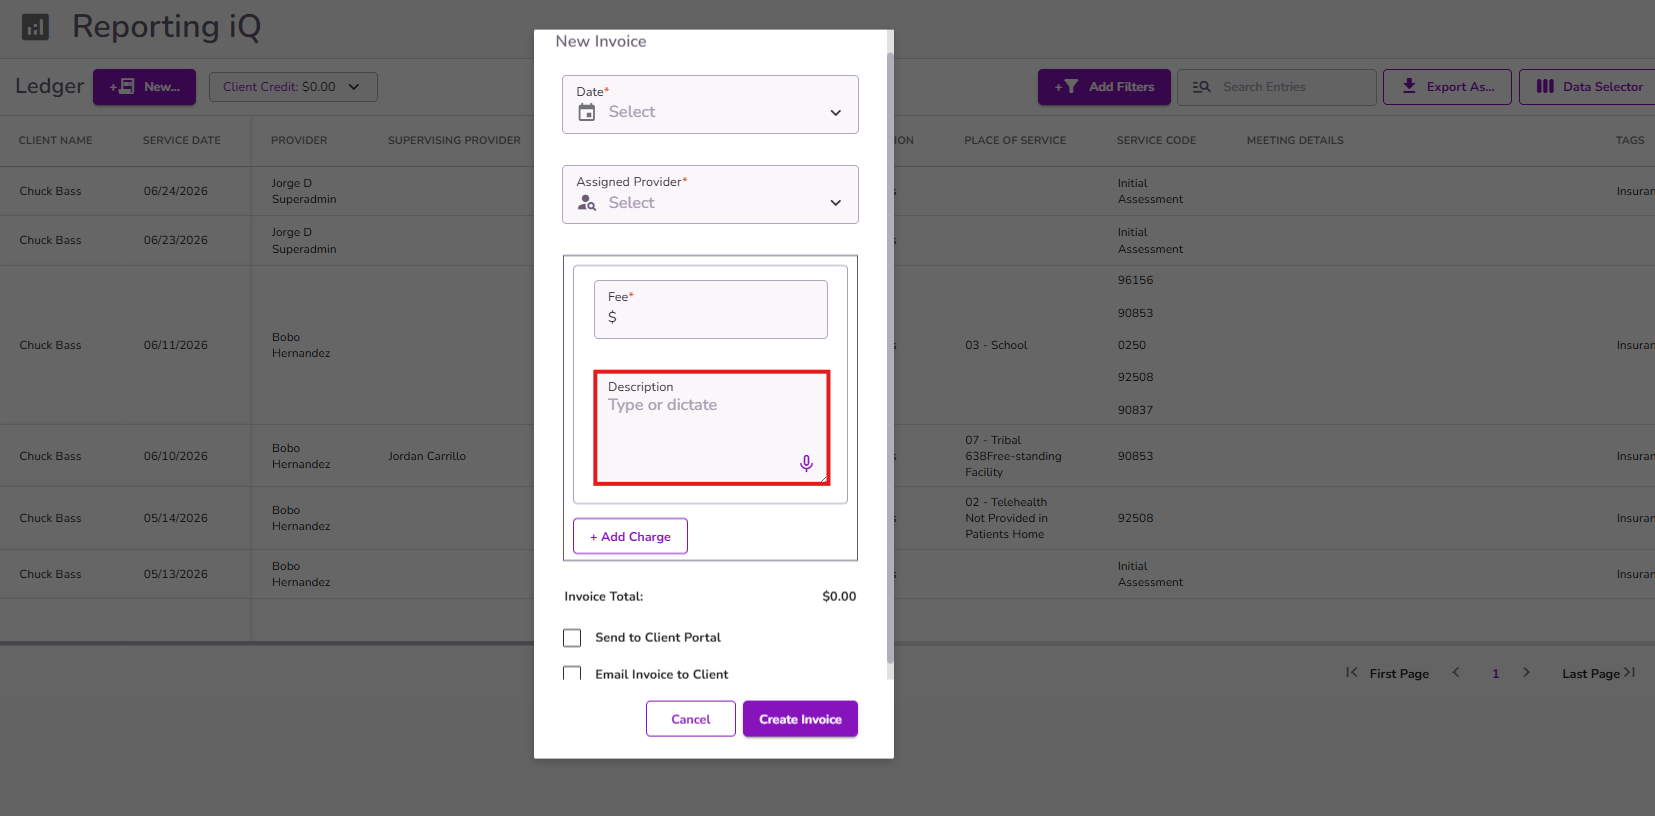
Add a description (for example, the service code or service name), which will appear in the Service Code column.
If needed, you have the option to add more than 1 charge to the same invoice. In this case, a single invoice will be generated showing the total balance along with the corresponding descriptions under the Service Code column.

To delete any entered charges or descriptions, hover over the item and click the trashcan icon.
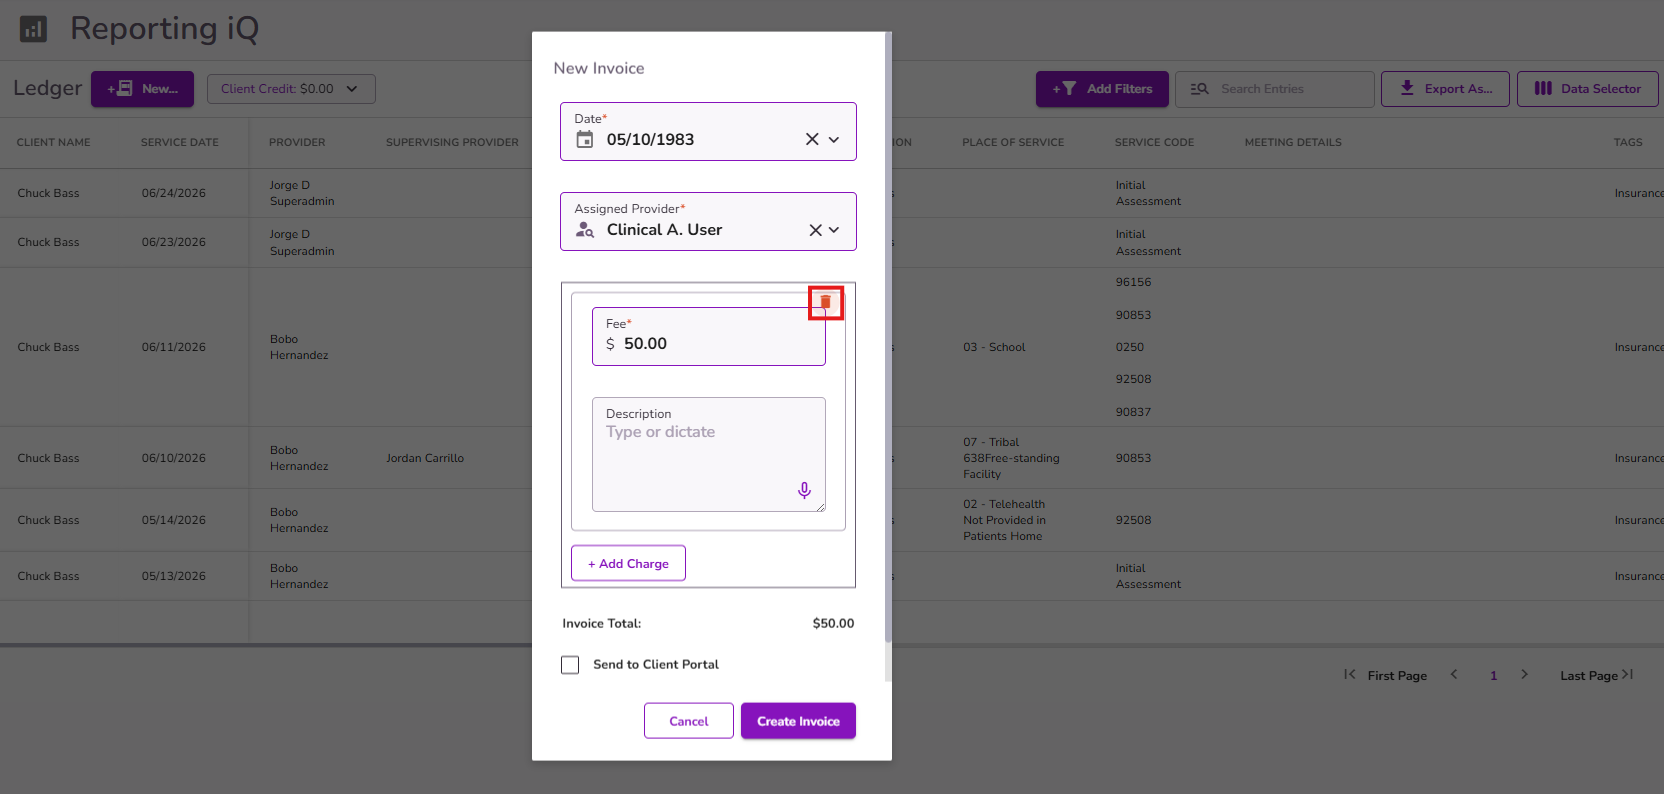
Once the information is entered, the invoice total will be displayed at the bottom.
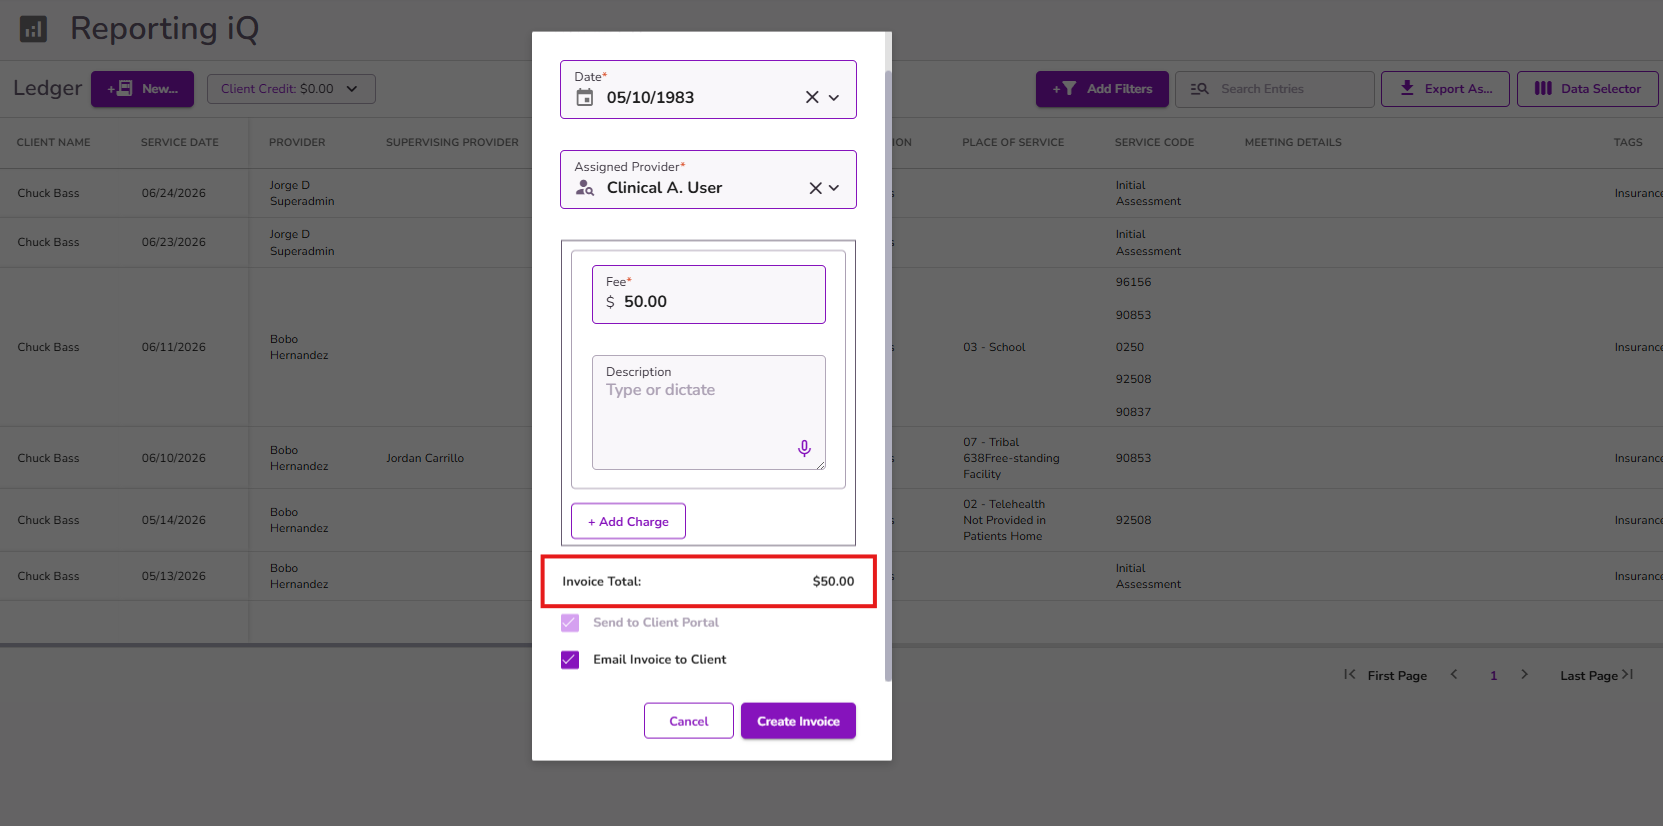
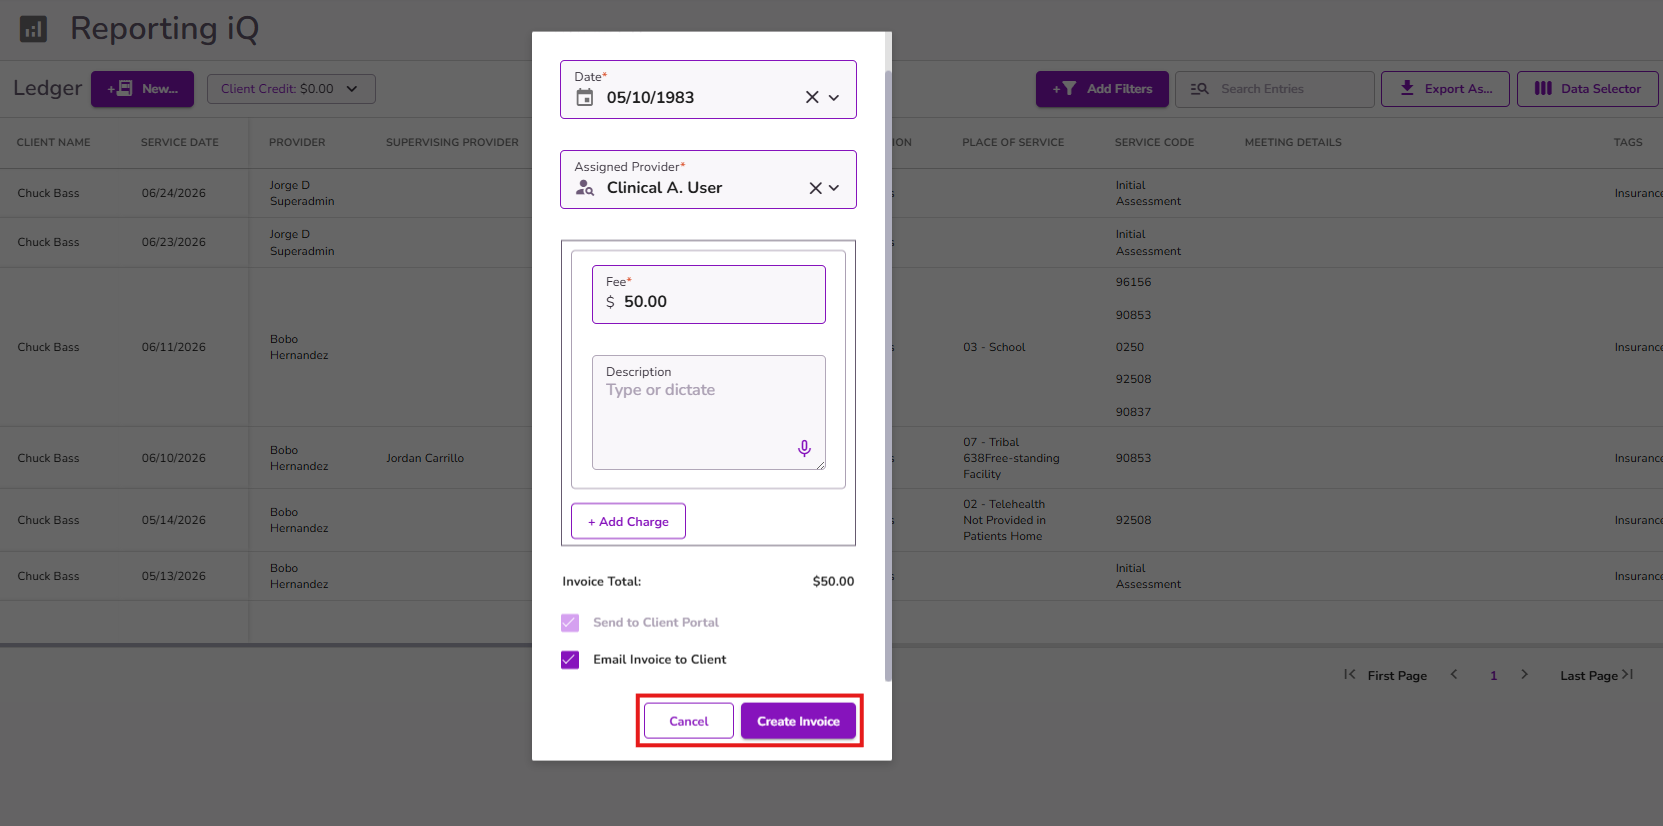
The checkboxes for Send to Client Portal and Email Invoice to Client will be selected by default. If you uncheck Email Invoice to Client, you will then have the option to also uncheck Send to Client Portal if needed.
Once everything is added, select Create Invoice to generate the invoice in the client's ledger and reports.
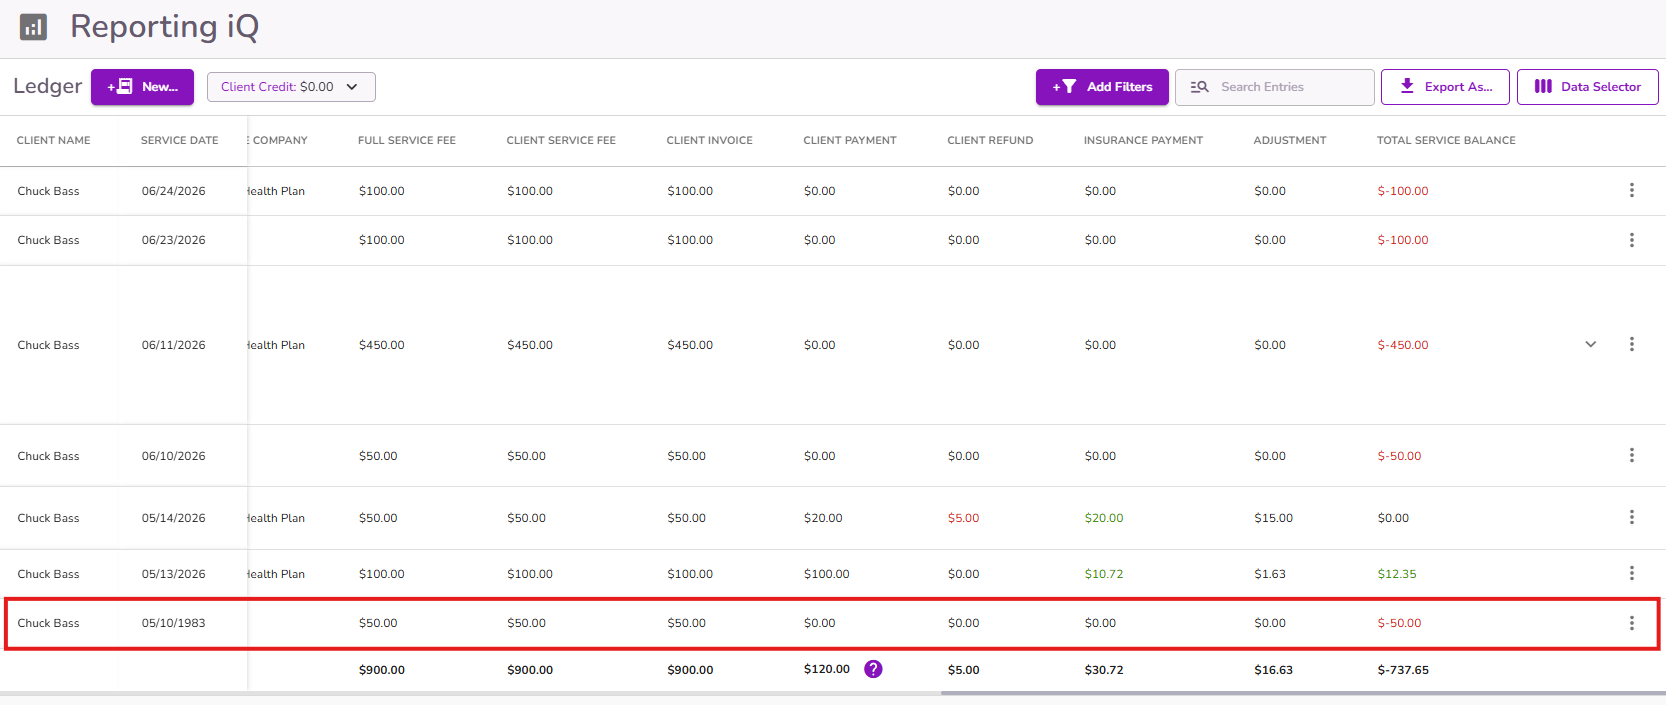
Once the invoice is created, a line item will appear in the client’s ledger showing the invoice amount details.
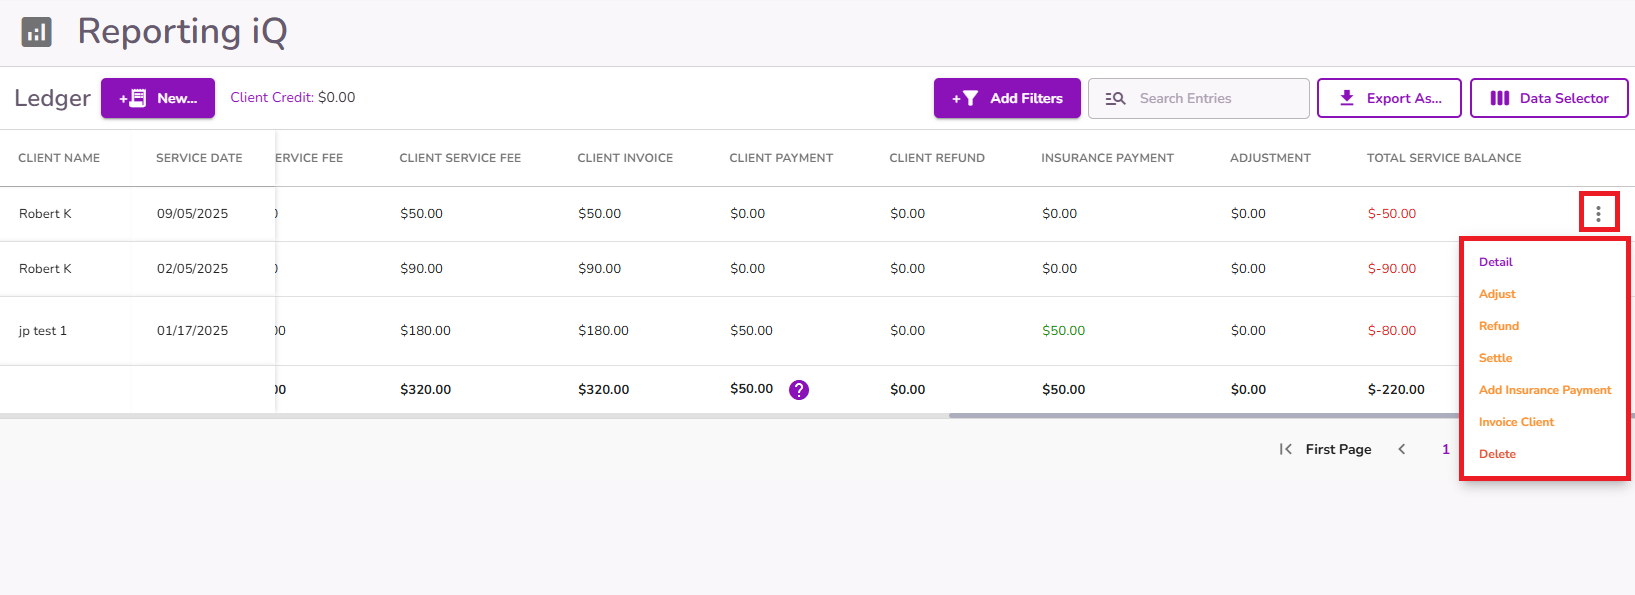
You can also perform actions for this invoice line item from the three-dot menu.
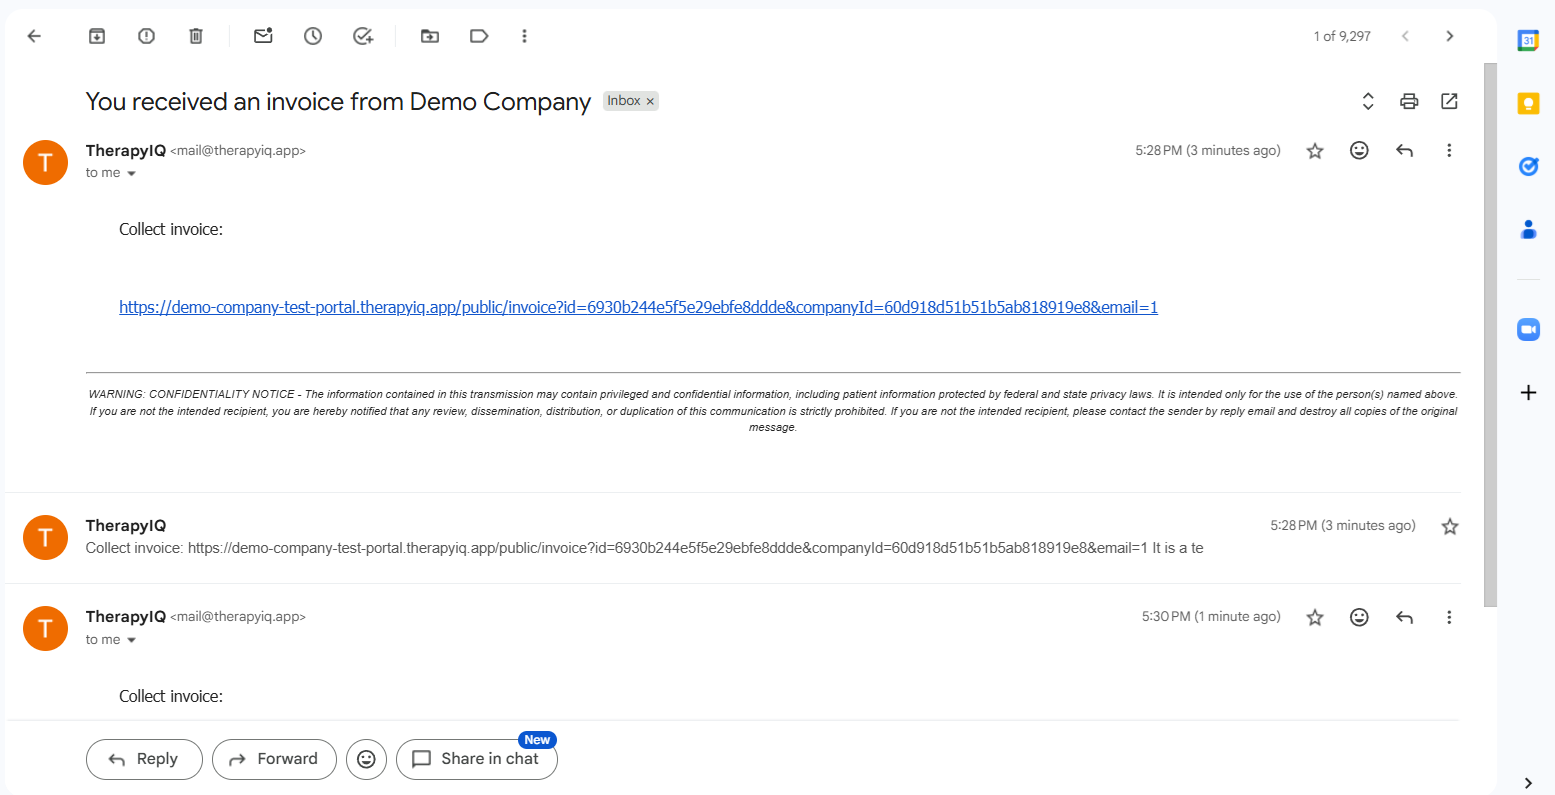
Once created, the invoice will open and appear in the Billing Overview, where you can collect payments or send the invoice.
It will also be tracked in other reports, such as the Invoice Aging Report, where you can collect payments or send the invoice.

Important: When invoicing clients with an "Inactive" status using this method, be sure to select the Email Invoice to Client option so they receive the invoice via email. They can then complete the payment directly from the email.