How To Add And Access Client Files
Navigate to the client’s profile and select Client Files

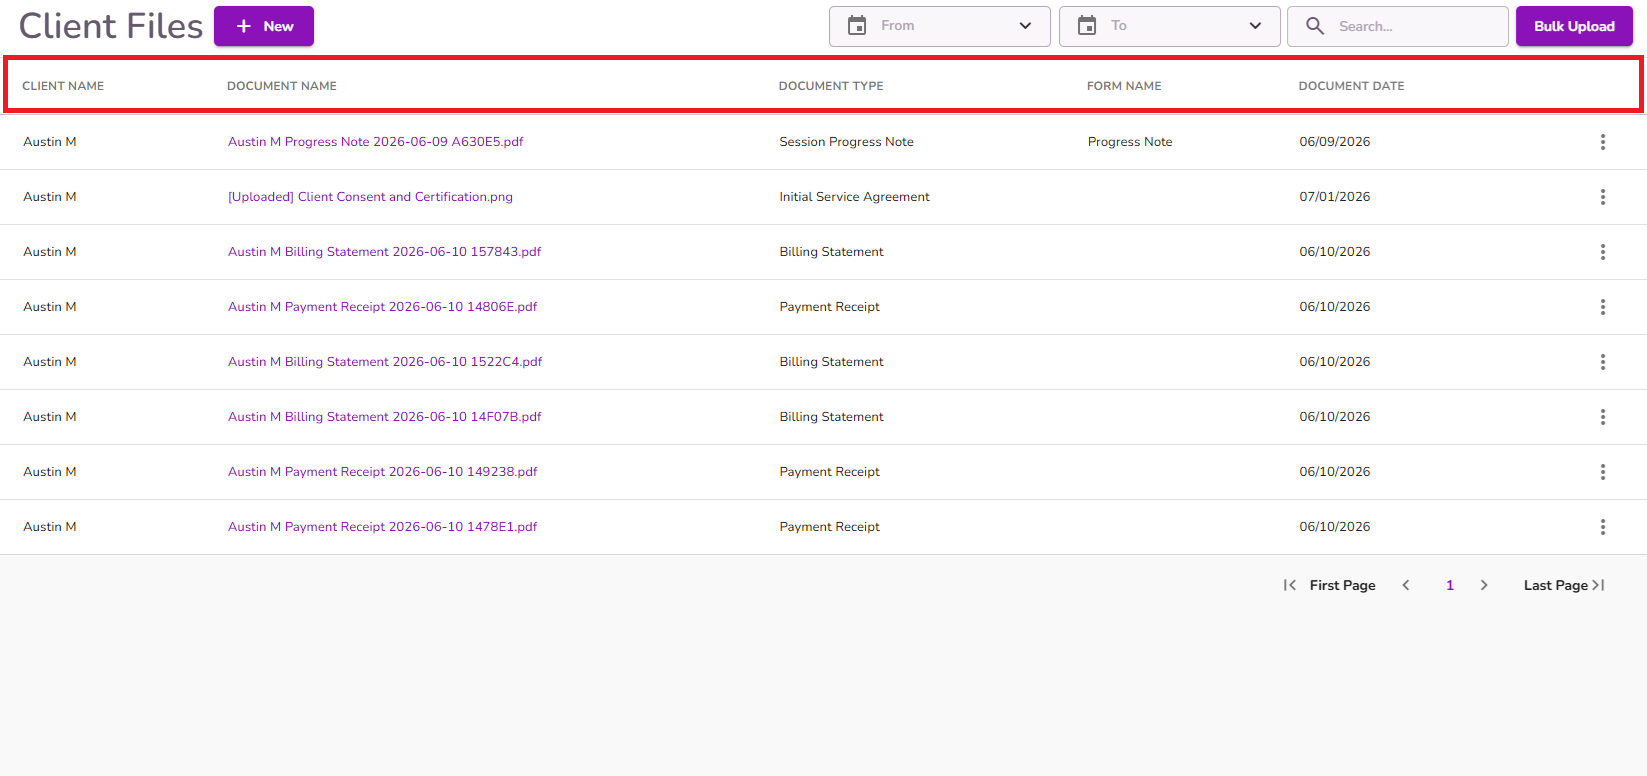
The Client Files section is organized into the following columns:
- Client Name
- Document Name
- Document Type
- Form Name
- Document Date.
To upload a single file
Select +New
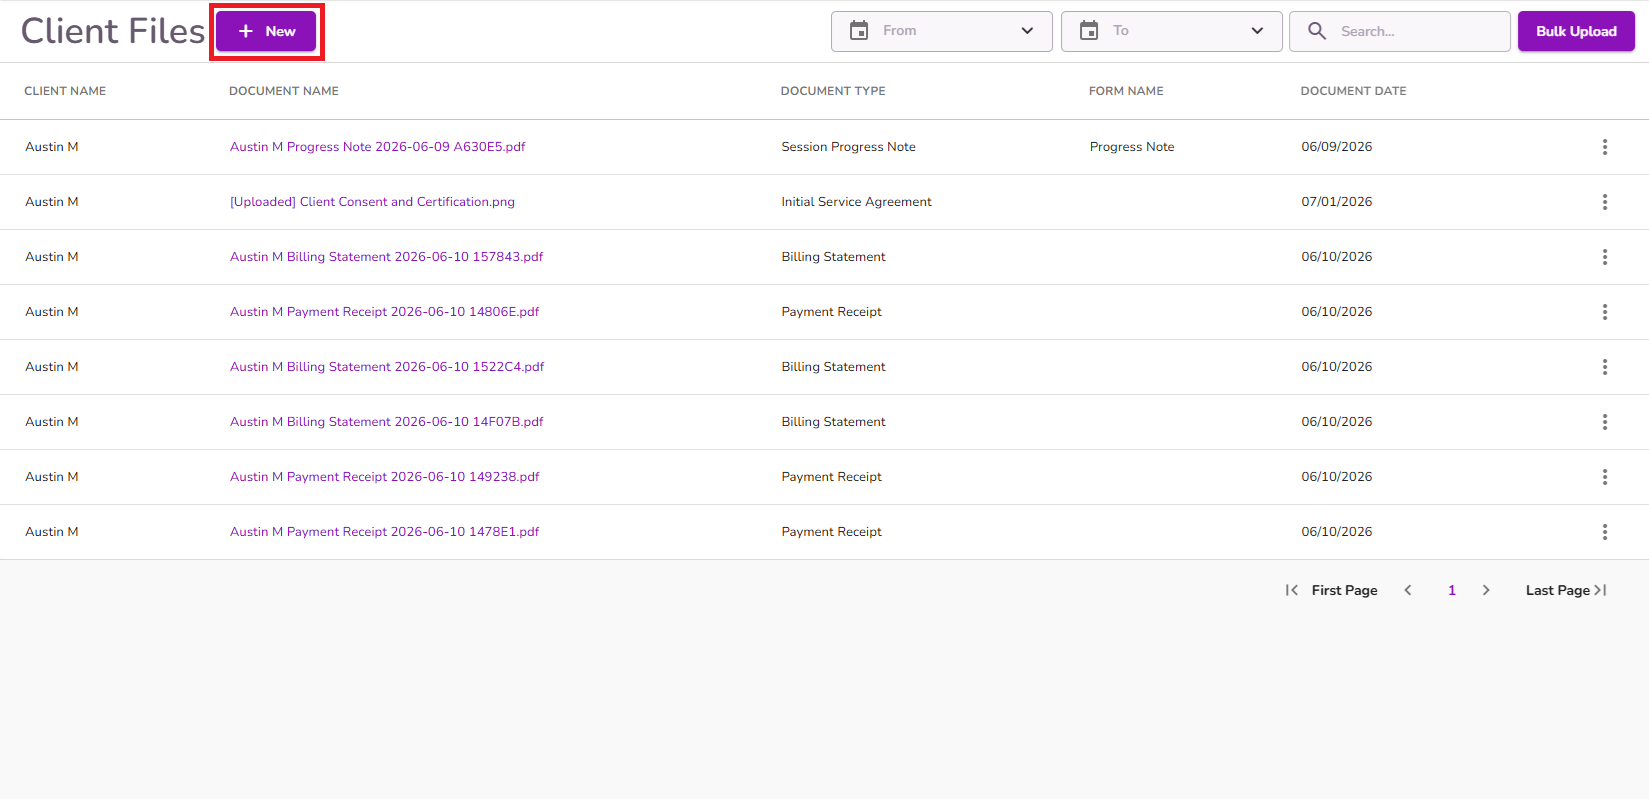
Add the Document Name and Type. Click Upload Document to browse your device and select the specific device you want to upload. Add the Document Date and select Submit.
NOTE: Completing all fields is not required, but it is recommended to make file identification easier.
Once completed, the new document will be listed among the existing client files.

IMPORTANT: The file size should not exceed 30mb

IMPORTANT: The files displayed in Client Files depend on the user's assigned permissions in their profile.
- If "All Clinical Documents" is selected, the user will have access to all documents submitted by any user within the practice.
- If "My Submitted Documents Only" is selected, the user will only see the clinical documents they have personally submitted.

To upload files in bulk
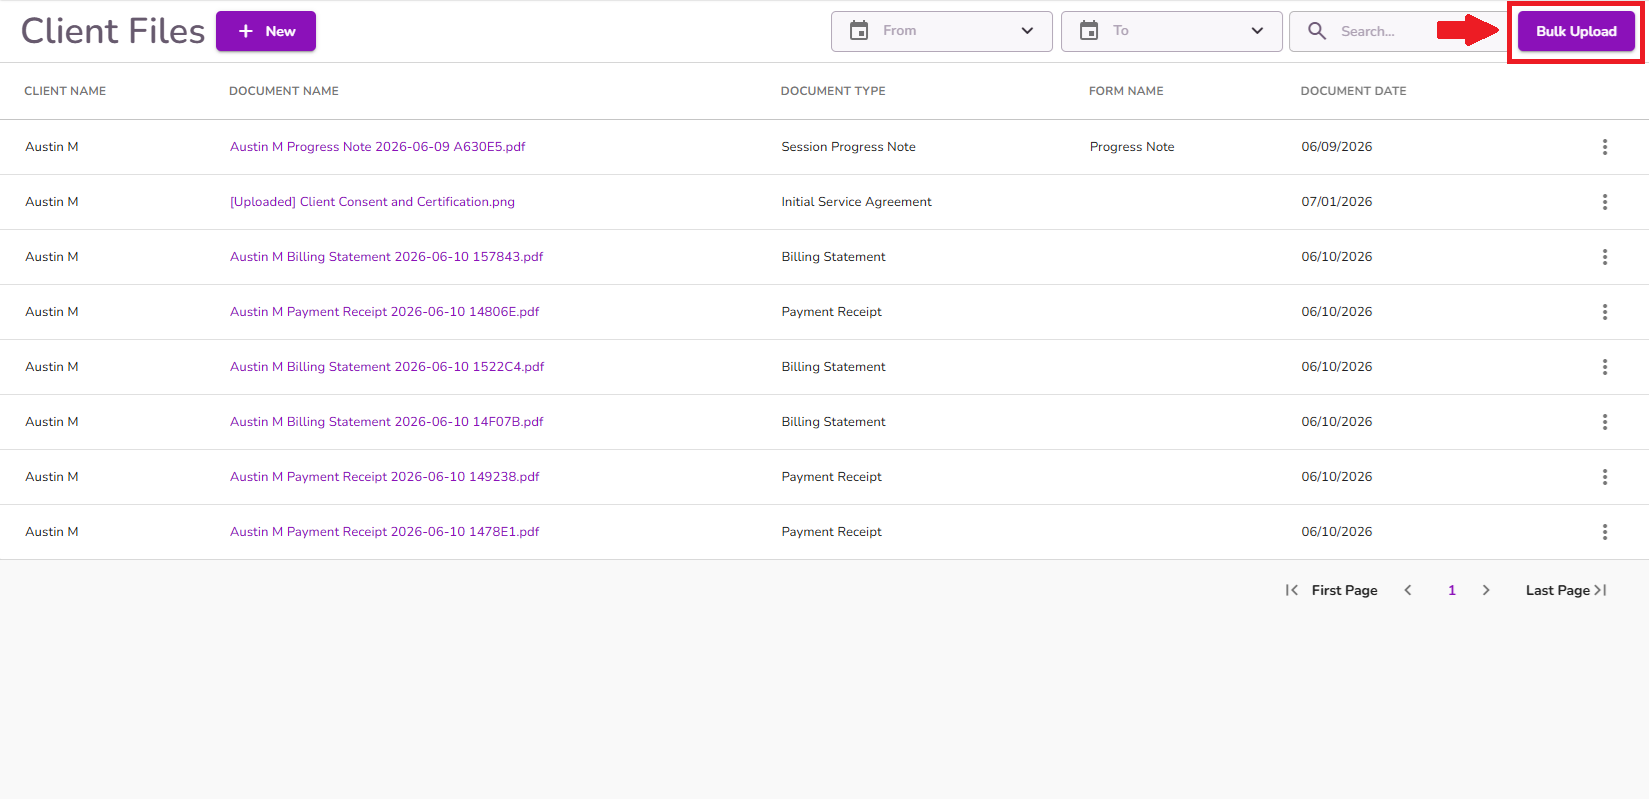
Select Bulk Upload to browse your device and select the desired fields. Select Confirm.
To search for a file
You may use the Search box to find files by name.
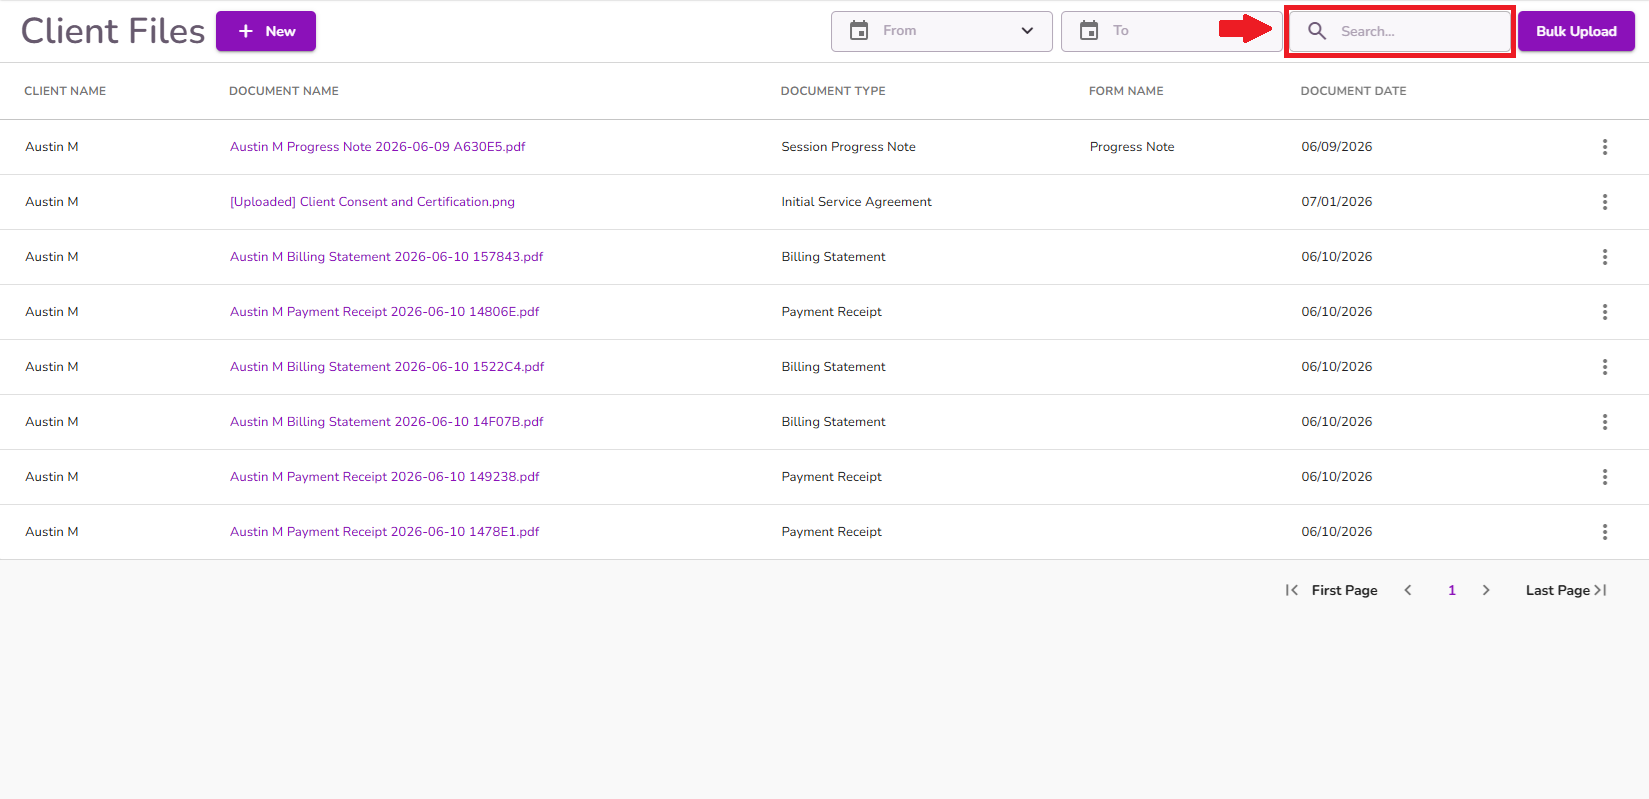
You can also use the From and To fields to specify a date range and view all files added within that period.

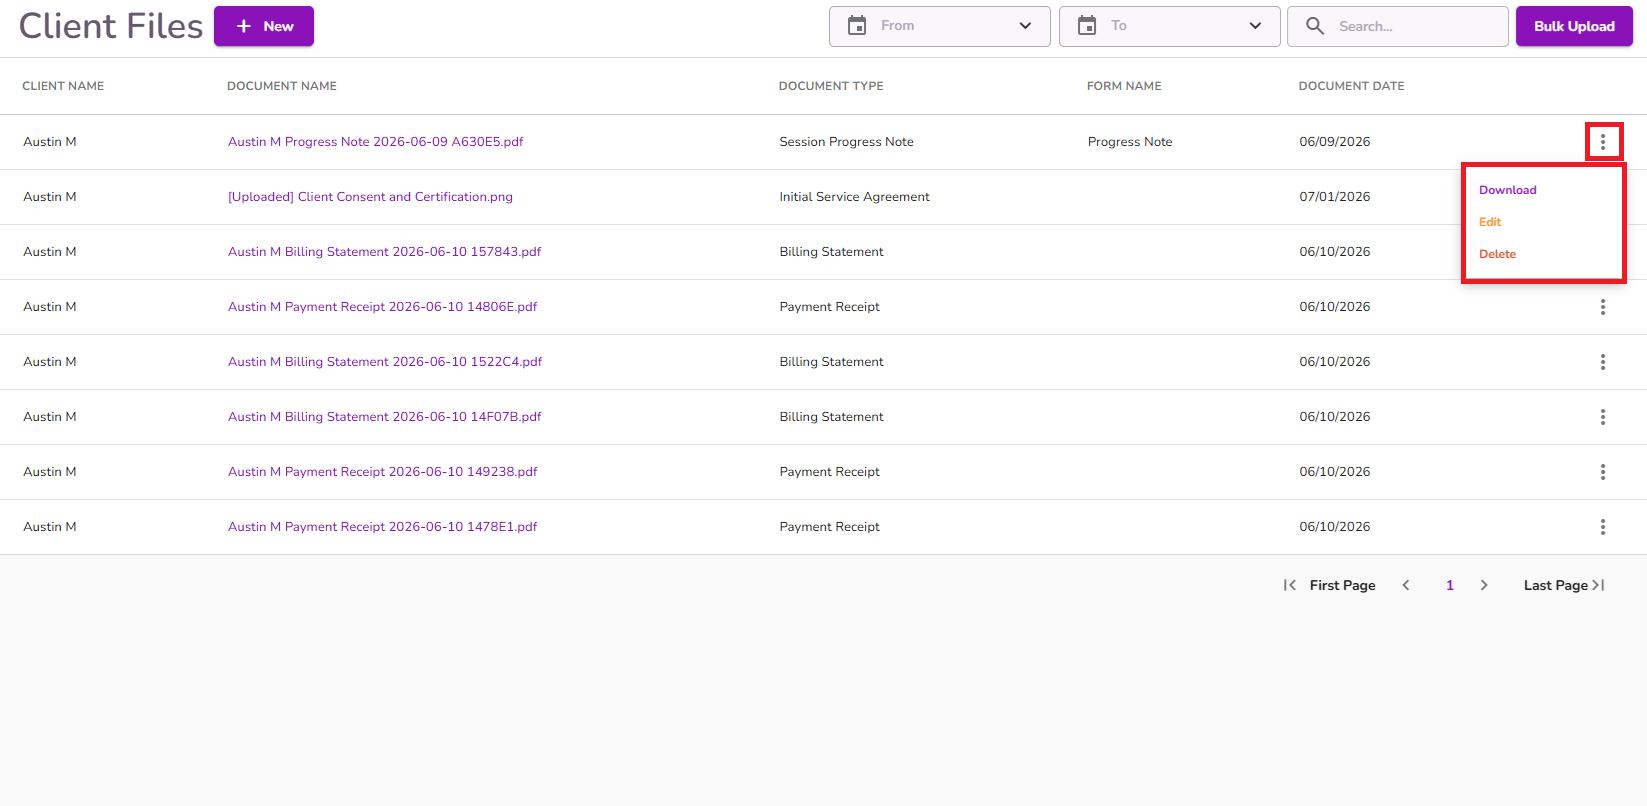
By clicking on the 3 dots on the right side of each file you may download , Edit or delete the file.