How To Add Alternative Contacts, Including Responsible Parties And Referral Sources, To Client's Demographics
From Client iQ, select the desired client using the Search Bar
Click here to learn how to create a new client and invite them to their portal.

From the Client Profile select the Edit icon

Select the Client Relations Manager tab

Select + Add Another Relation

Select the Client ID
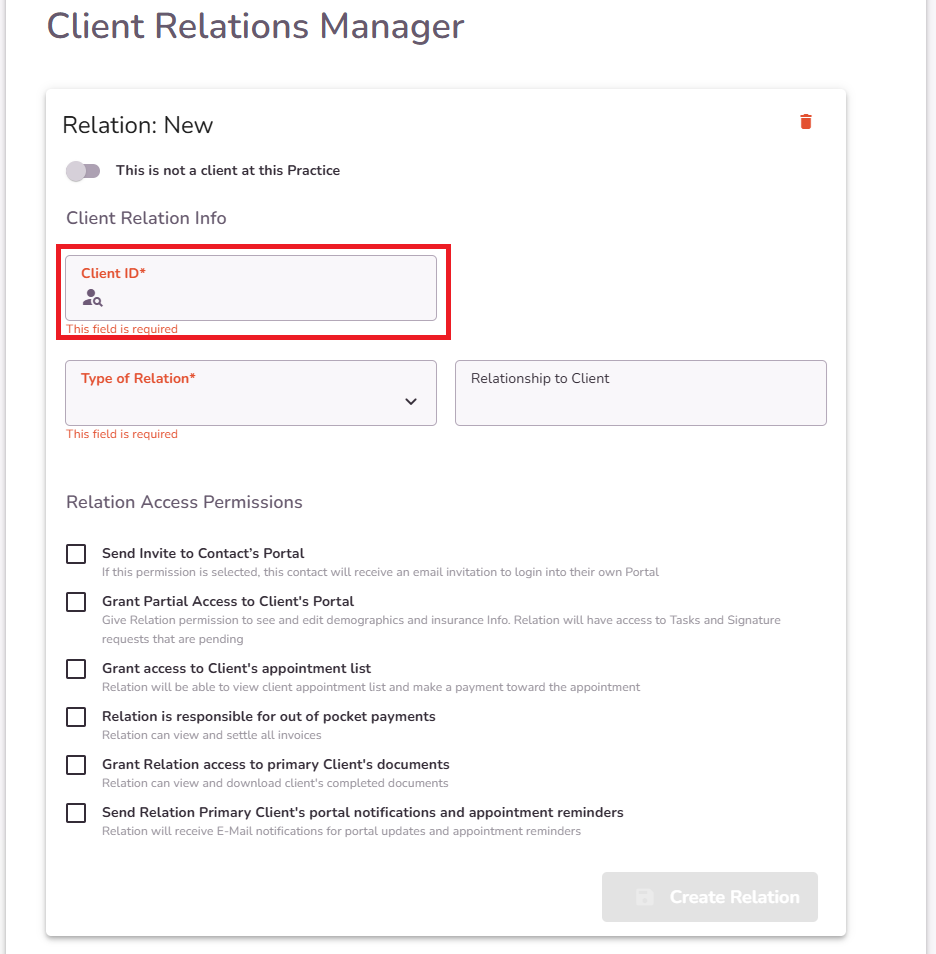
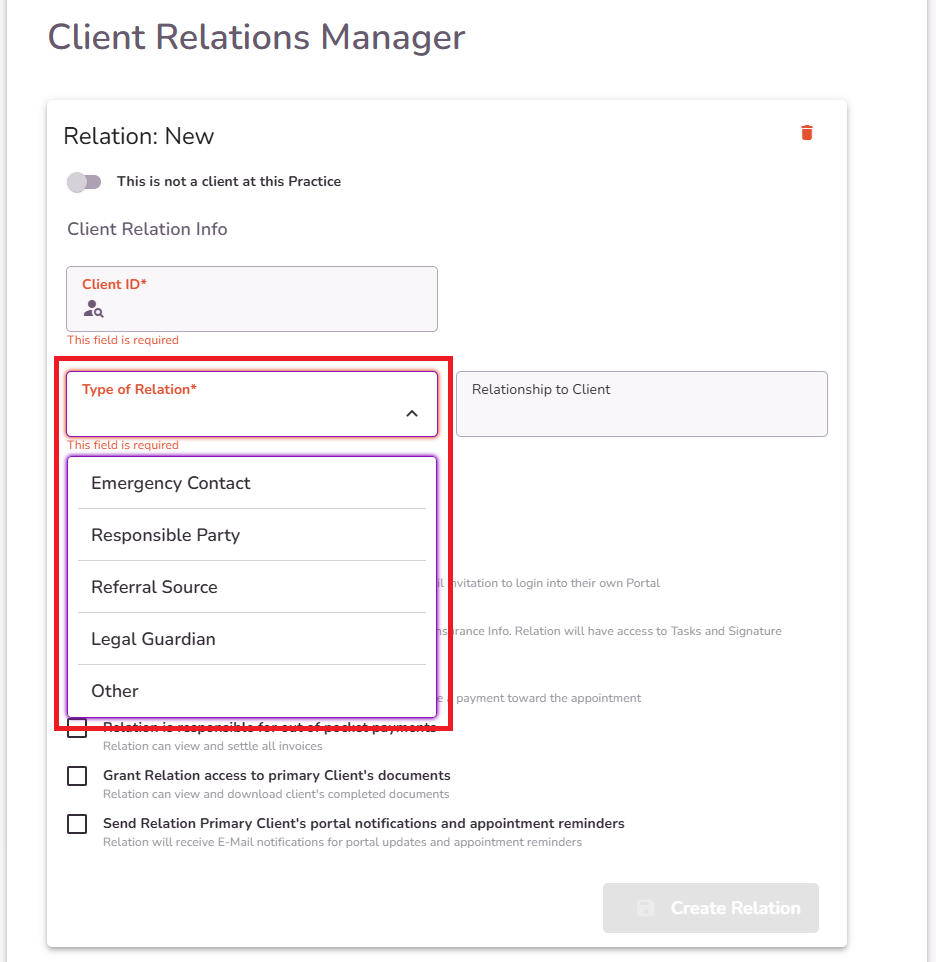
From the Type of Relation drop-down select the correct type of relation.
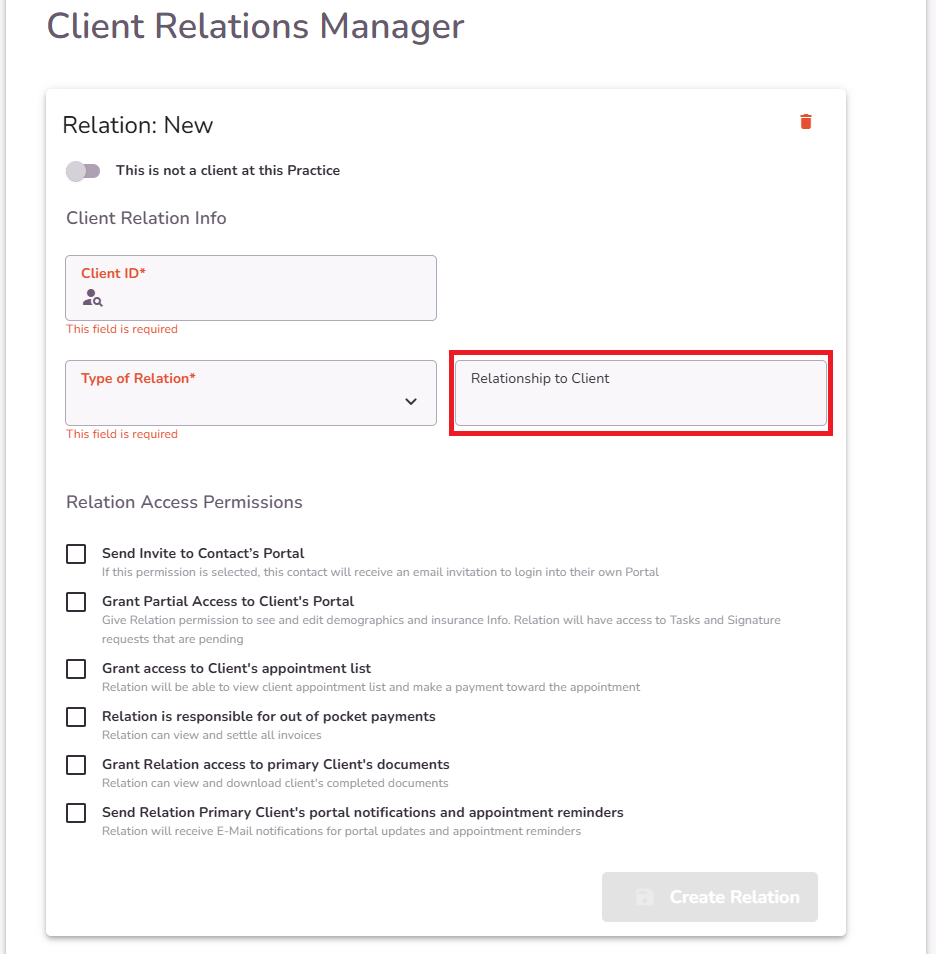
You can also type the Relationship to Client if you prefer
Select the checkboxes to give access permissions to the new relation.
NOTE: Email can be selected in the client Reminder settings found in the Client Demographics for both the primary and secondary recipients to receive reminders
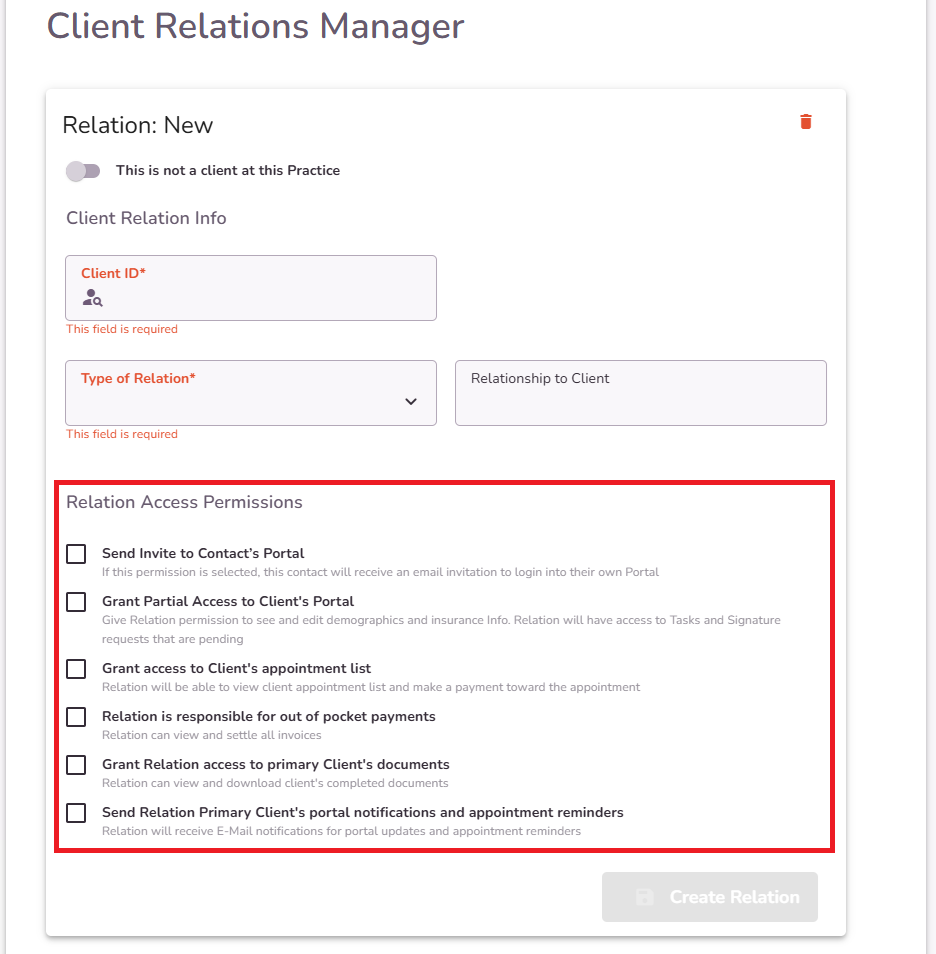
Select the Create Relation button.
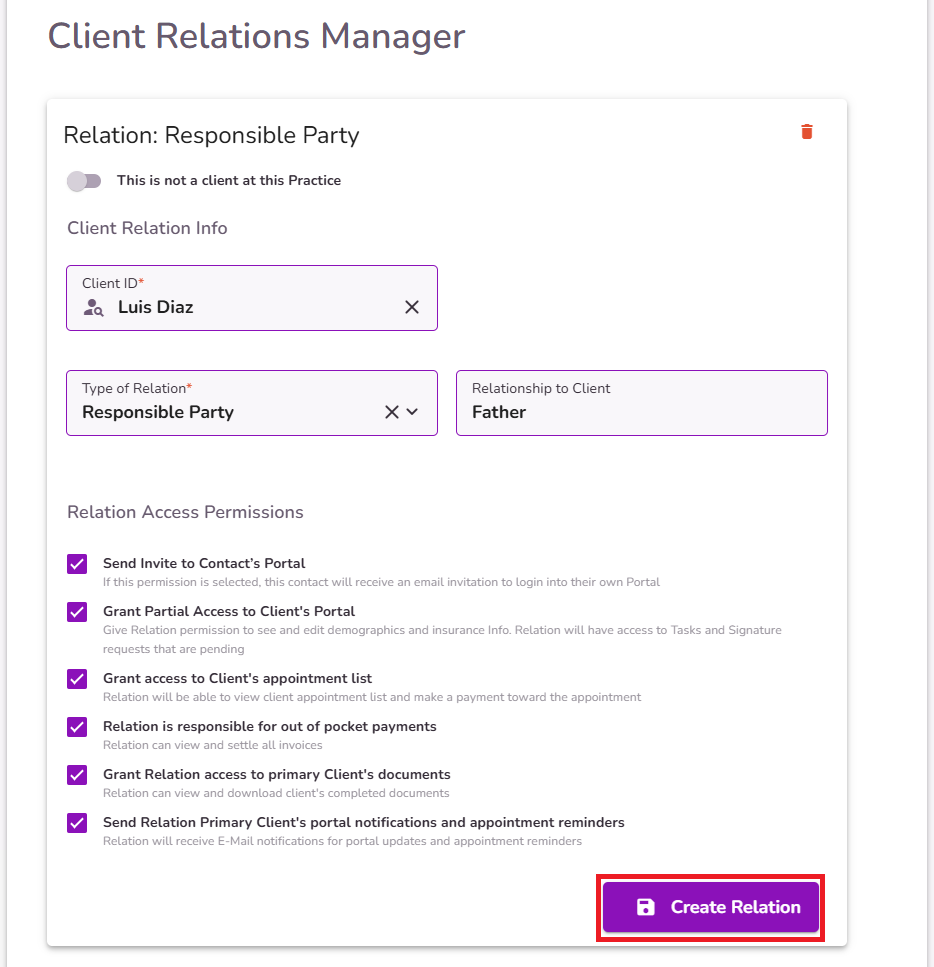
NOTE: When the 'Send Invite to Contact’s Portal' permission is selected, clicking the 'Create Relation' button will display the settings pop-up.

Select the "Invite to Portal & Submit" button under the corresponding relation tab to send the portal invitation.
NOTE: By default, the 'Send Invite to Contact’s Portal' permission will be selected for these types of relations when adding a relation to the client profile.
a. Legal Guardian
b. Responsible Party
IMPORTANT: If you don’t want the client relation to receive a client portal invitation, make sure that the Send Invite to Contact’s Portal permission is unchecked when saving the client relation.

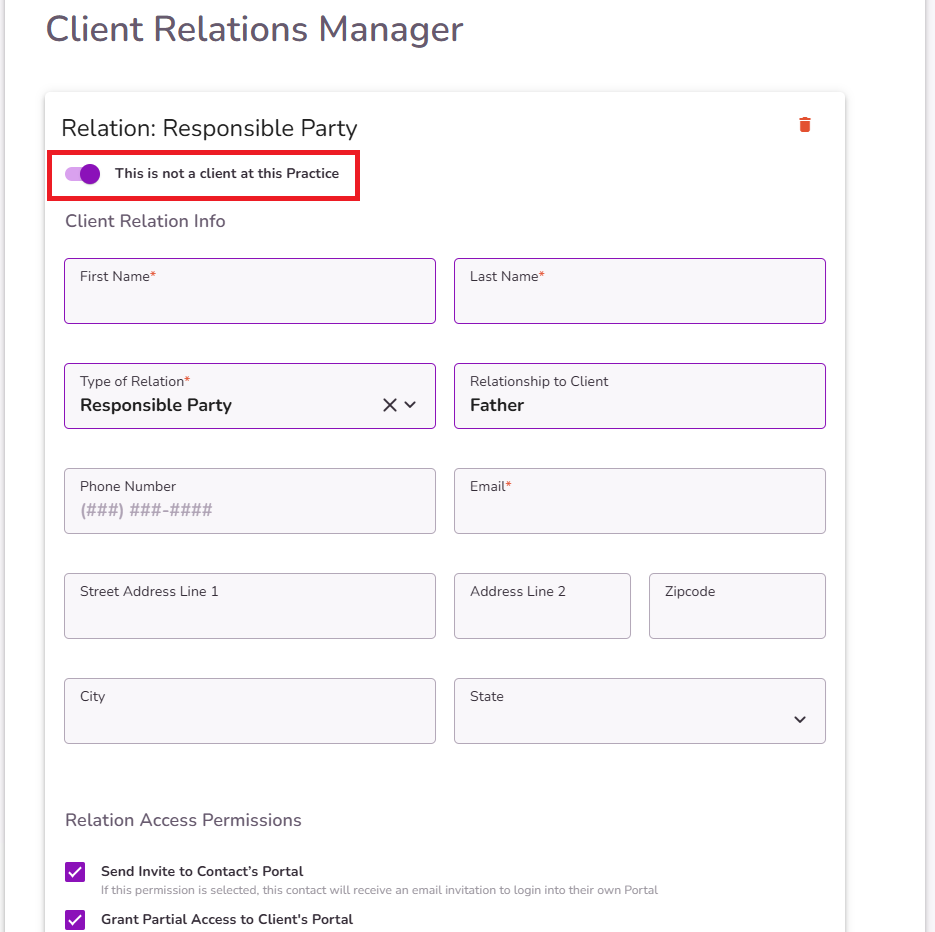
If the relation is not a client at this Practice, turn on the toggle and fill in the Client Relation Info.