How To Invite Clients To the Client Portal
This guide will show you how to send a client a Client Portal invitation after adding them to your account.
To add a new client, select the + New Client button
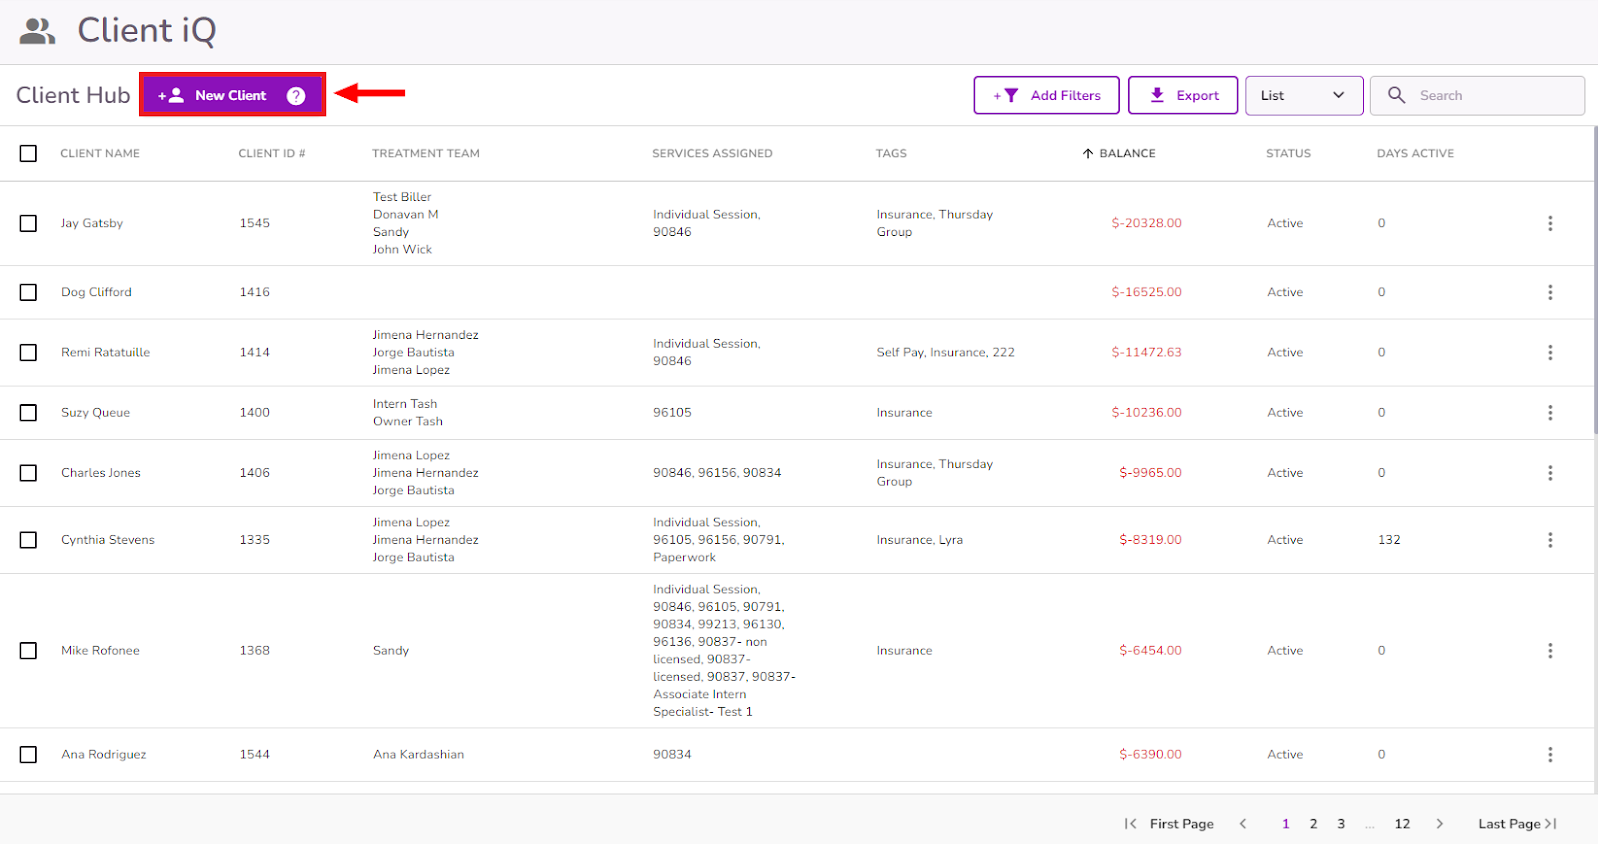
NOTE: You could also use the New Clients icon from the Quick Actions buttons

From the Client Profile form page, you will see 6 different tabs. Click here to learn how to complete the client profile

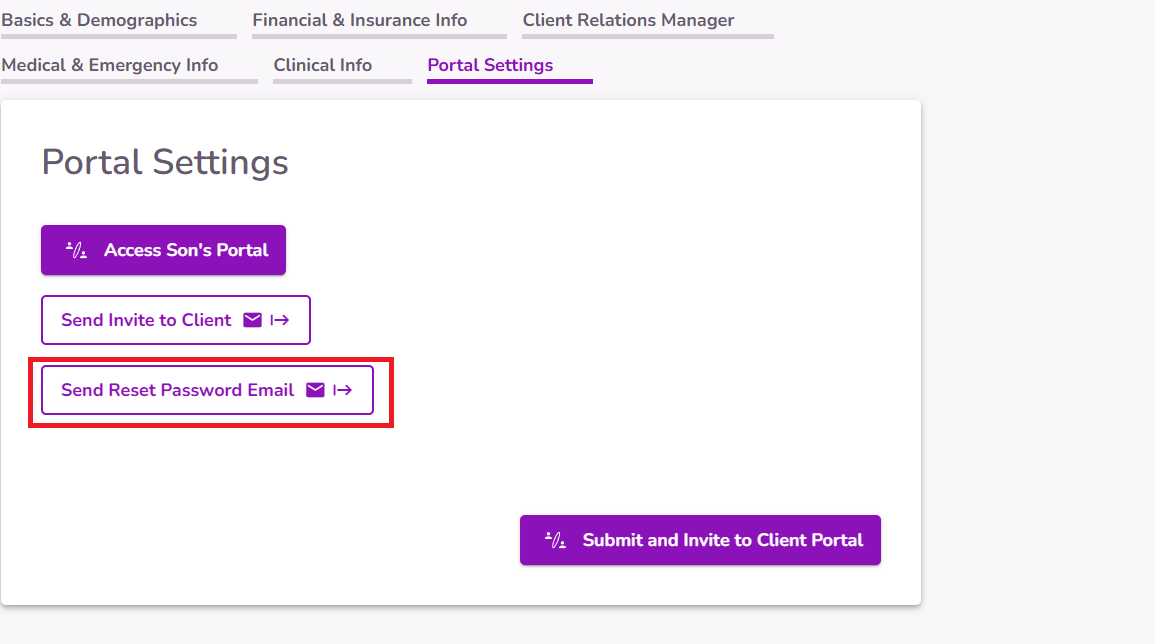
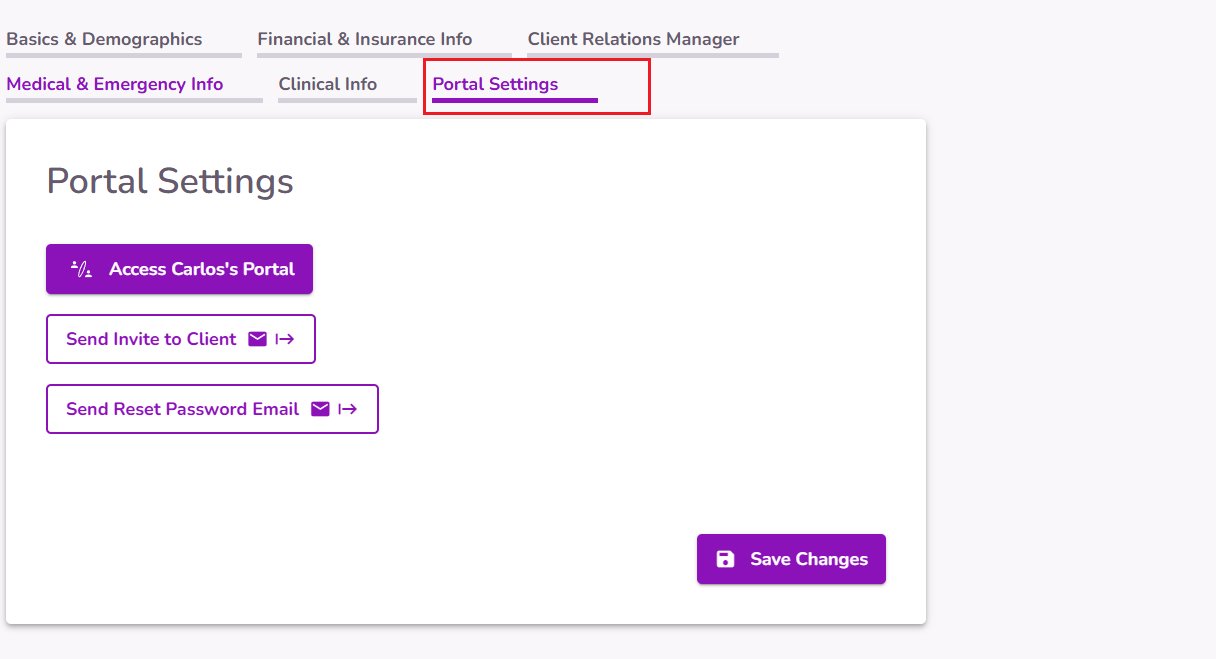
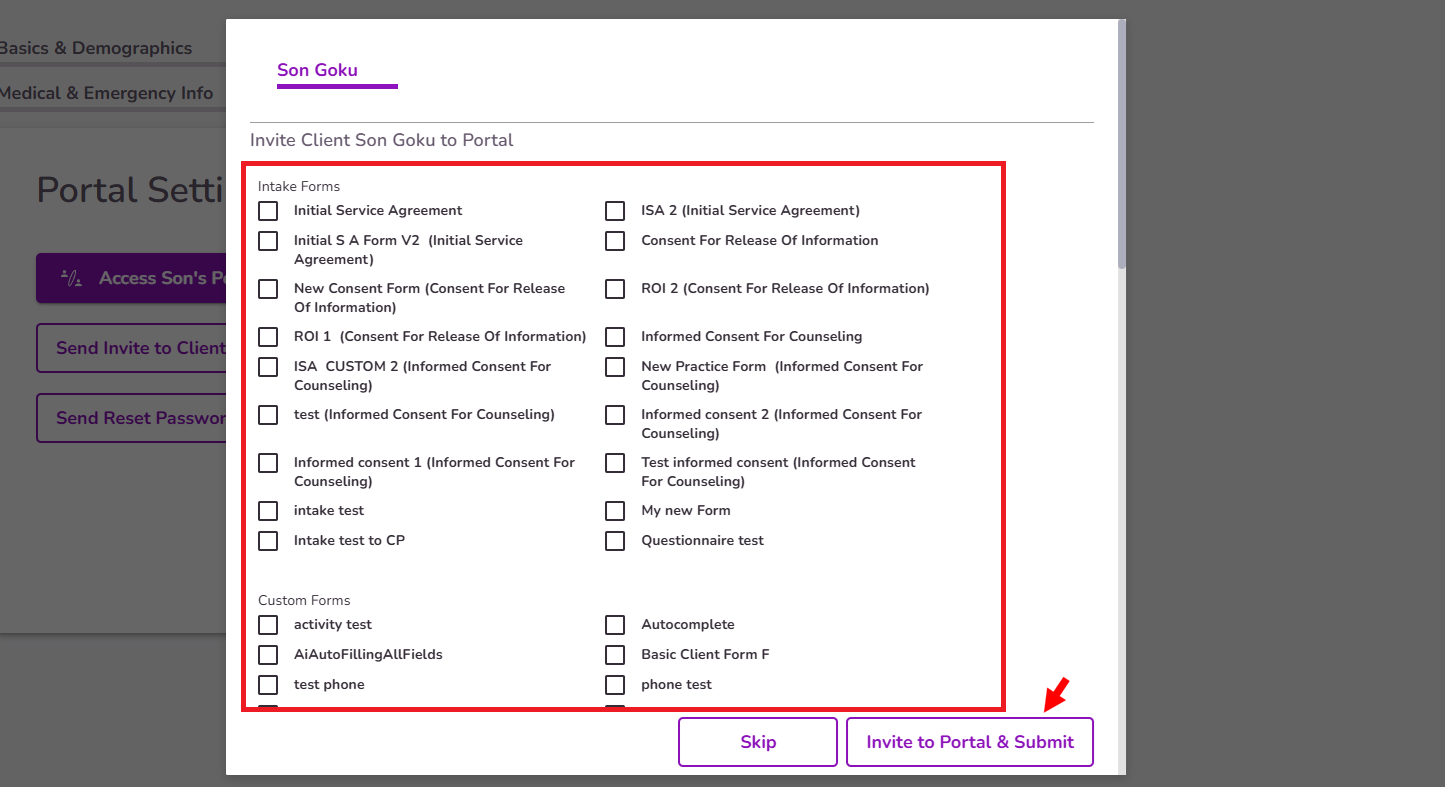
Once you’ve completed the profile, go to the Portal Settings tab.
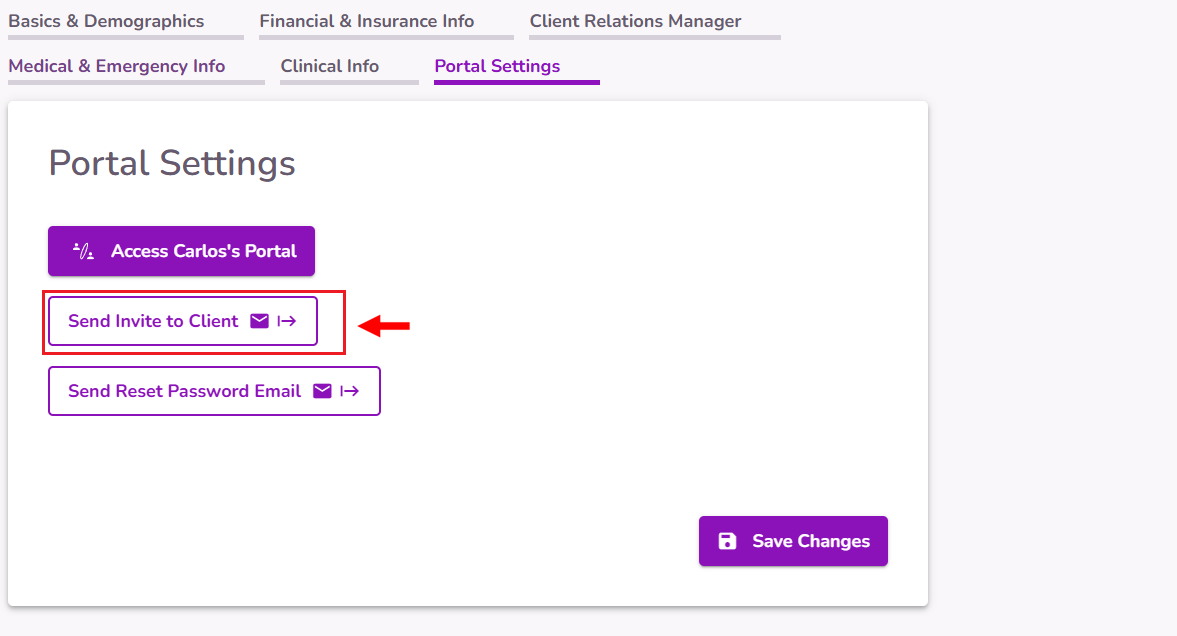
Select the Send Invite To Client button
Select the initial forms you’d like to send to the client, then click the Invite To Portal & Submit button
NOTE: These forms are being pulled from the TiQ Forms Library, and from any custom forms you’ve created in Forms iQ.
Once the client has been invited to the portal, you’ll see the Invited message

IMPORTANT: The portal invitation can only be sent once. If a client misses the invitation email or if the link expires (7 days after sending it), it is best to send a Reset Password Email