Understanding The Locations Manager
At TiQ, we recognize how important it is to distinguish between different locations for accurate billing. This guide will walk you through setting up multiple locations for your practice.
From the Navigation Bar, select Practice Manager.

Navigate to the Locations Manager tab.

By default, your company's primary location will be added during account setup and marked with a star.
IMPORTANT: This primary location cannot be deleted but can be edited if necessary.

To add a new location, select the +New Practice Location button.

Complete all the necessary fields, and click Submit to save the new location.
NOTE: The Practice Location Name field is required and is limited to 60 characters. You can enter up to 10 digits in the Zipcode field, including a dash (-)
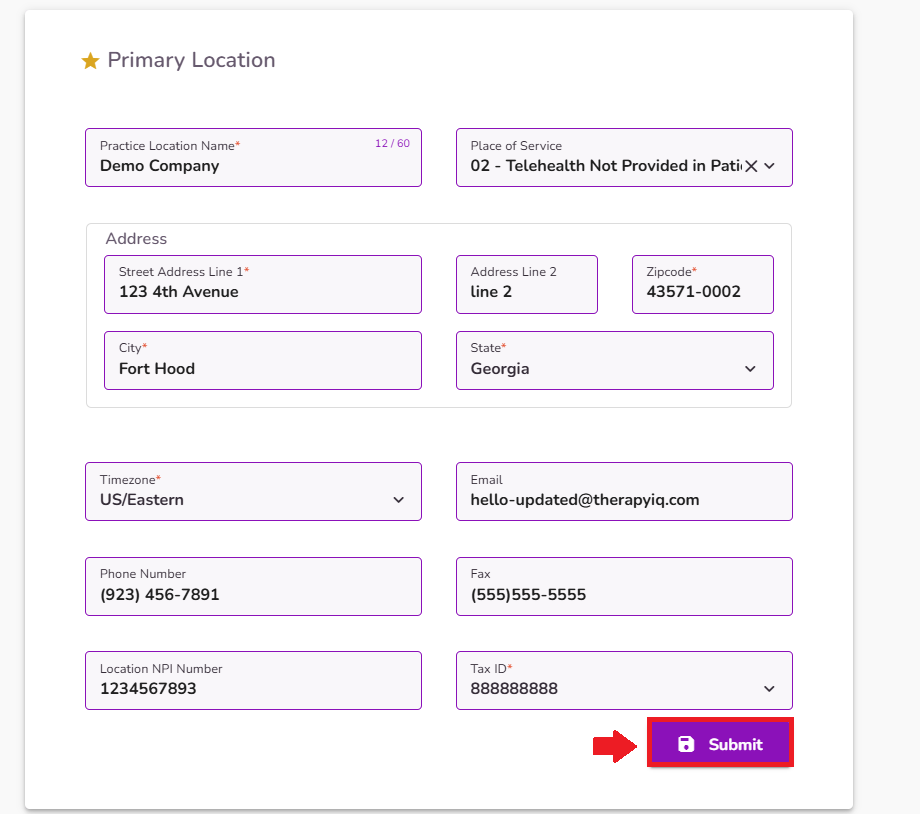
IMPORTANT: Make sure also to set the specific Time Zone for the Location. This time zone will be displayed when scheduling events in Calendar iQ, among others.
The option “None” is not available for the primary location.

NOTE: The Place Of Service options are pulled from the Place Of Service Codes enabled in the Billing & Payment tab.

The locations added in Practice Manager will be available in the Calendar iQ filters.

In the Event Details in the Event Form.
NOTE: By default, this field will show your practices primary location, or if the client has a different location, it will fill with the clients location listed in their profile.

In Box 33 on claims.
IMPORTANT: Selecting a location from the dropdown auto-fills Address 1, Address 2, City, State, Zip, and Phone fields.
NOTE: By default, this field will show your practices primary location, or if the client has a different location, it will fill with the clients location listed in their profile.

And within the Financial & Insurance Info tab within the client profile.
NOTE: The practice’s primary location will be added by default here. You can easily change it by selecting the appropriate location from the drop-down.


