Setting Up The New Prospect Self-Scheduling
In TiQ, we understand the importance of giving new prospects the ability to request an appointment. In this guide, we will walk you through how to set up the New Prospect Self-Scheduling.
In Practice Manager select the Prospect Self Scheduling tab.
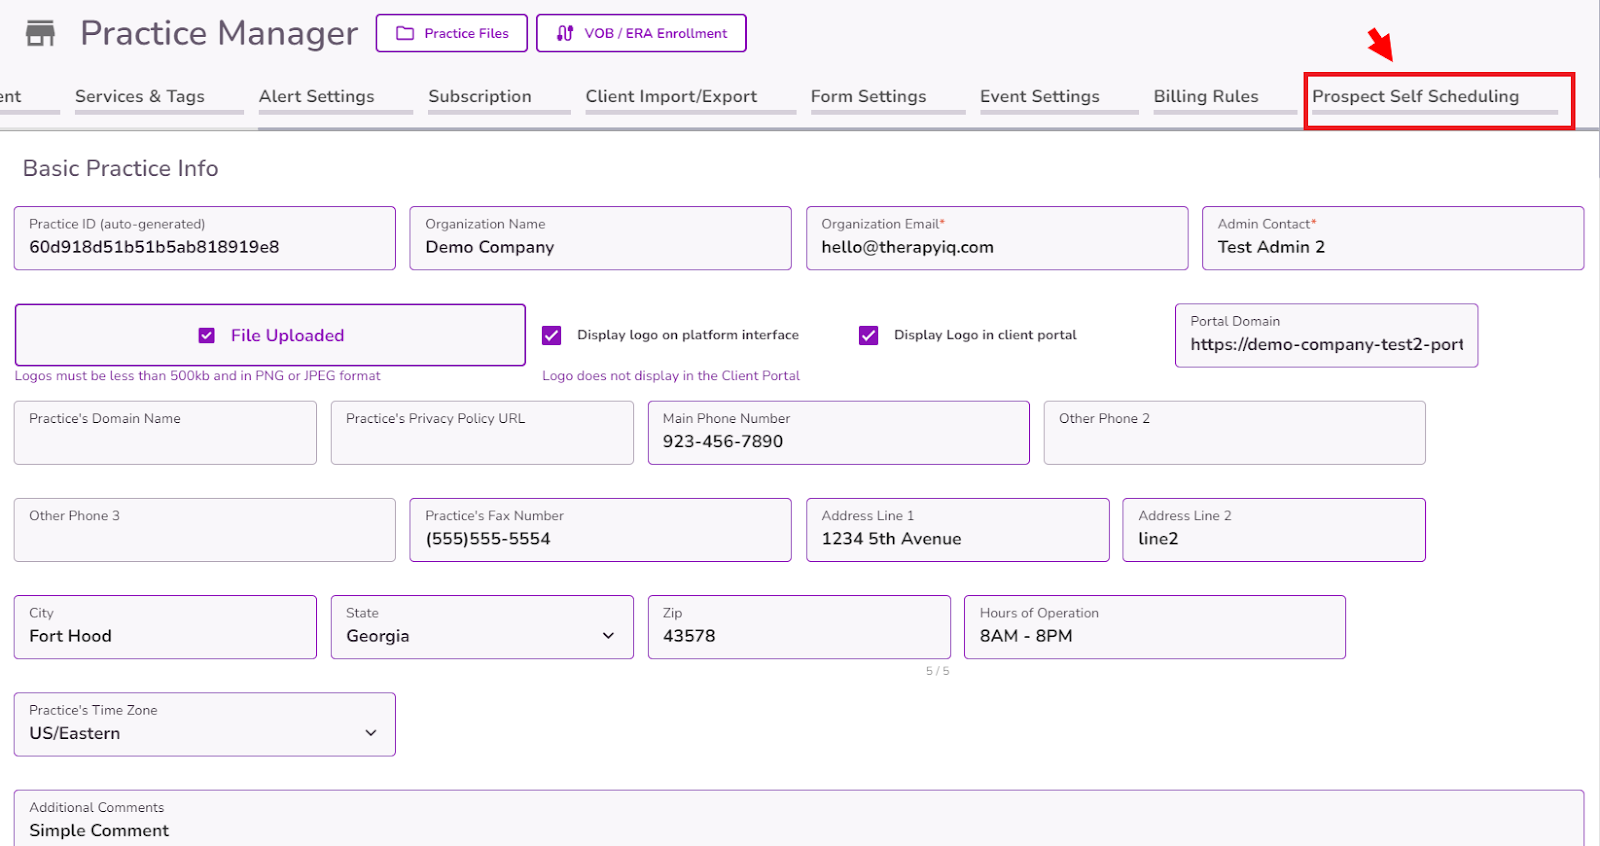
This tab will display the Initial Assessments Settings.
NOTE: Under the Initial Assessments Settings header you will see a tooltip. Selecting this tooltip will redirect to this support guide.
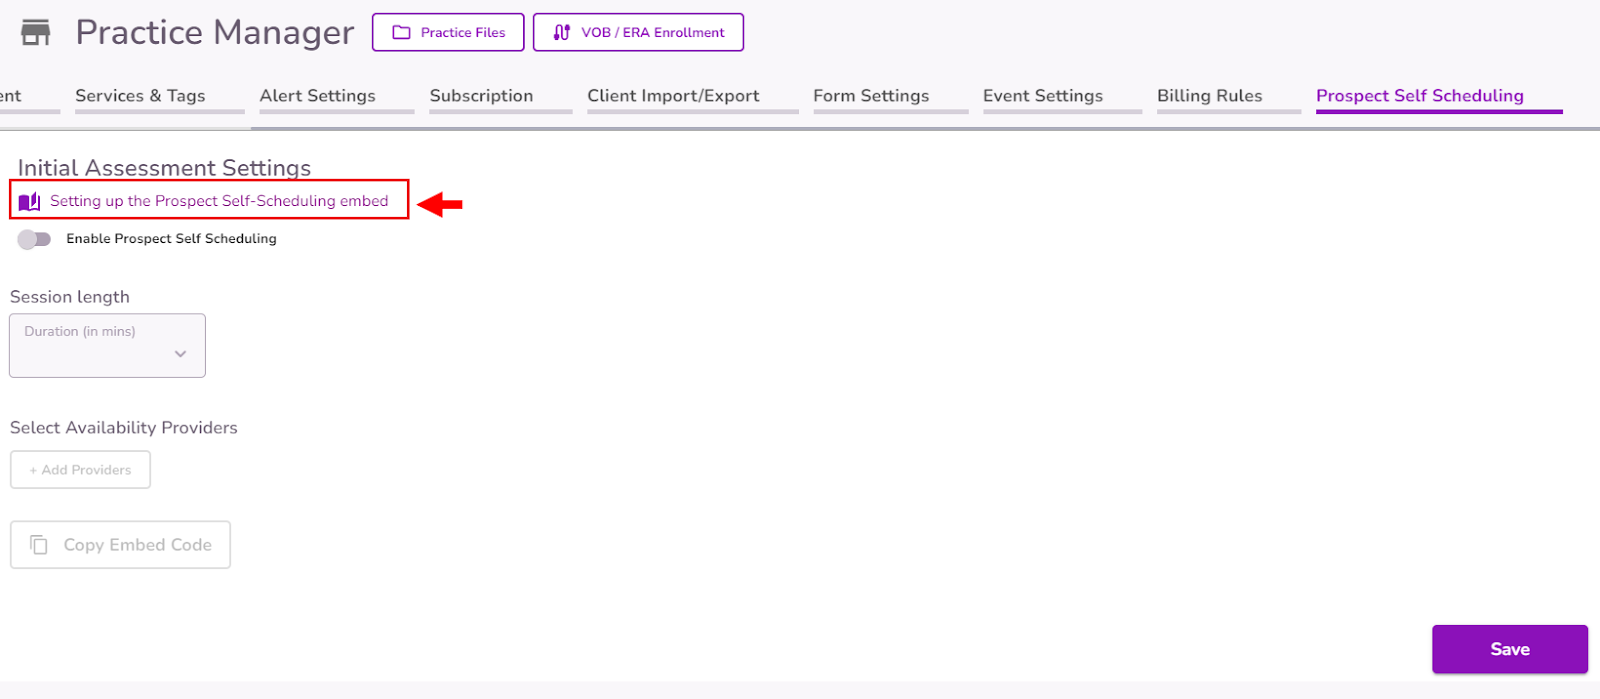
Enable the Enable Prospect Self Scheduling toggle.
The Session length and Select Available Providers sections will be enabled.
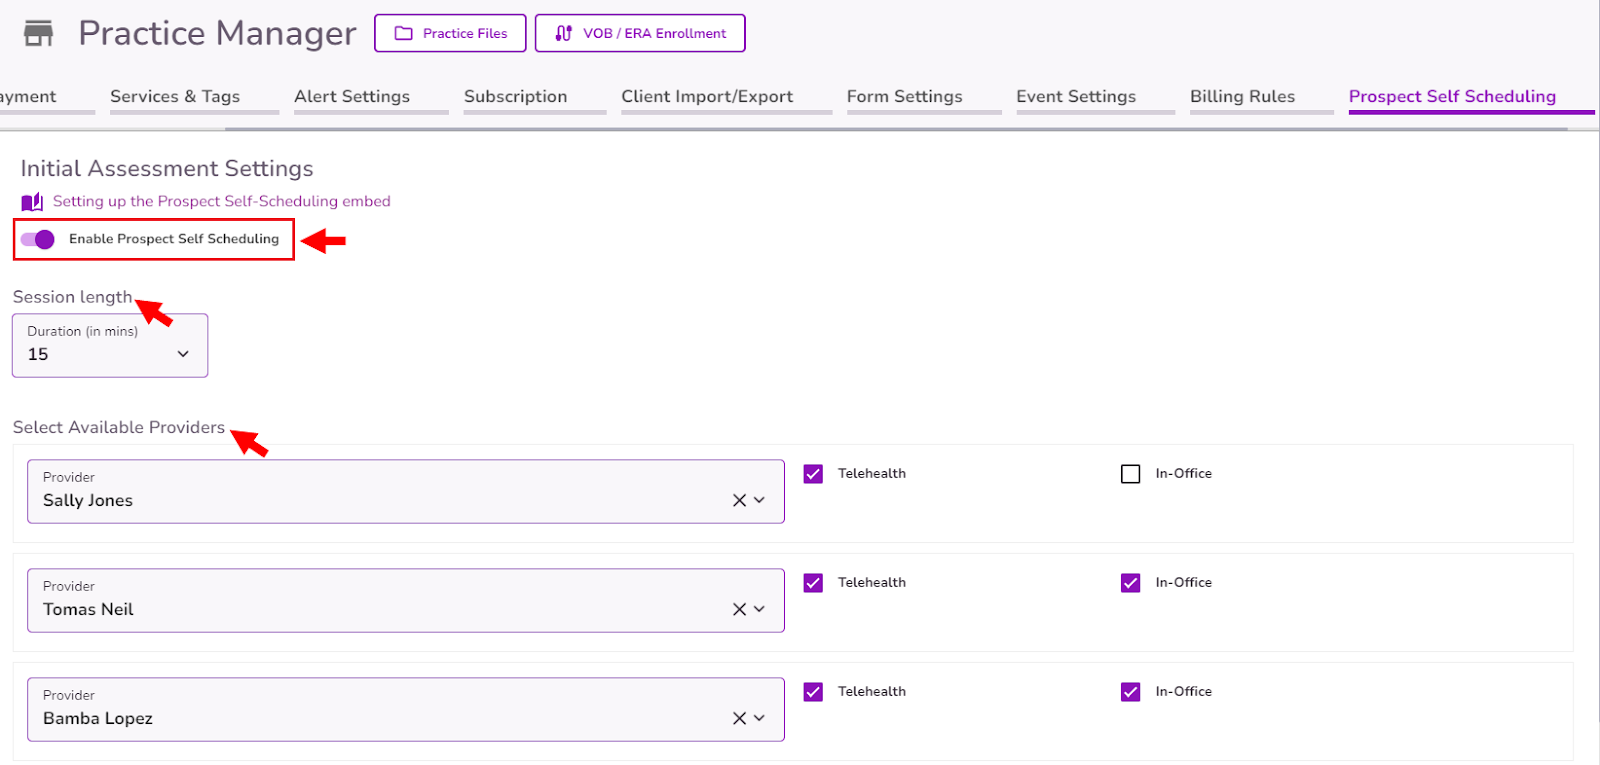
NOTE: Disabling the Enable Prospect Self Scheduling toggle will also disable the Session length and Select Available Providers sections.
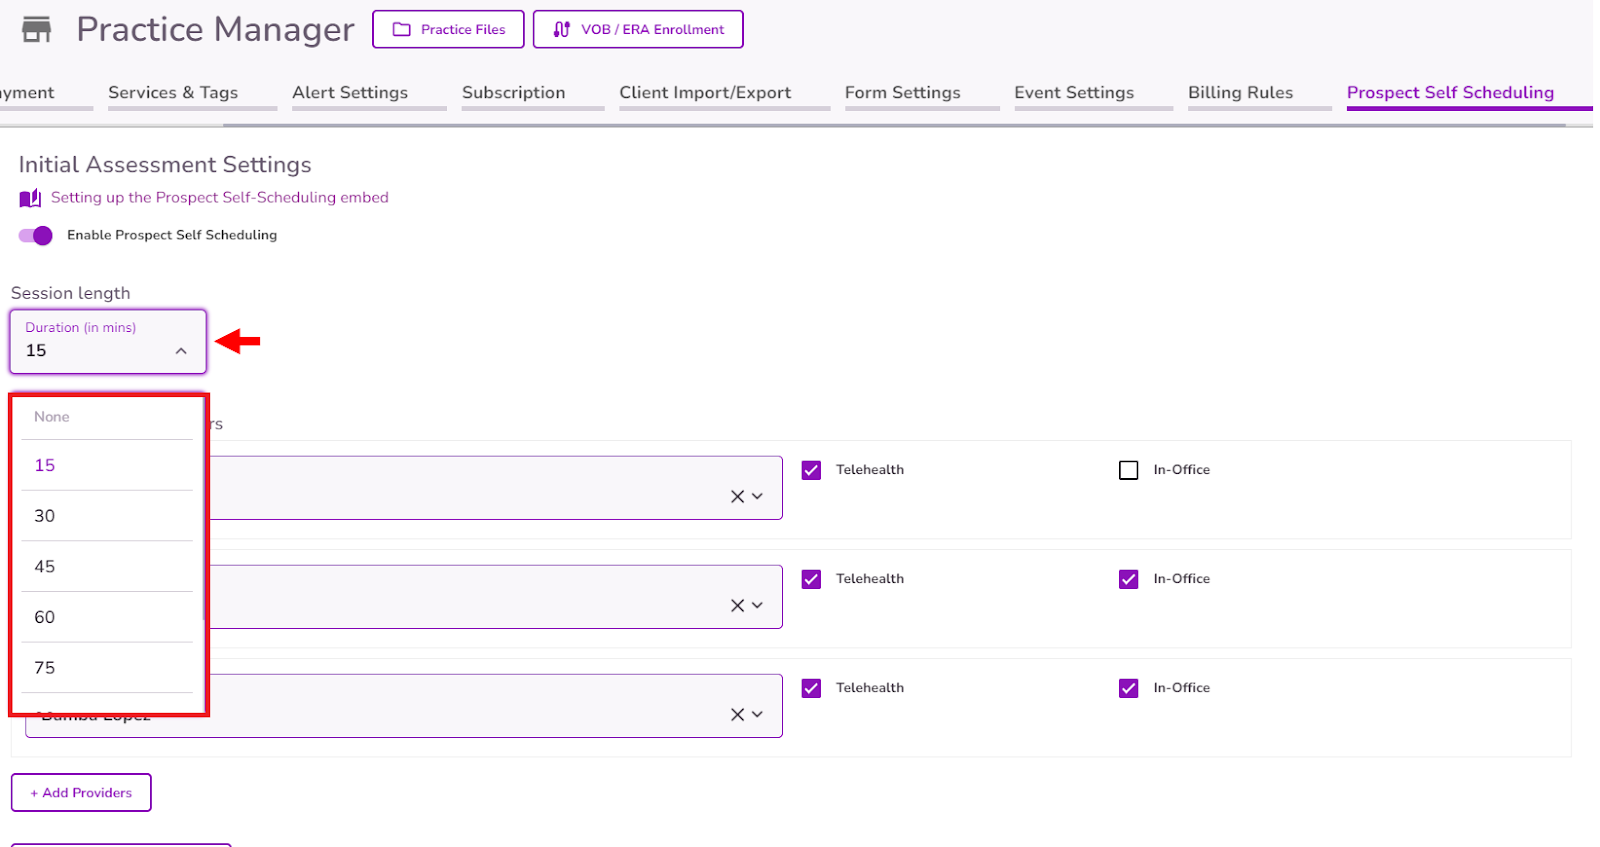
Select the Session length - The ‘Duration’ dropdown field displays 15-minute block options.
NOTE: By default, this will be set at 30 mins. The longest option is 120 mins.
From the Select Available Providers section select the +Add Providers button. You’ll see the list of all available providers. Add the providers as needed.
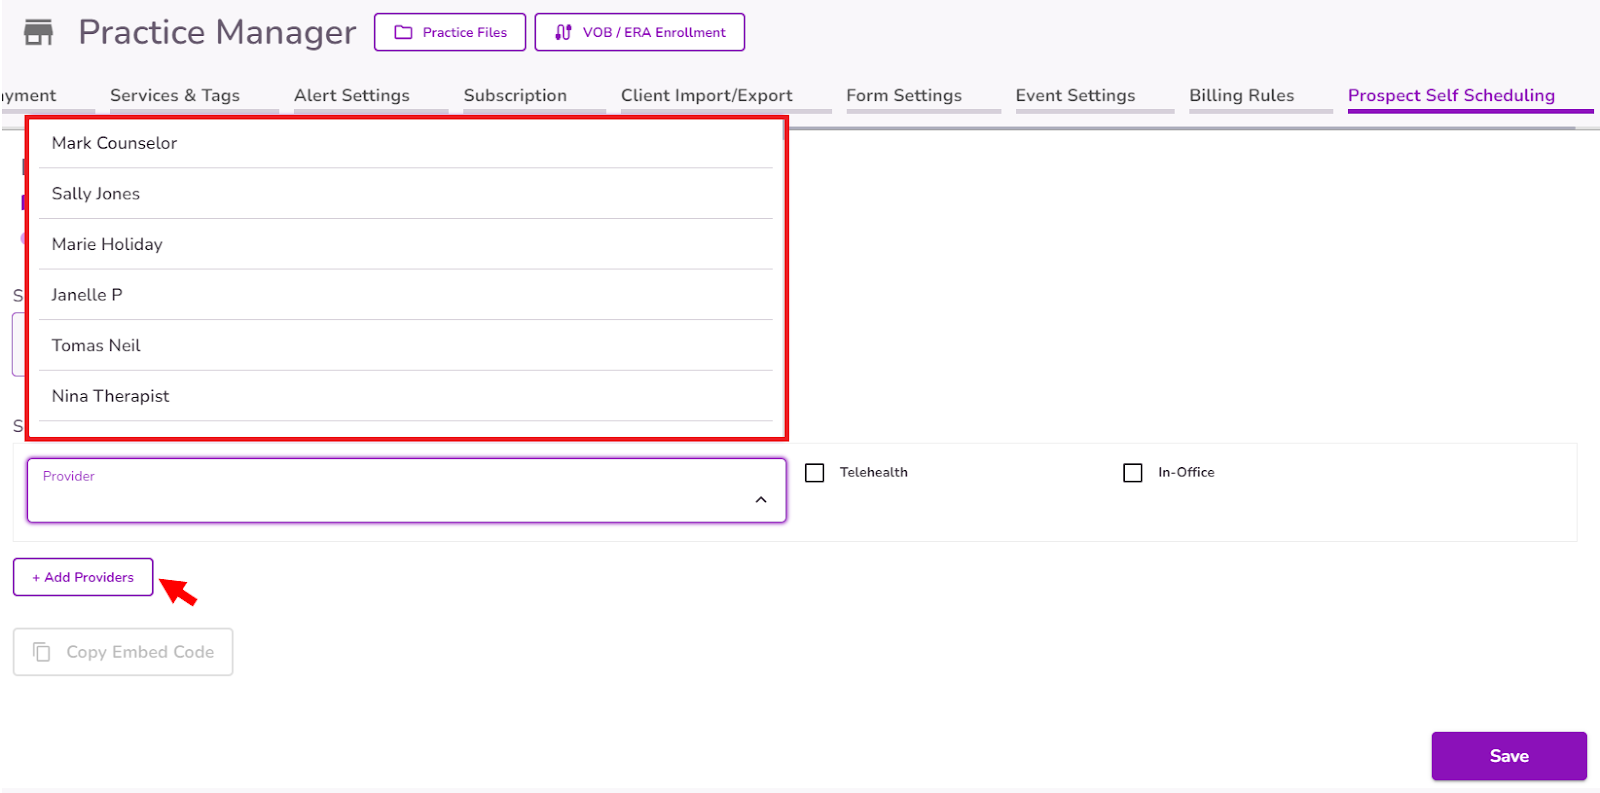
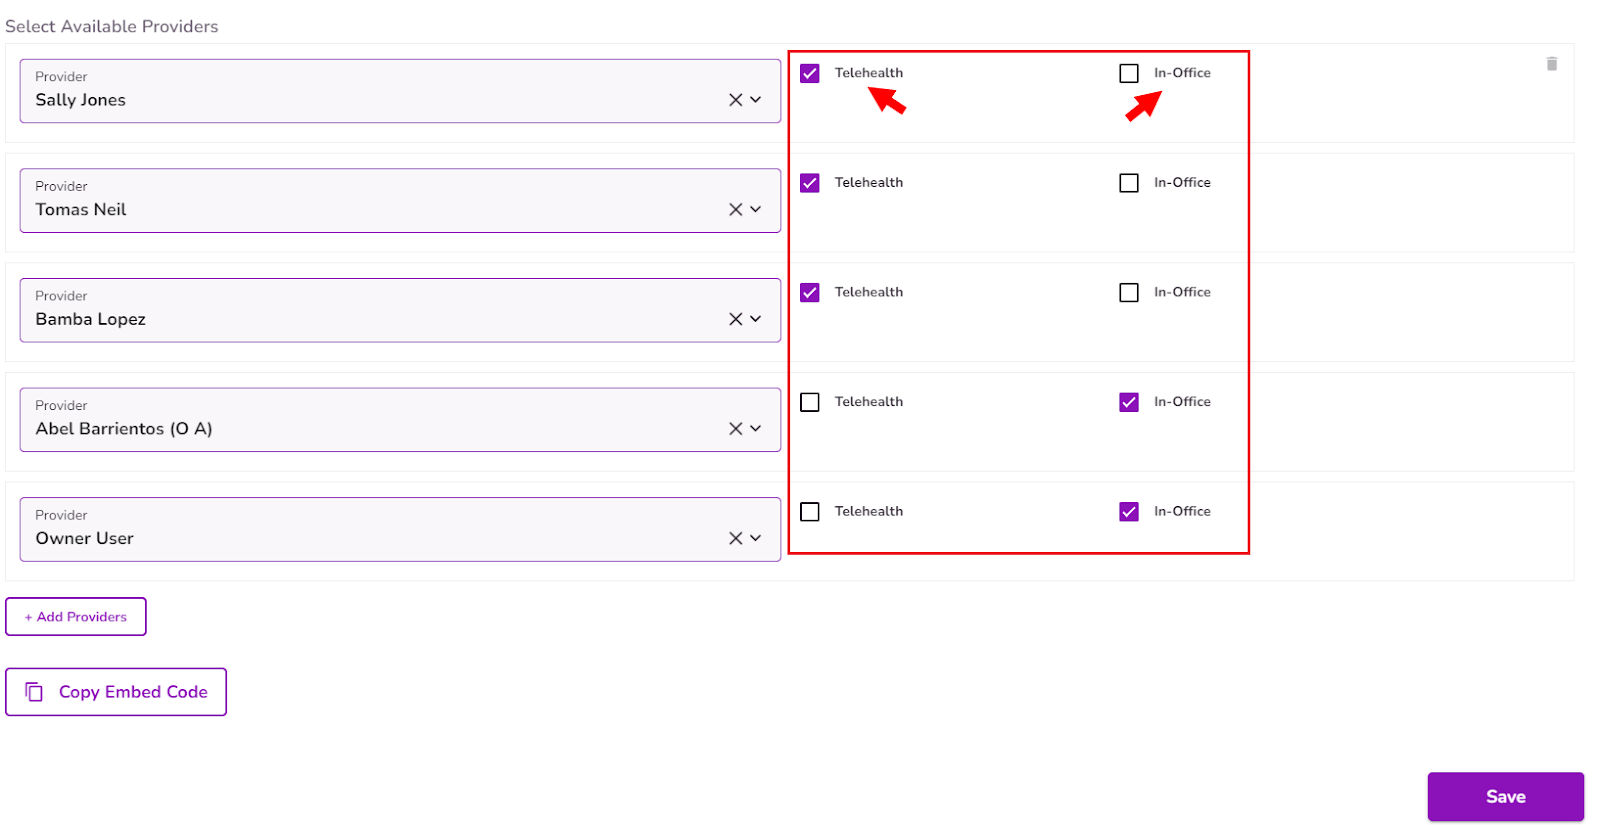
You will see 2 location checkboxes:
- Telehealth
- In-Office
Select the location for each provider.
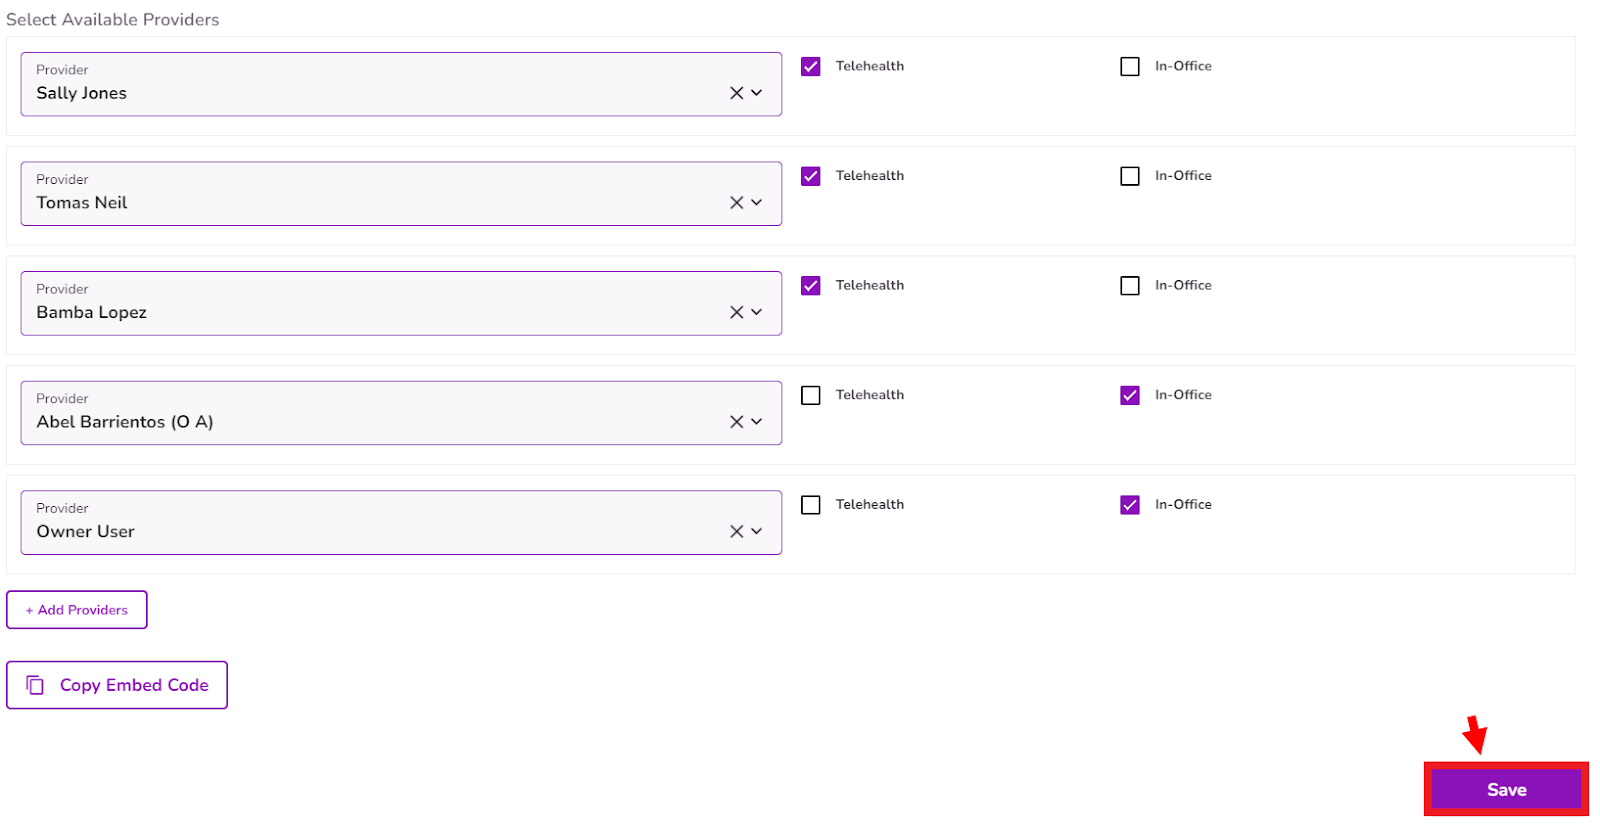
Select the Save button to make the changes permanent, and the information set up will now be displayed in the Self Schedule Request Form.
IMPORTANT: Only users listed here can be granted the "Manage All Prospect Appointment Requests" permission in their profiles. For all other users, this permission will be greyed out.
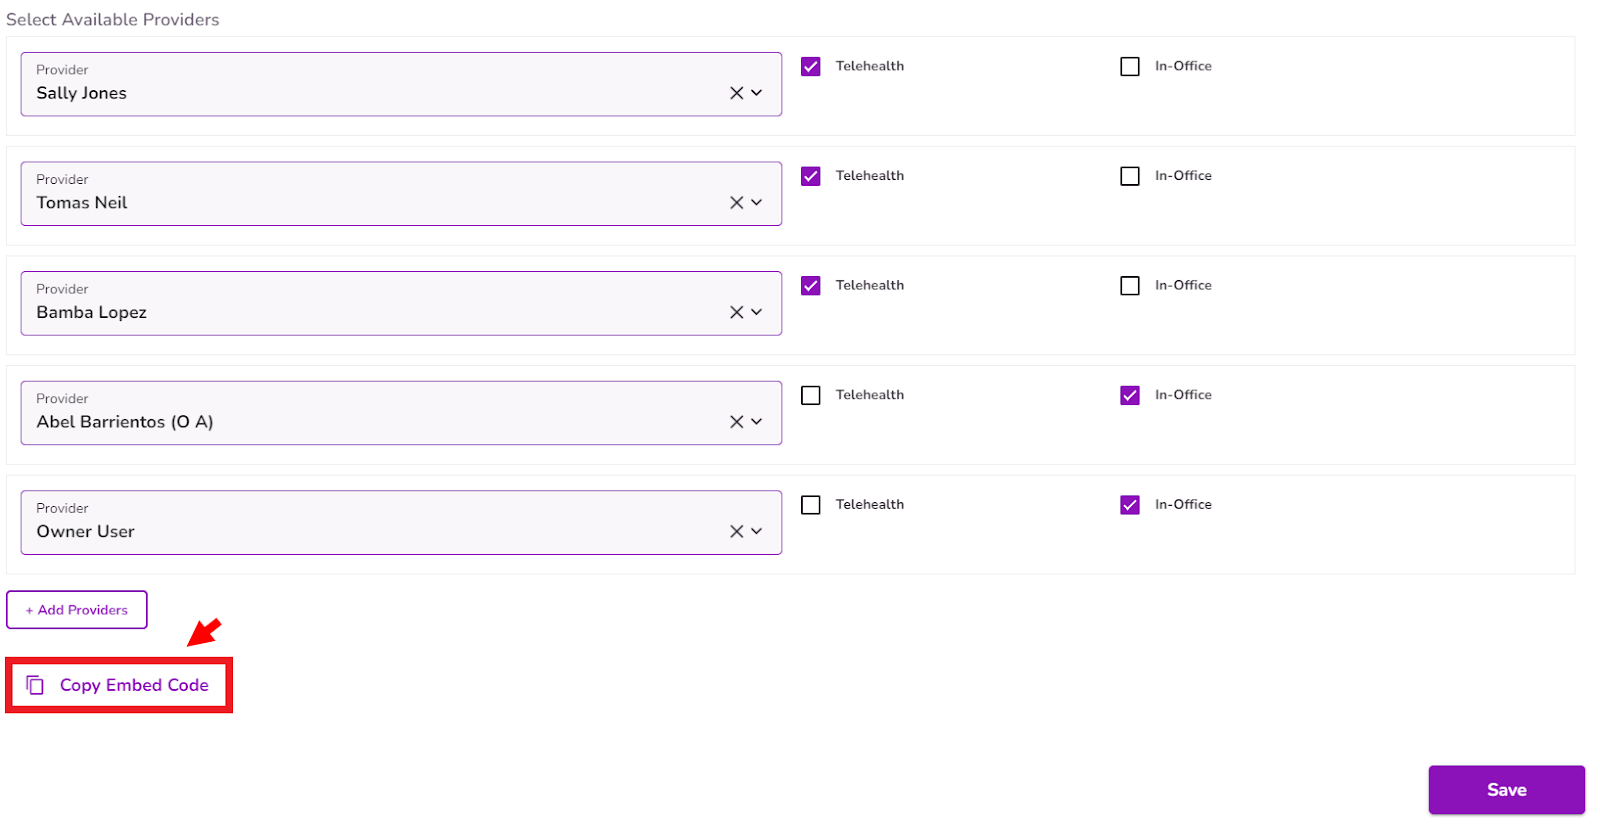
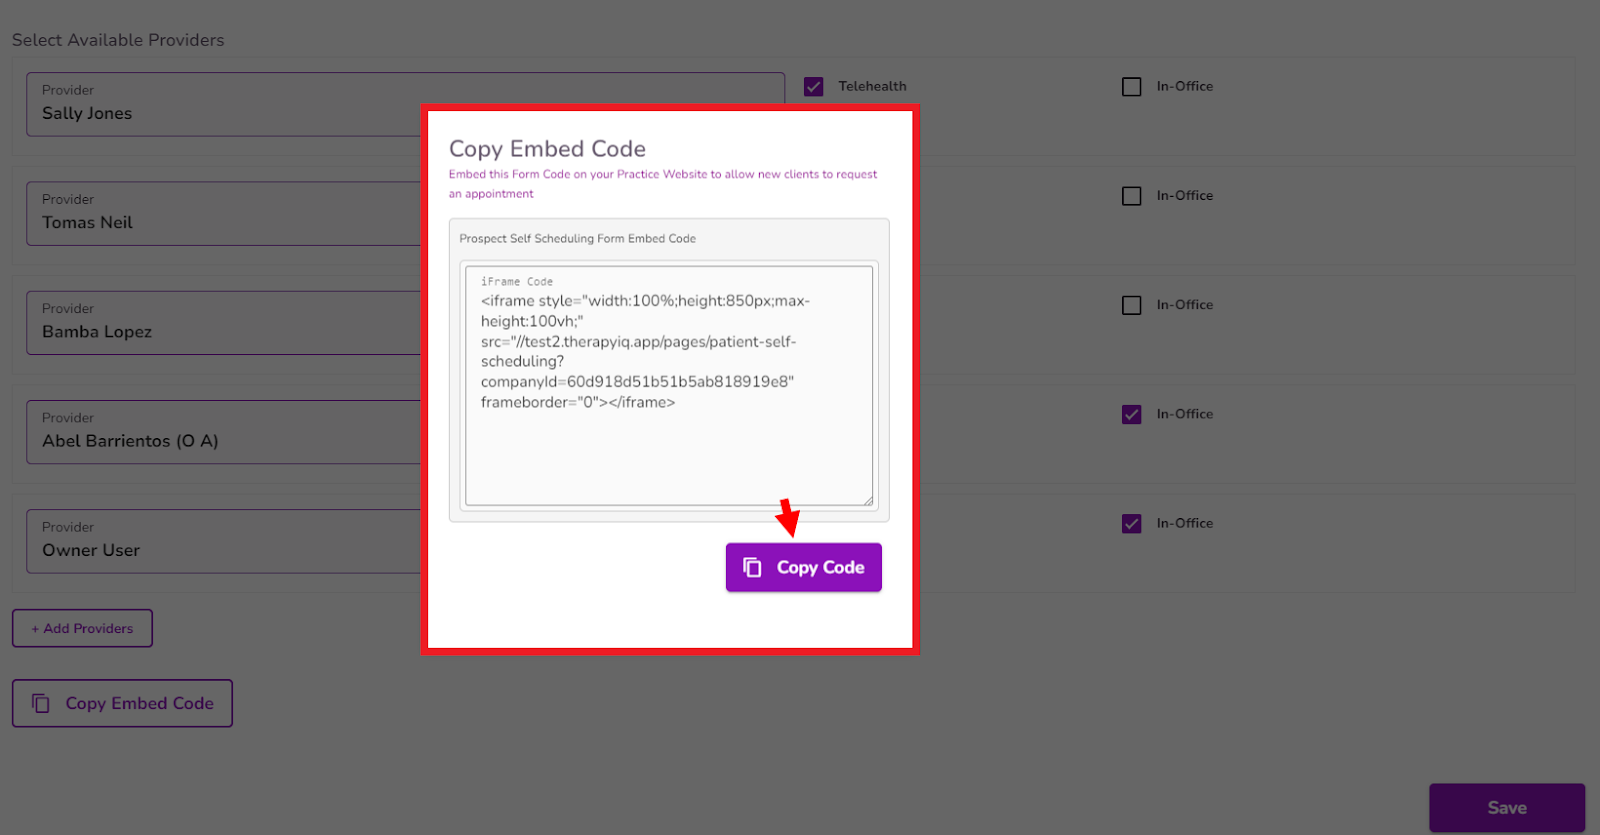
Select the Copy Embed Code button
IMPORTANT: By default, the Copy Embed Code button is displayed in a disabled state until a provider is added and a location is selected.
A pop-up window will display the embed code. Select Copy Code.
NOTE: If any changes are made to the Initial Assessments Settings from Practice Manager, the code will be updated automatically.
IMPORTANT: If a user has already embedded the code on their website, and then disables the Enable Prospect Self Scheduling toggle, the code will no longer work and a warning pop-up message will be displayed.


